Notebook
The Notebook is the primary way to work in Pyodios. Think of it as a document that mixes code and explanations: you write Python in code cells, run them to see results inline, and add markdown cells to annotate your work with formatted text. The result is a reproducible, shareable document that captures both your analysis and the story behind it. Notebooks are fully compatible with the .ipynb format used by JupyterLab, VS Code, and Google Colab.
Creating a Notebook
To create a new notebook, tap the + button in the Files tab or choose New Notebook from the menu. You will see a template picker that offers several starting points:
- Blank Notebook: an empty notebook with a single code cell, ready for anything
- Data Analysis: a starter template with imports for NumPy and pandas, plus placeholder cells for loading and exploring data
- Visualization: a template that sets up matplotlib and demonstrates basic plot types
- Machine Learning: a template with scikit-learn imports and a simple model pipeline
Pick a template or start blank. You can always add, remove, and rearrange cells later.
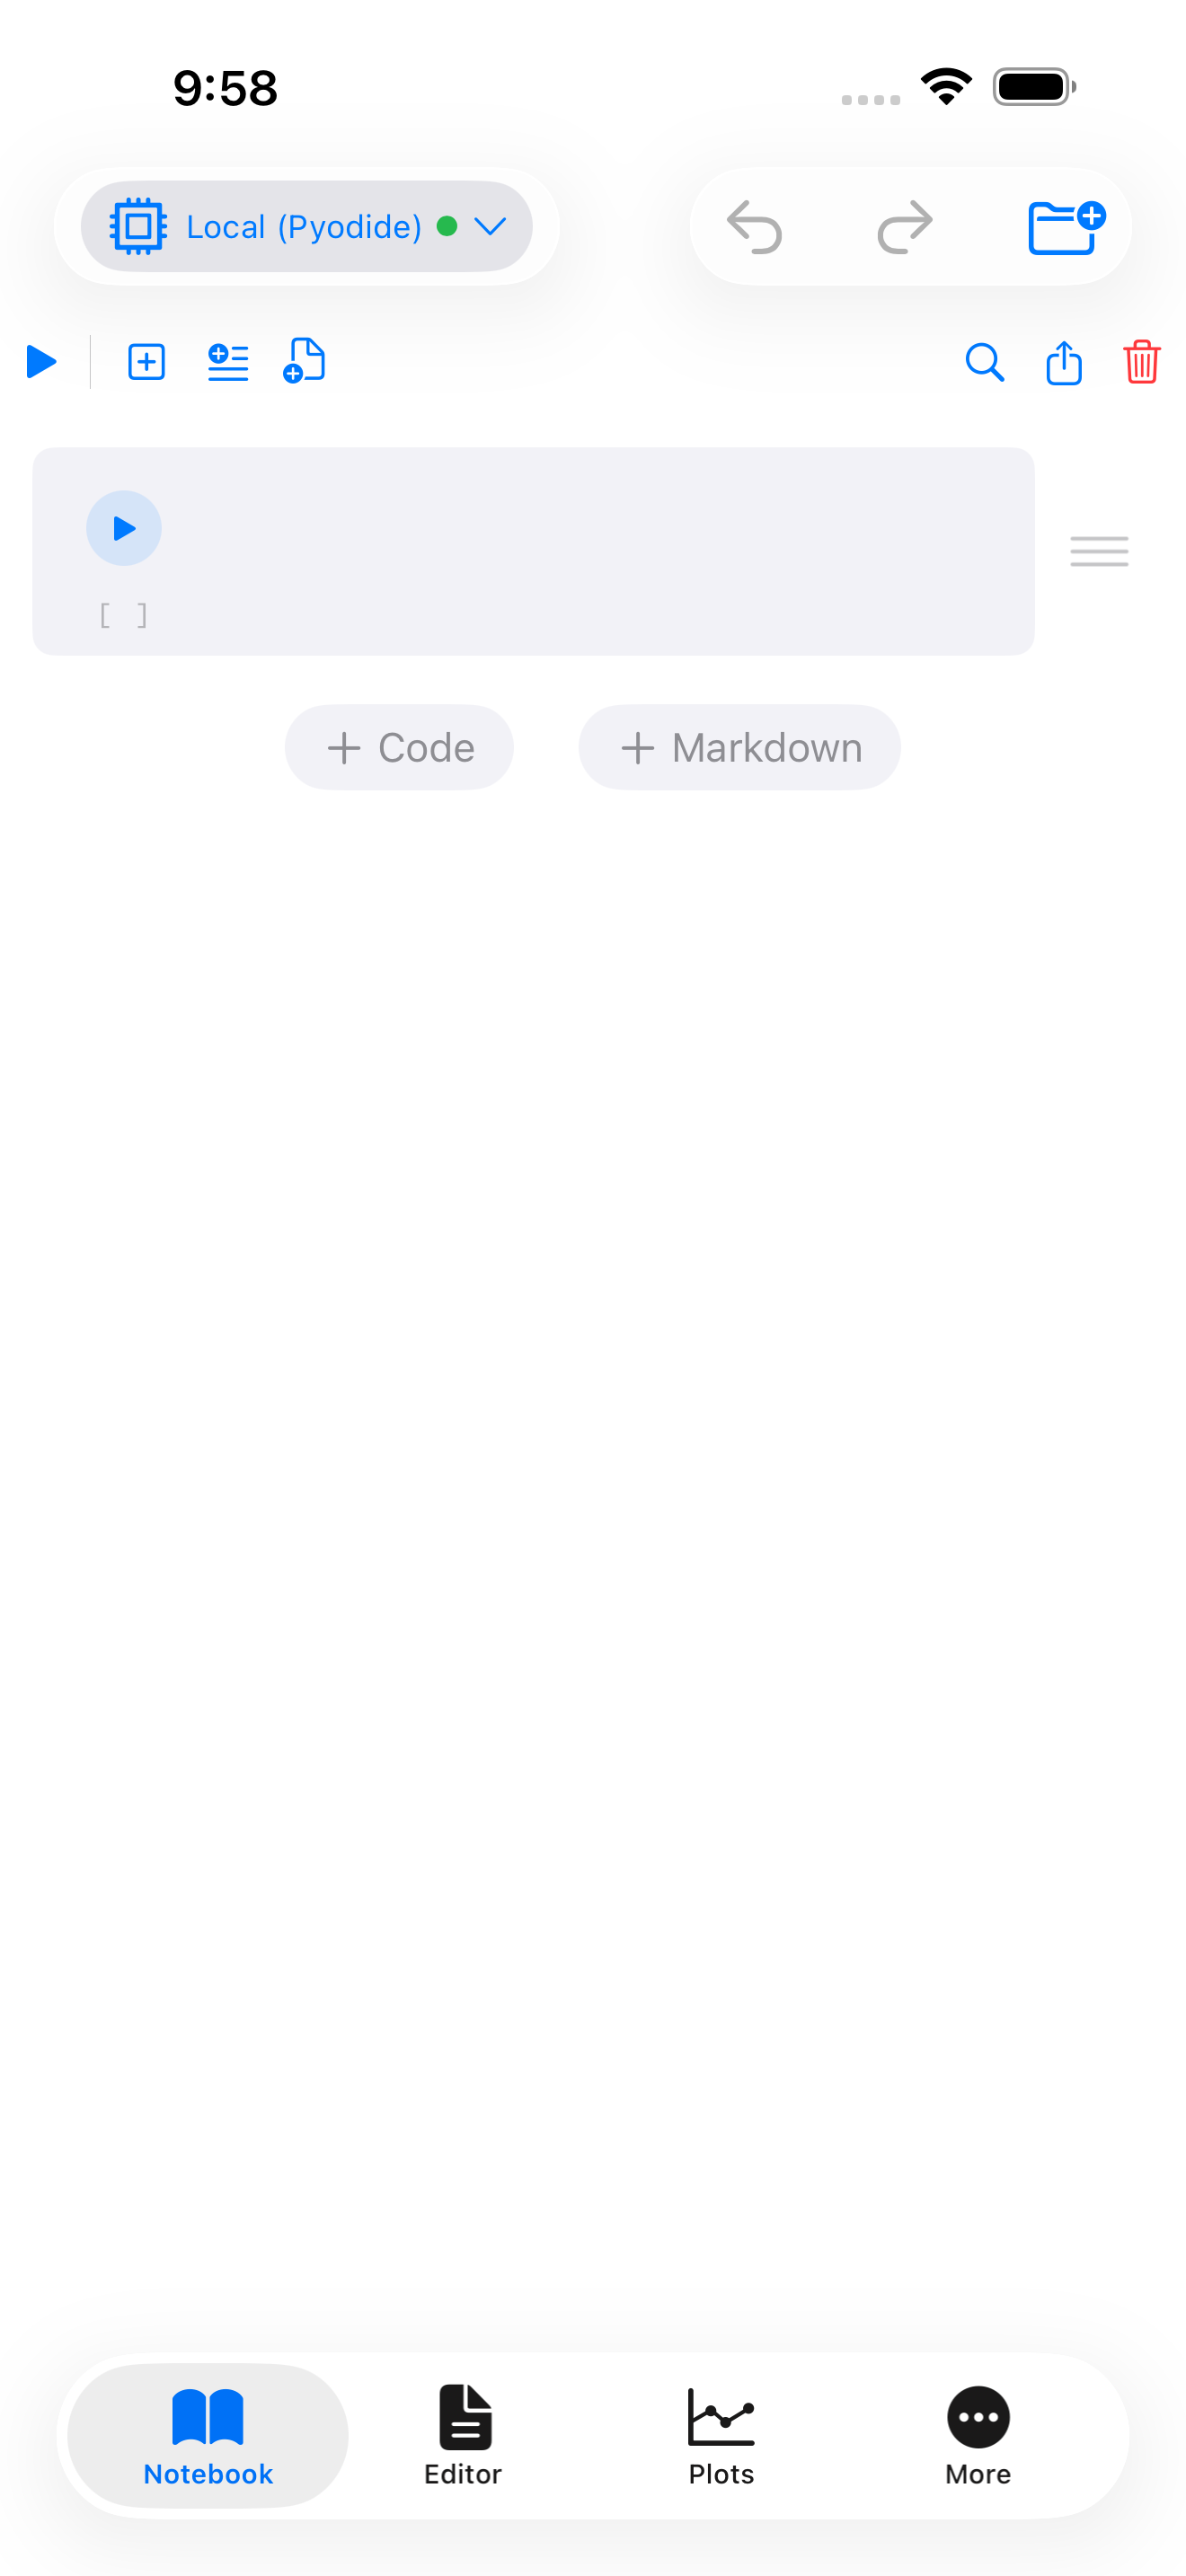


What you are seeing above:
- Cell area: the main editing region where code and markdown cells are displayed
- Notebook toolbar: buttons for Run All, adding cells, and managing outputs at the top
- Cell toolbar: each cell has its own play button, cell type indicator, and action menu
Code Cells
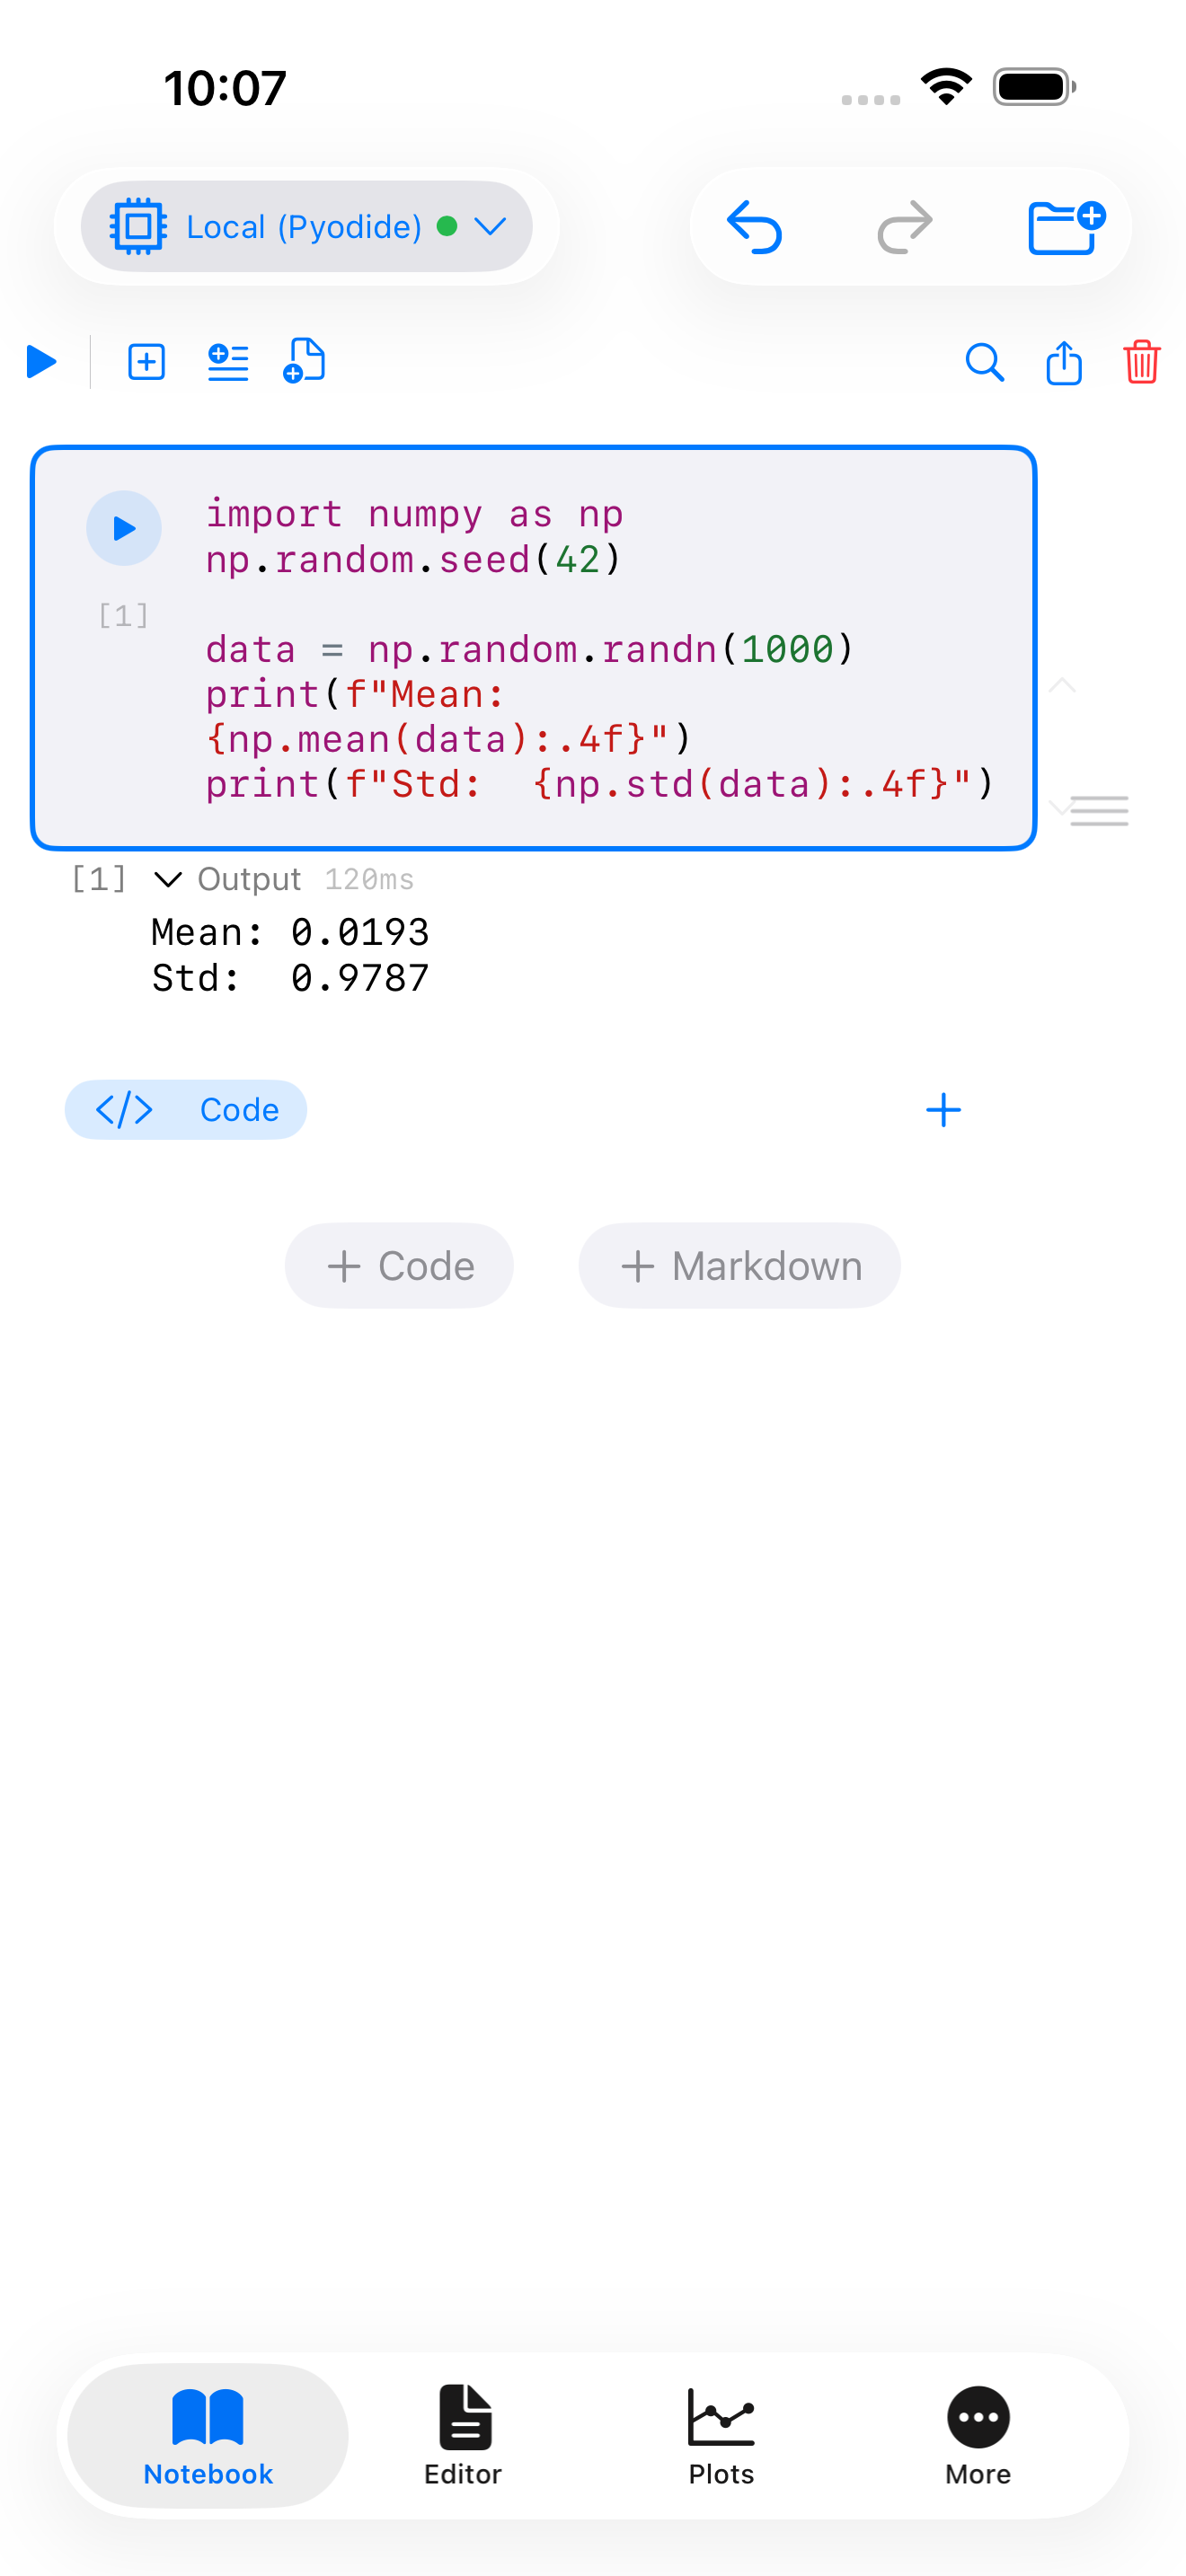
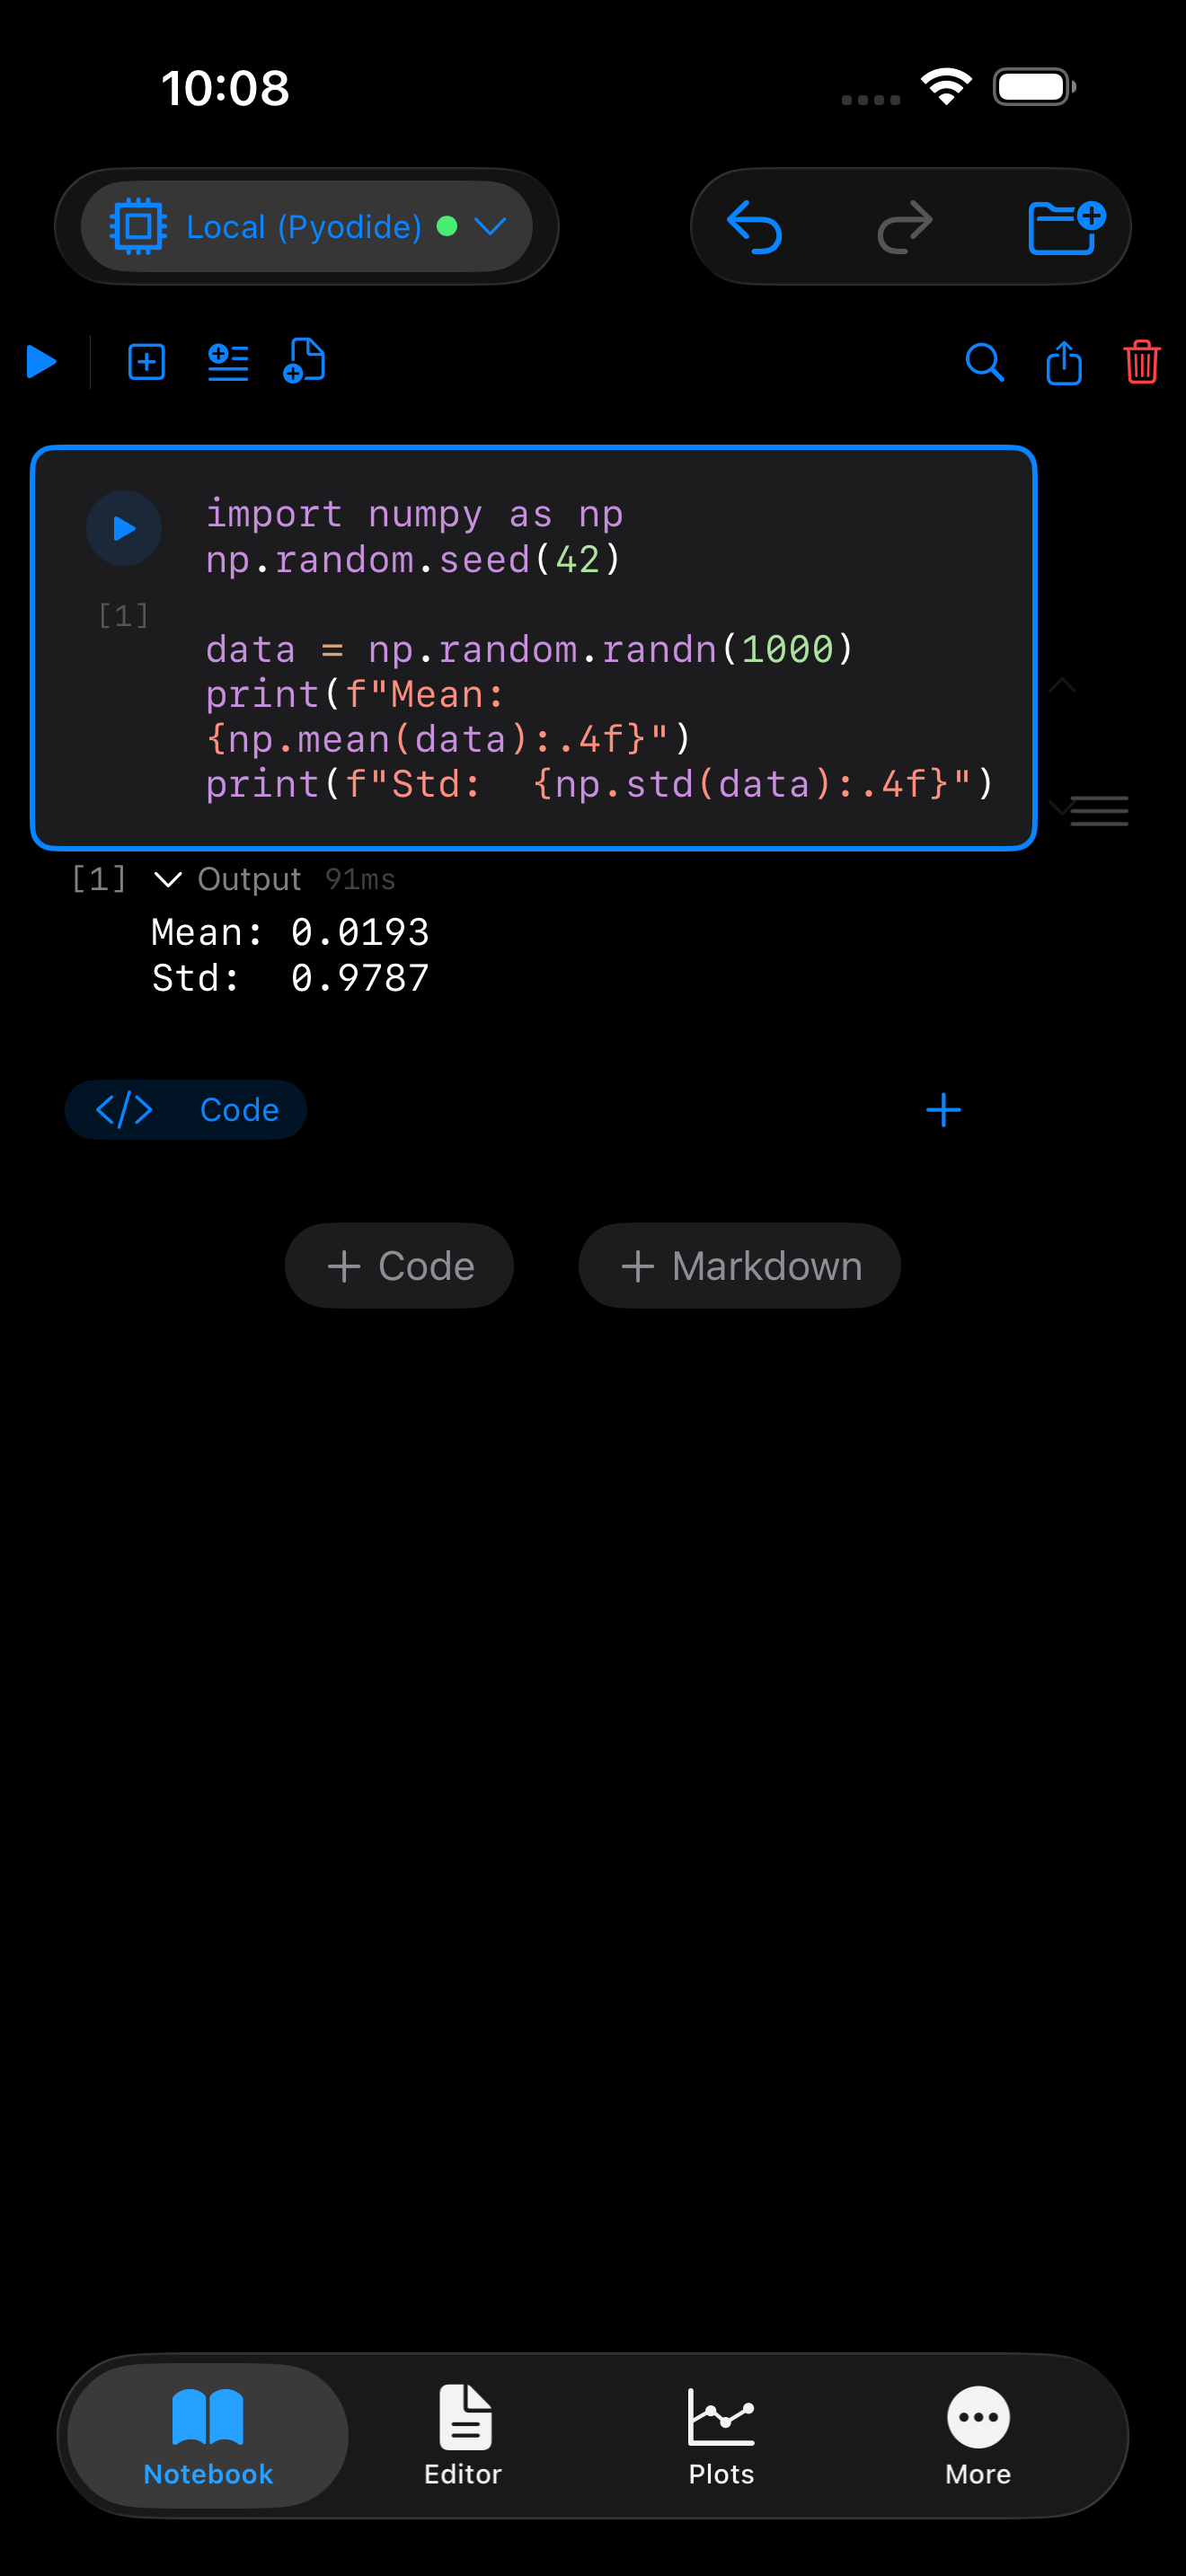
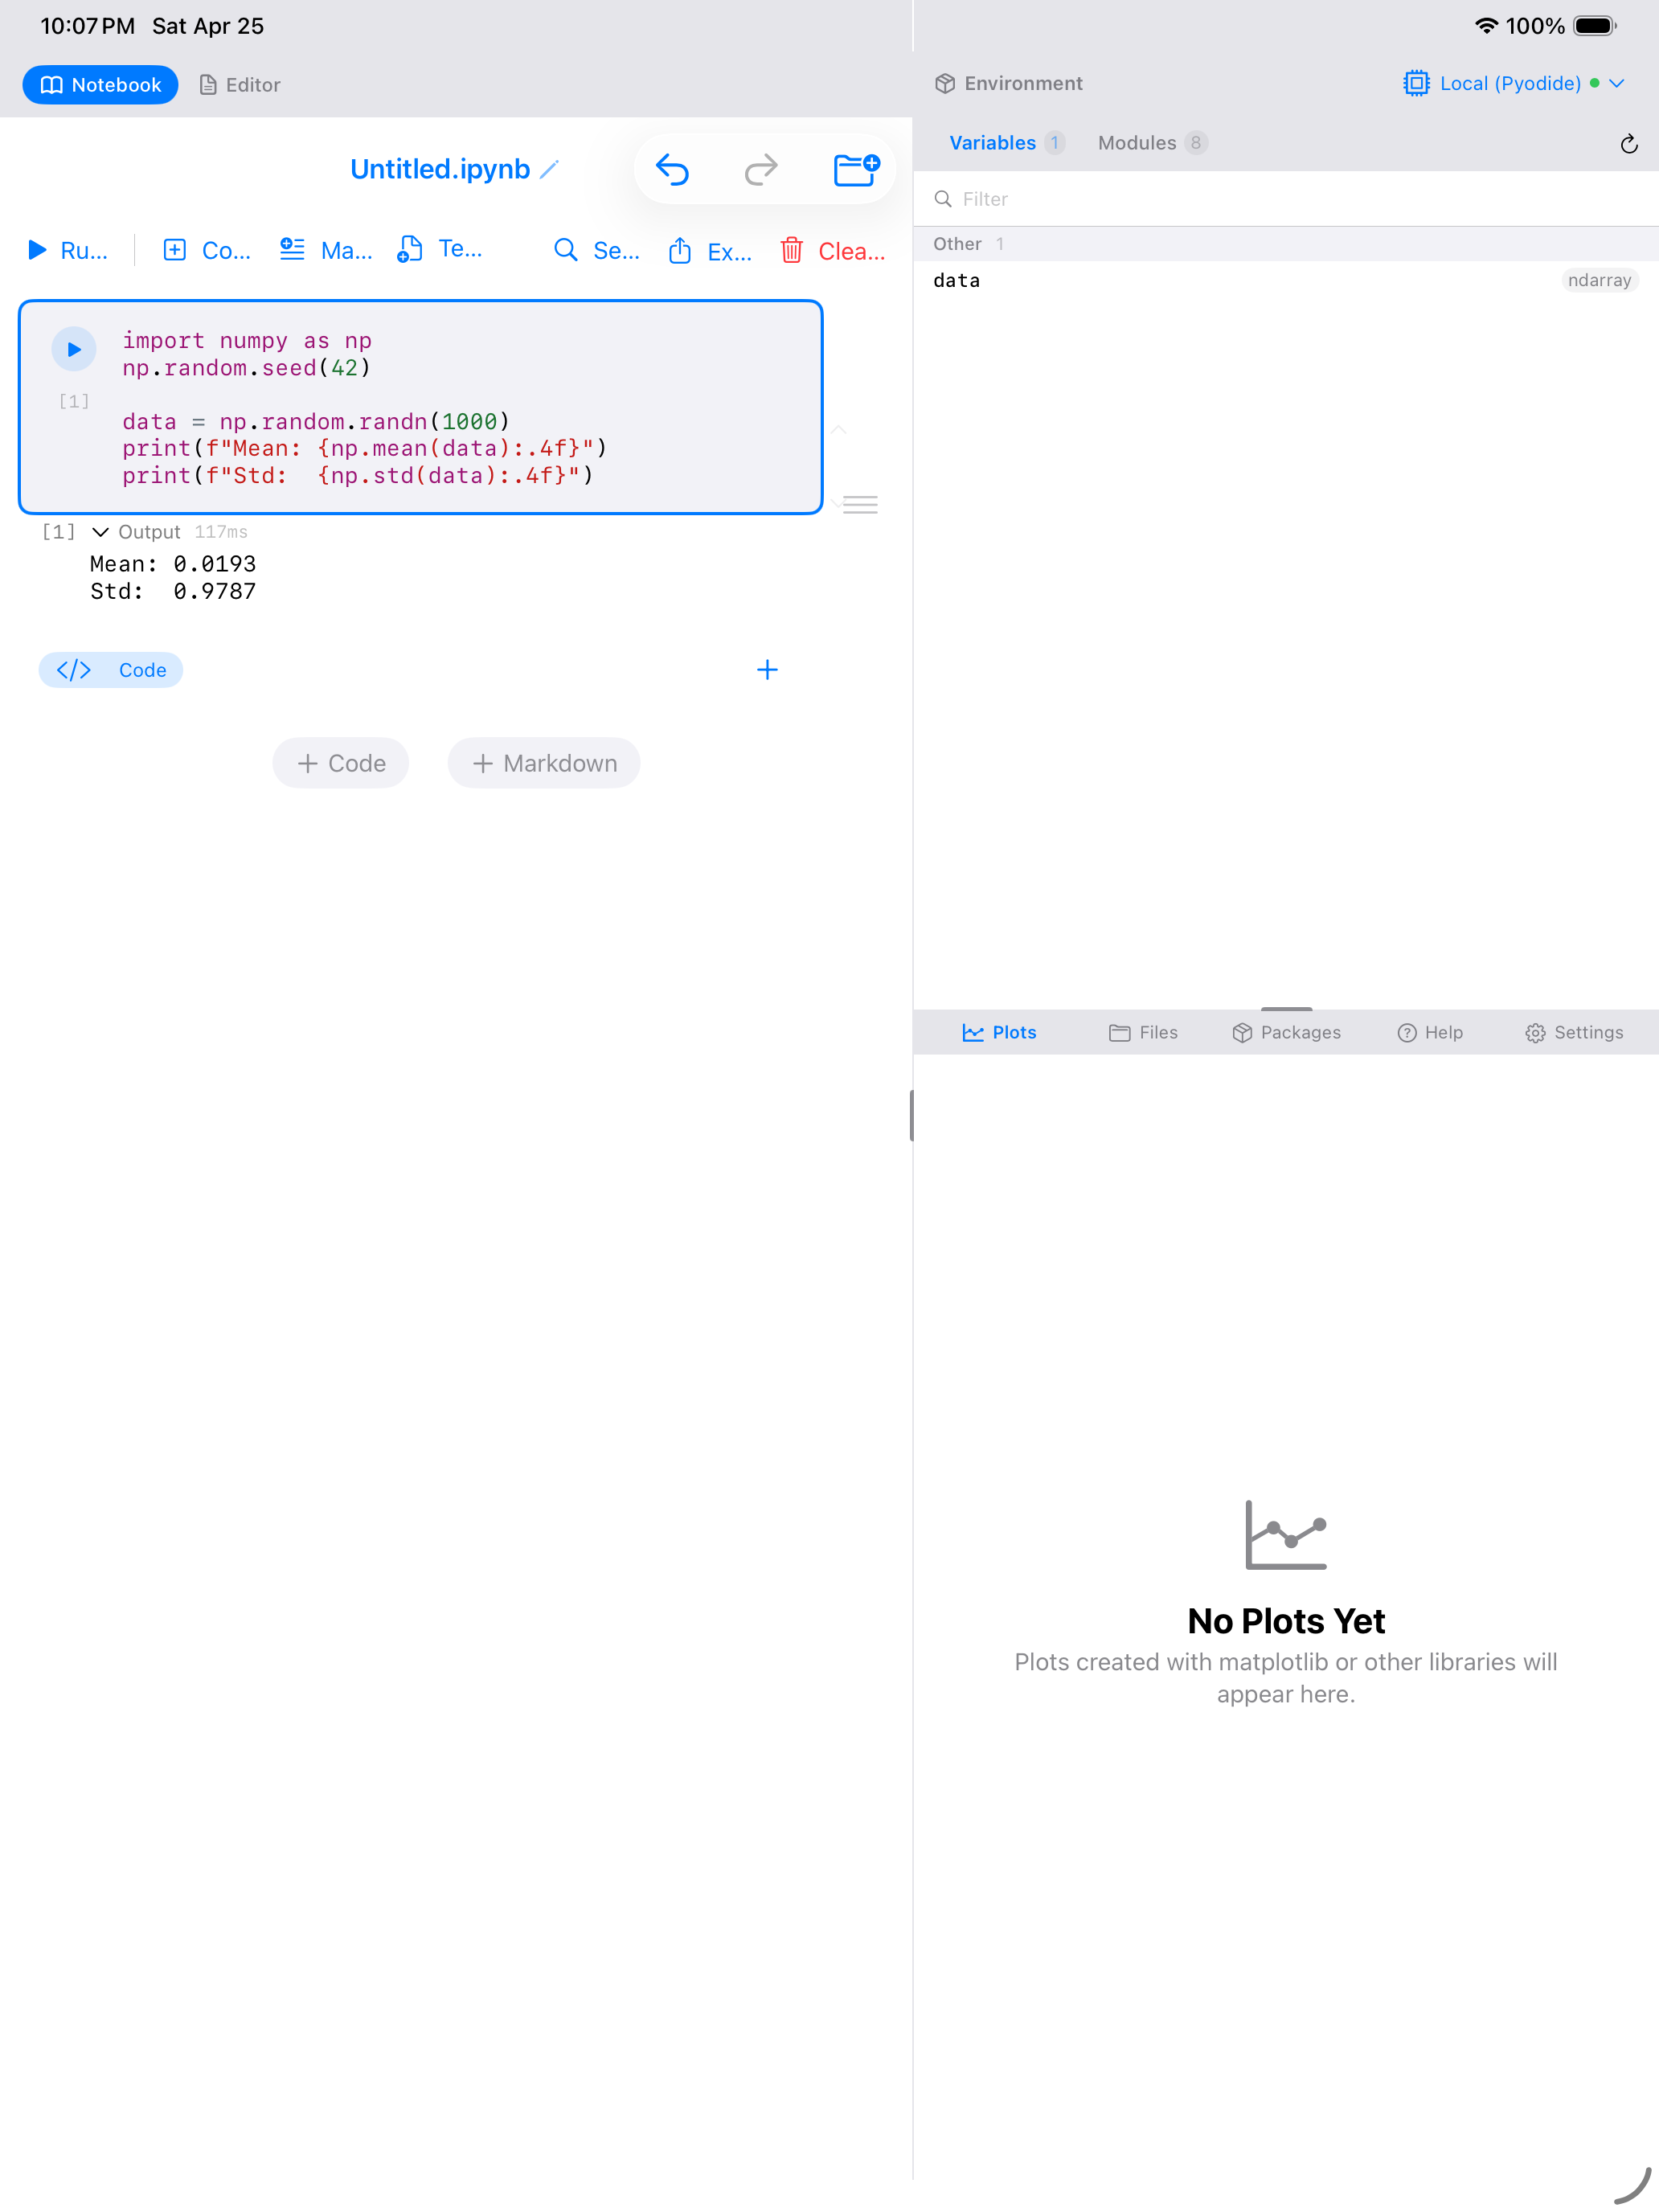
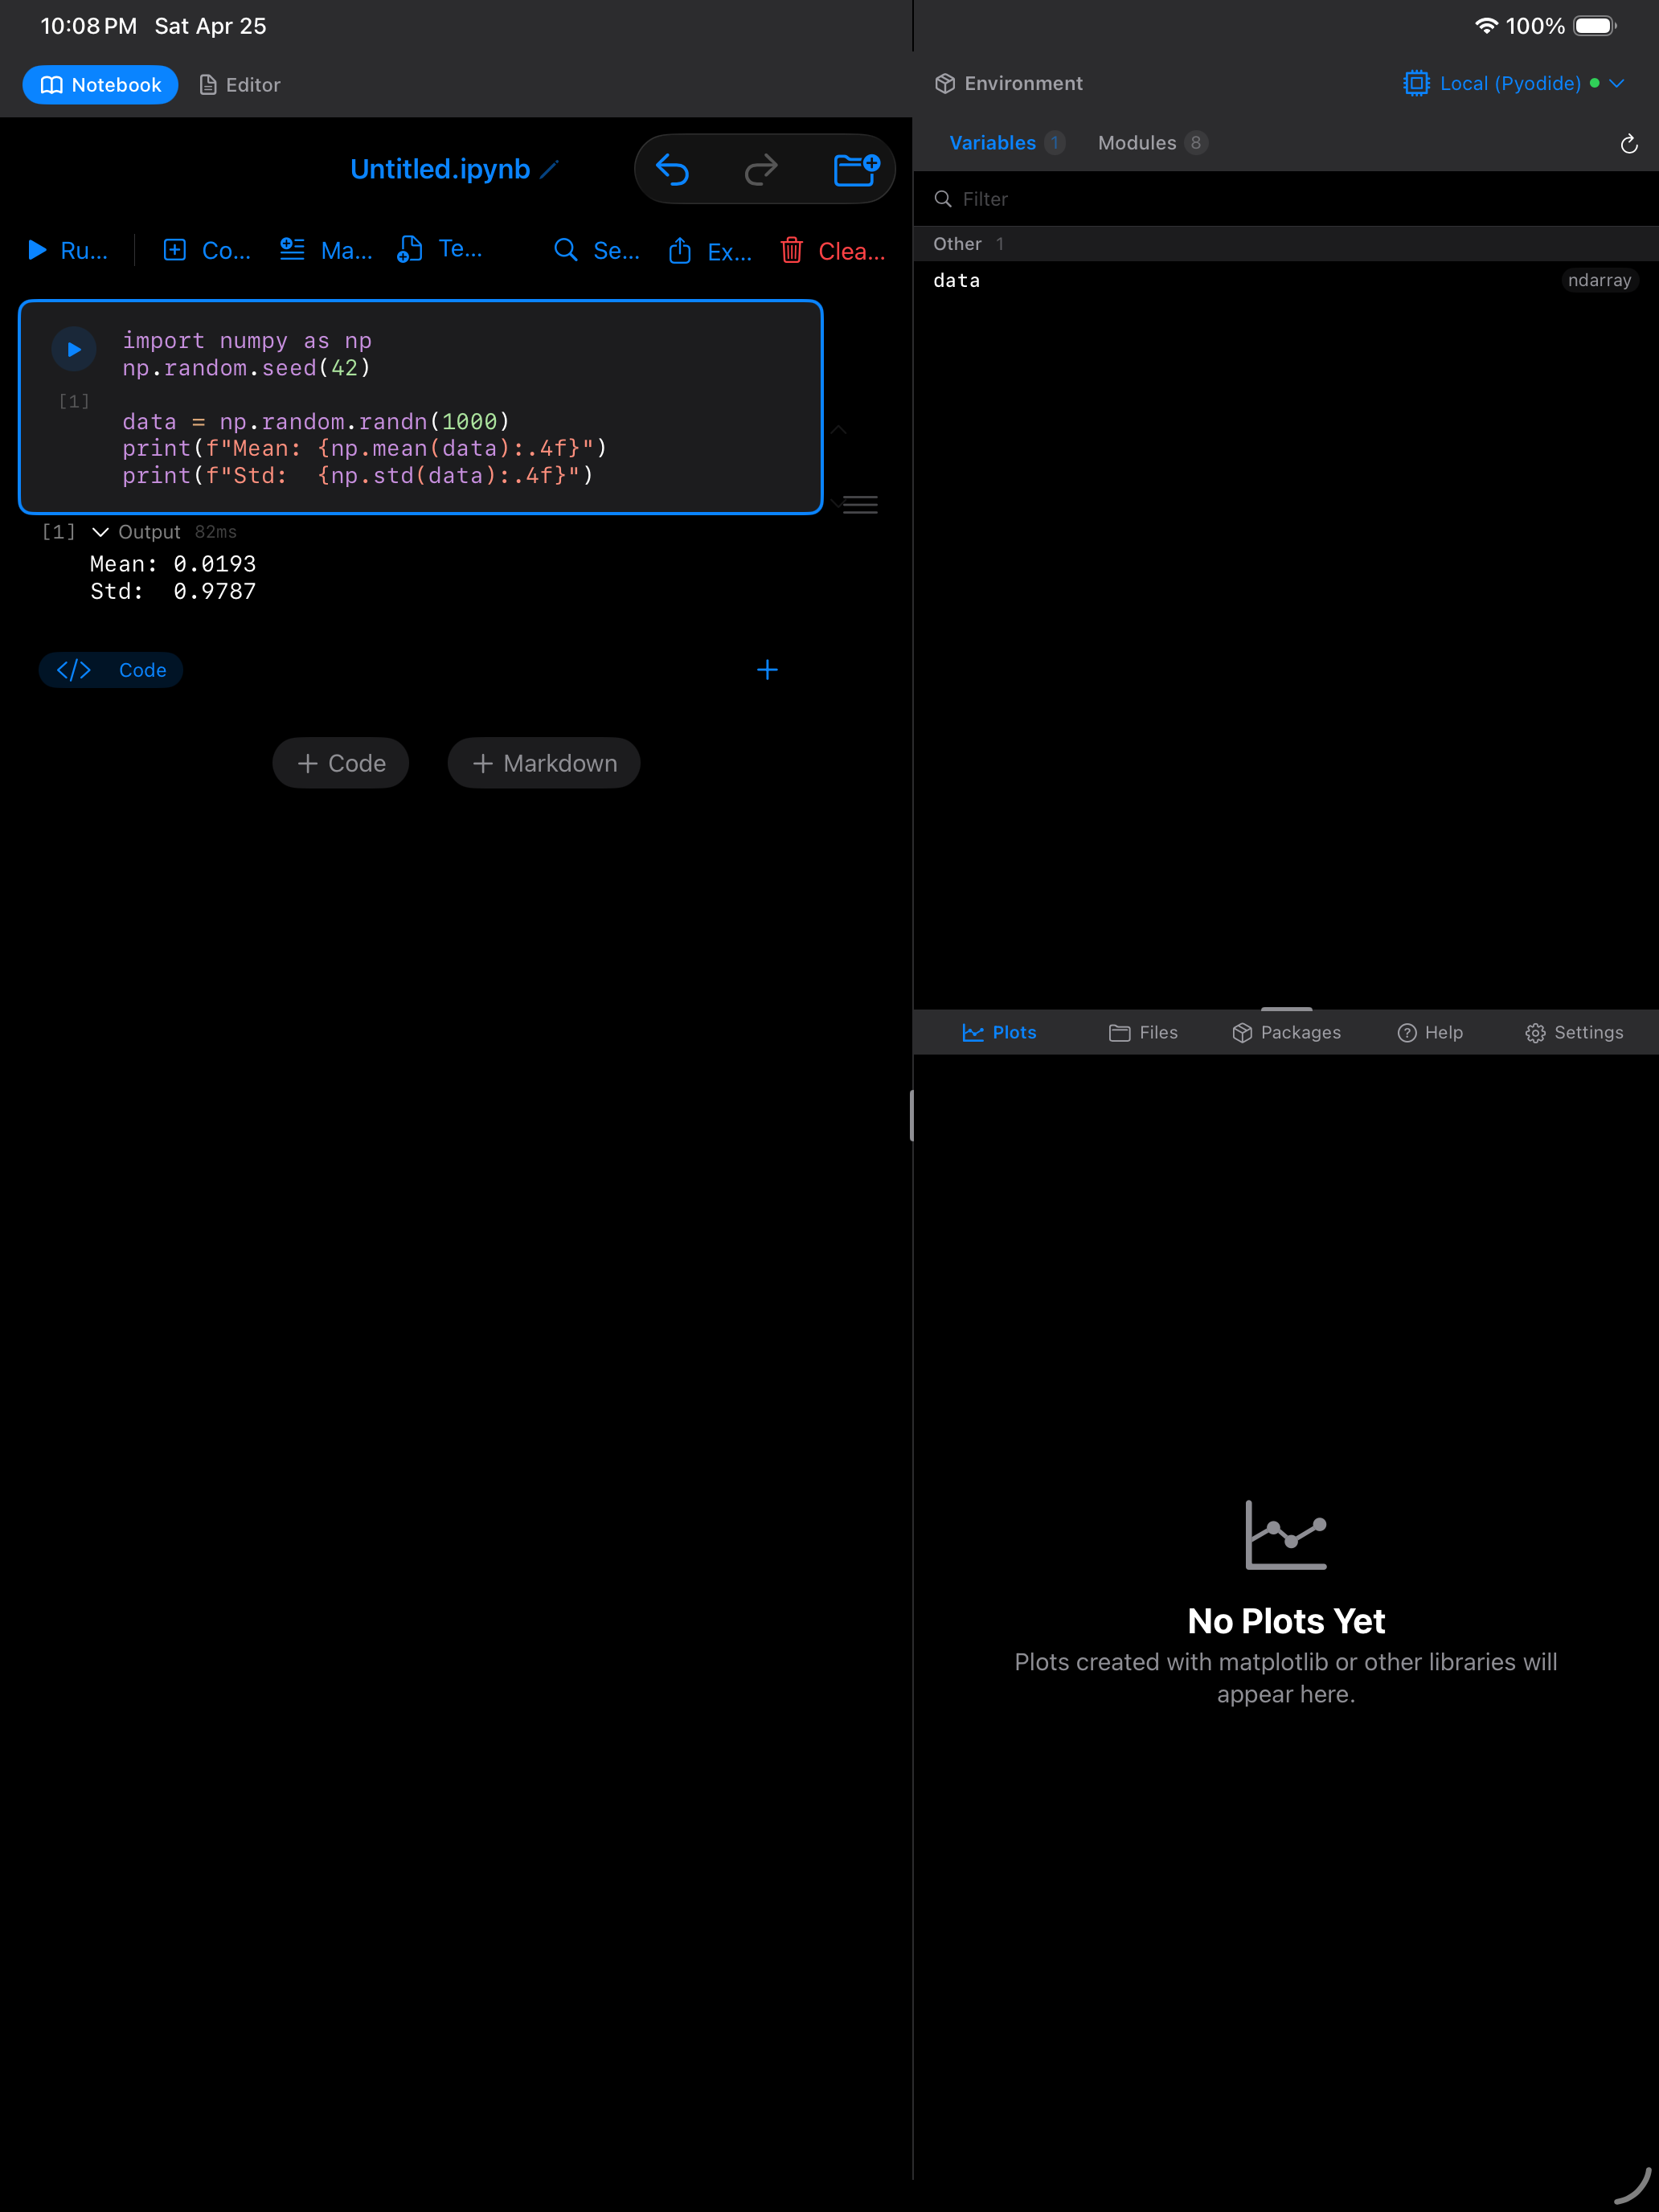
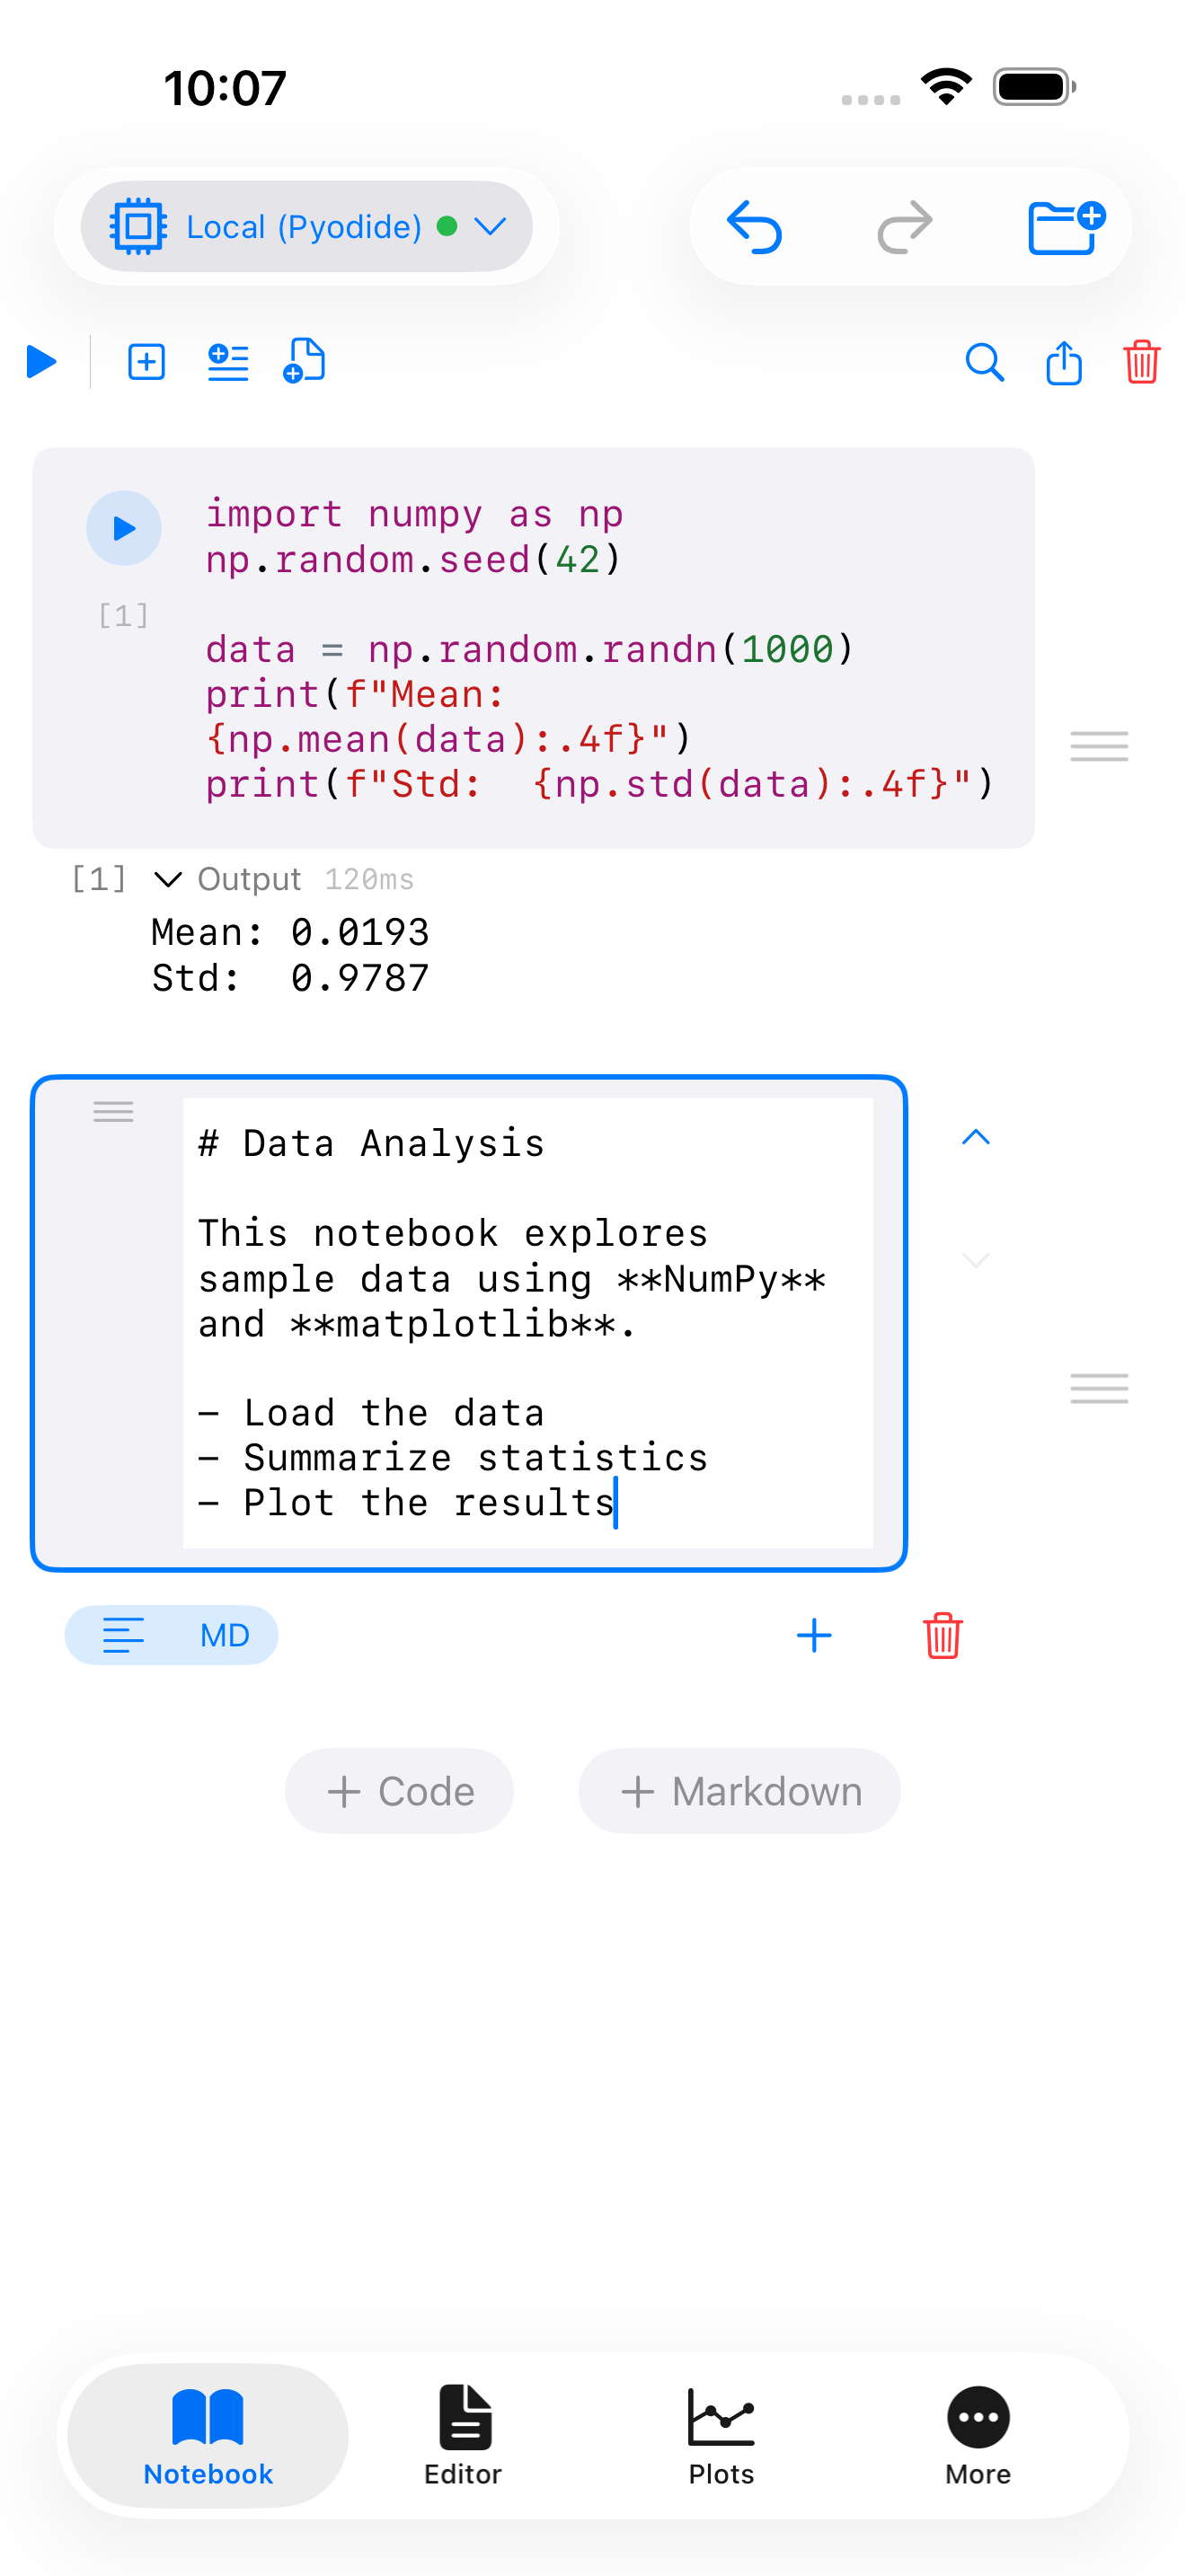
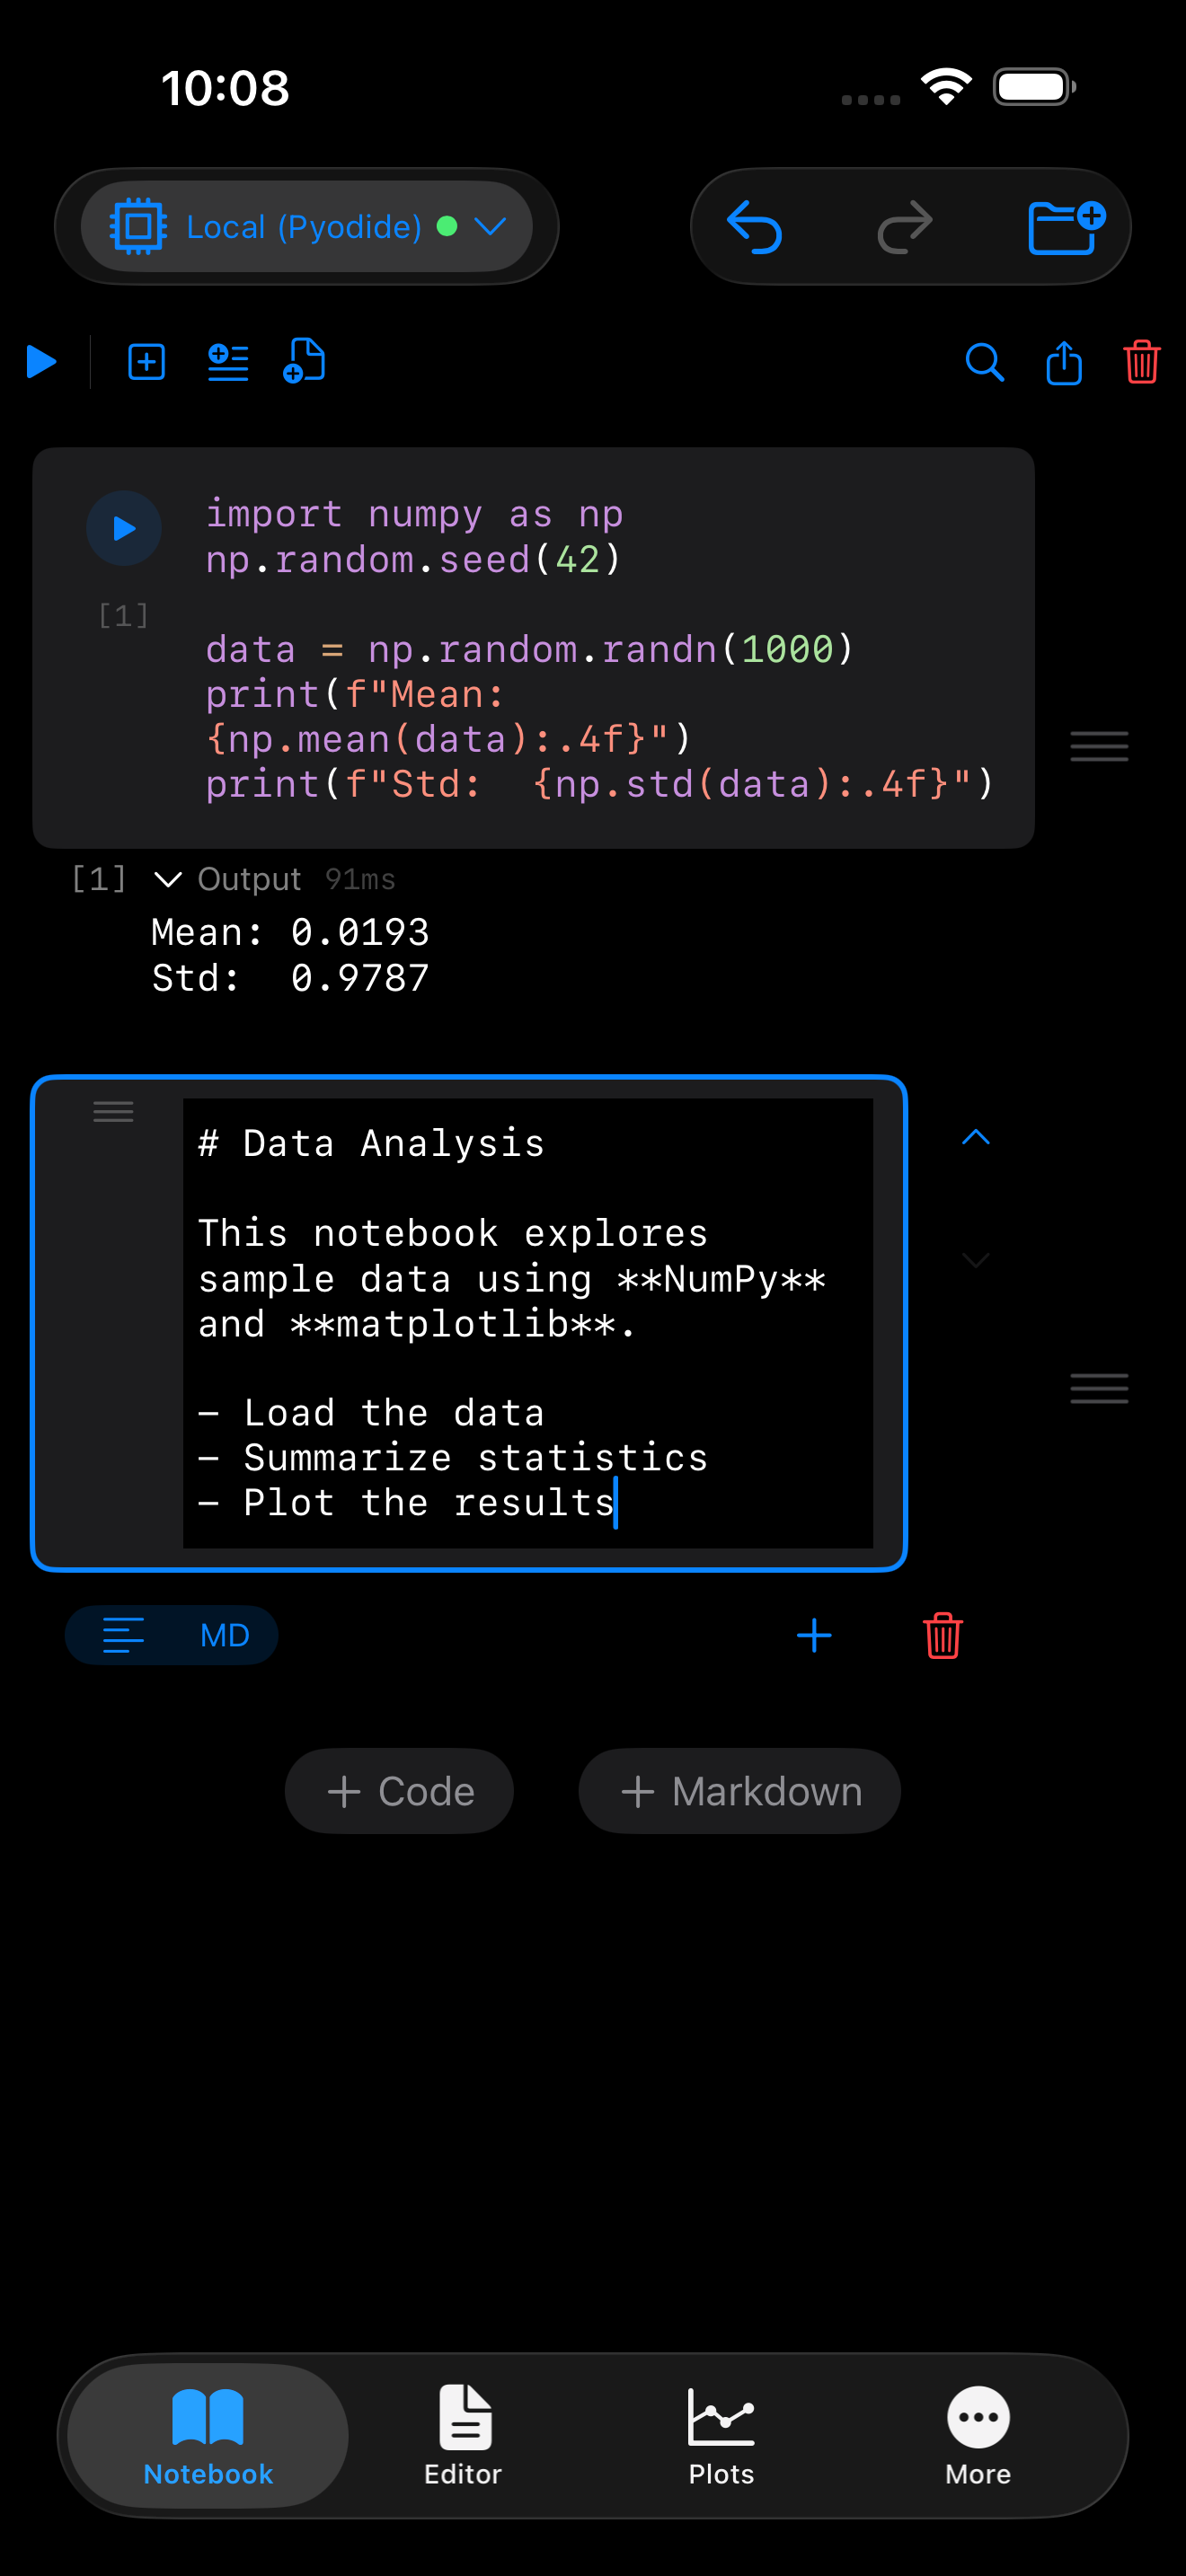
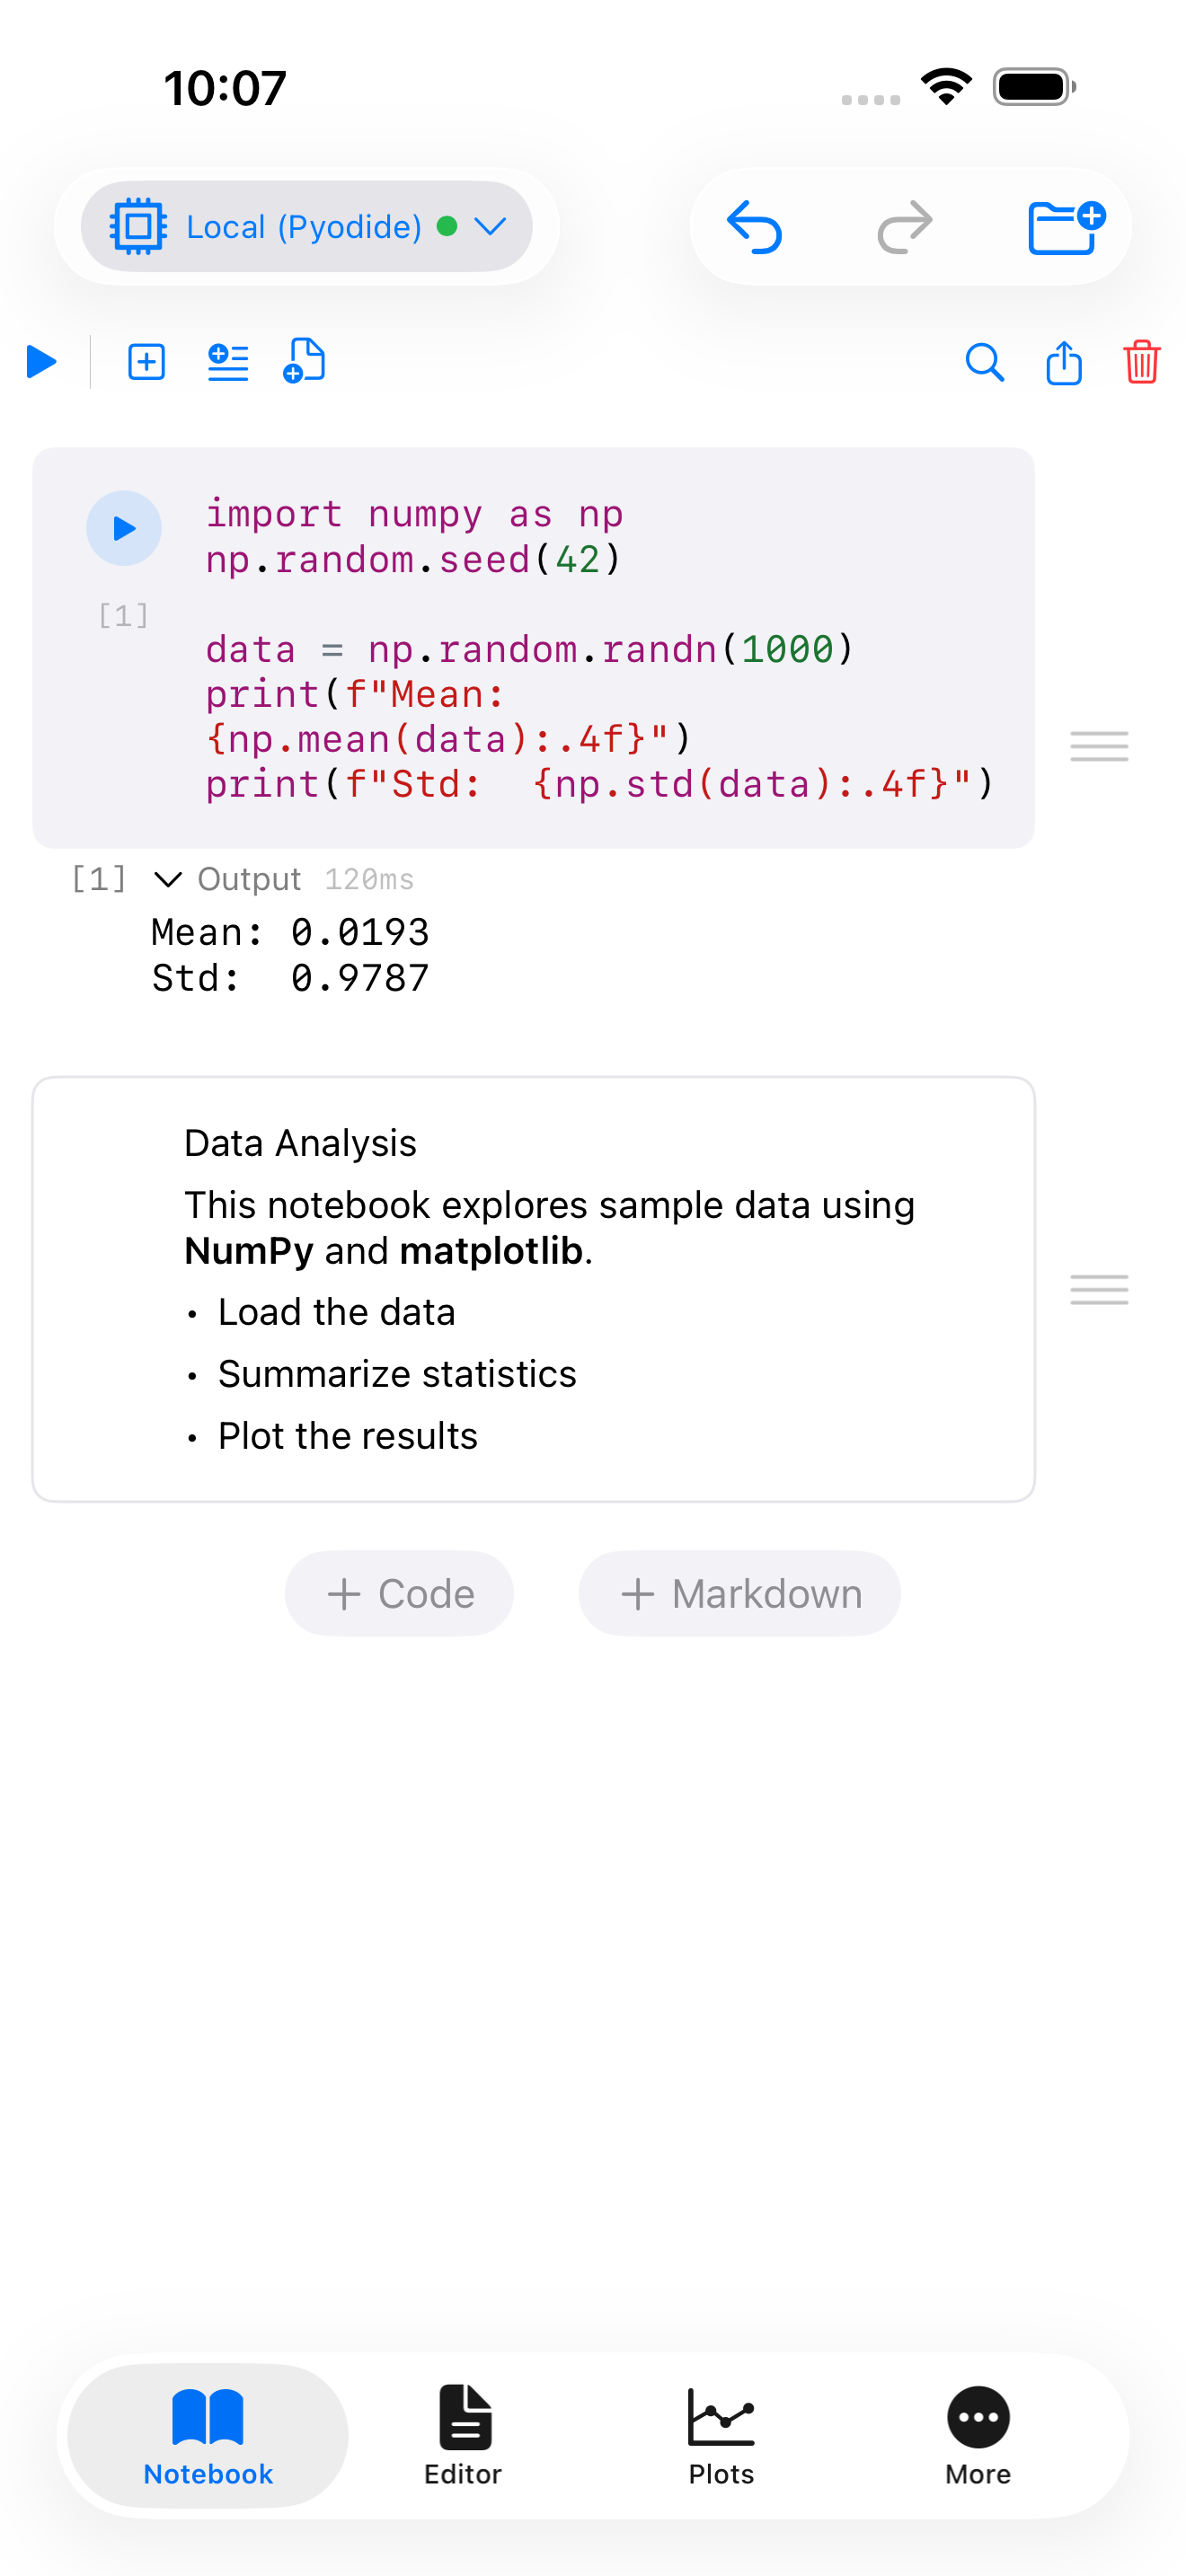
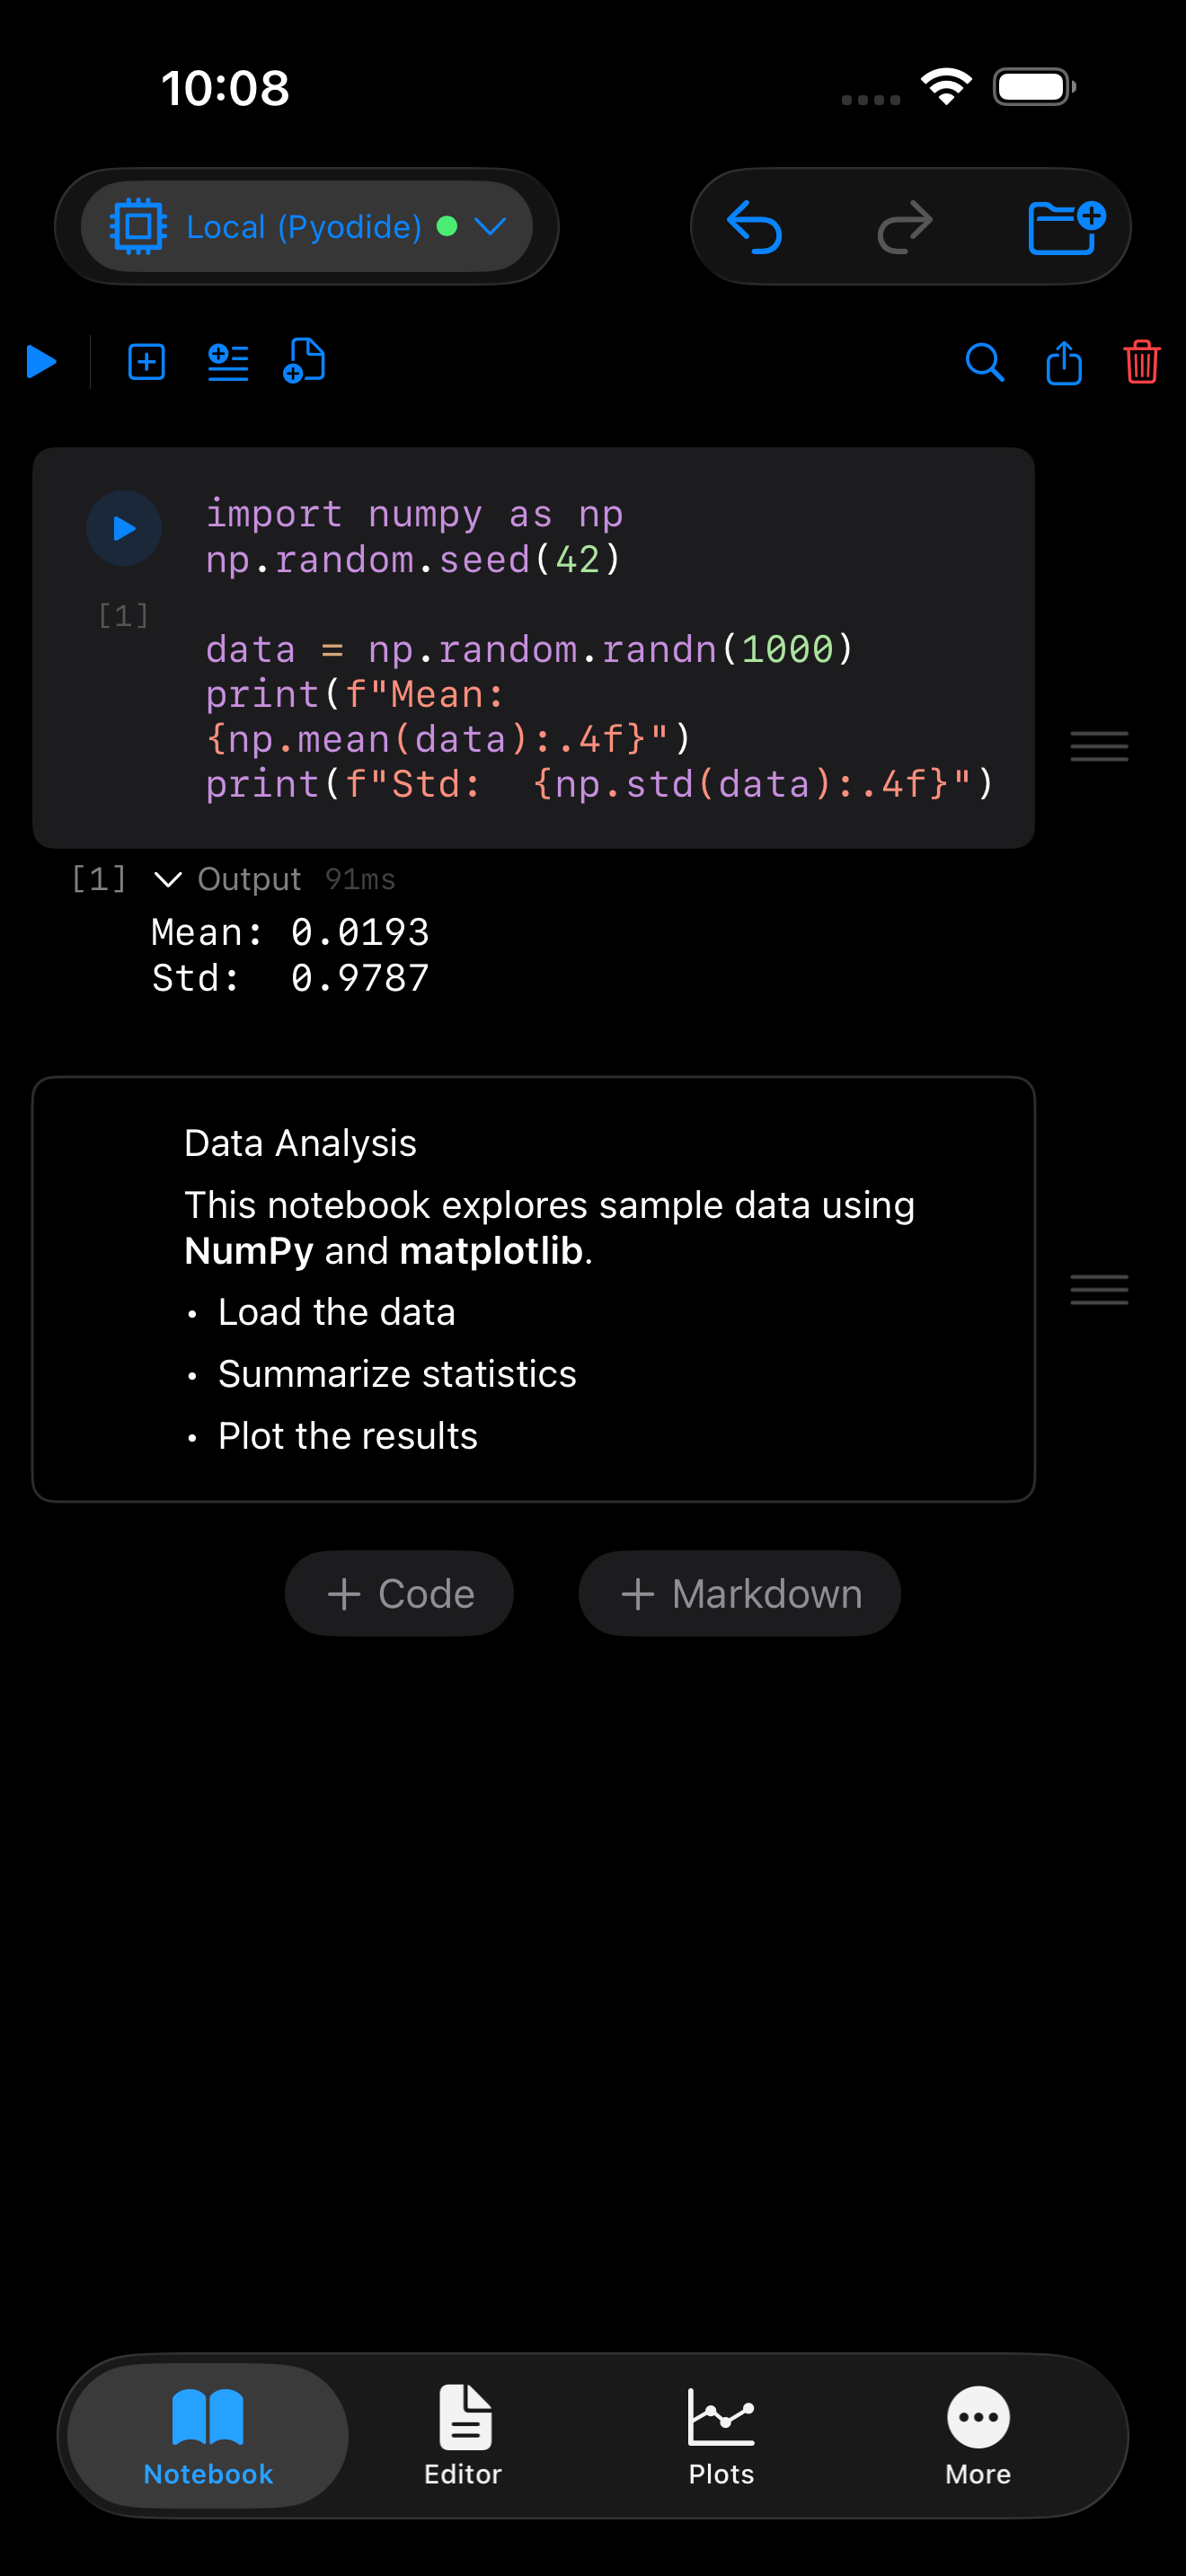
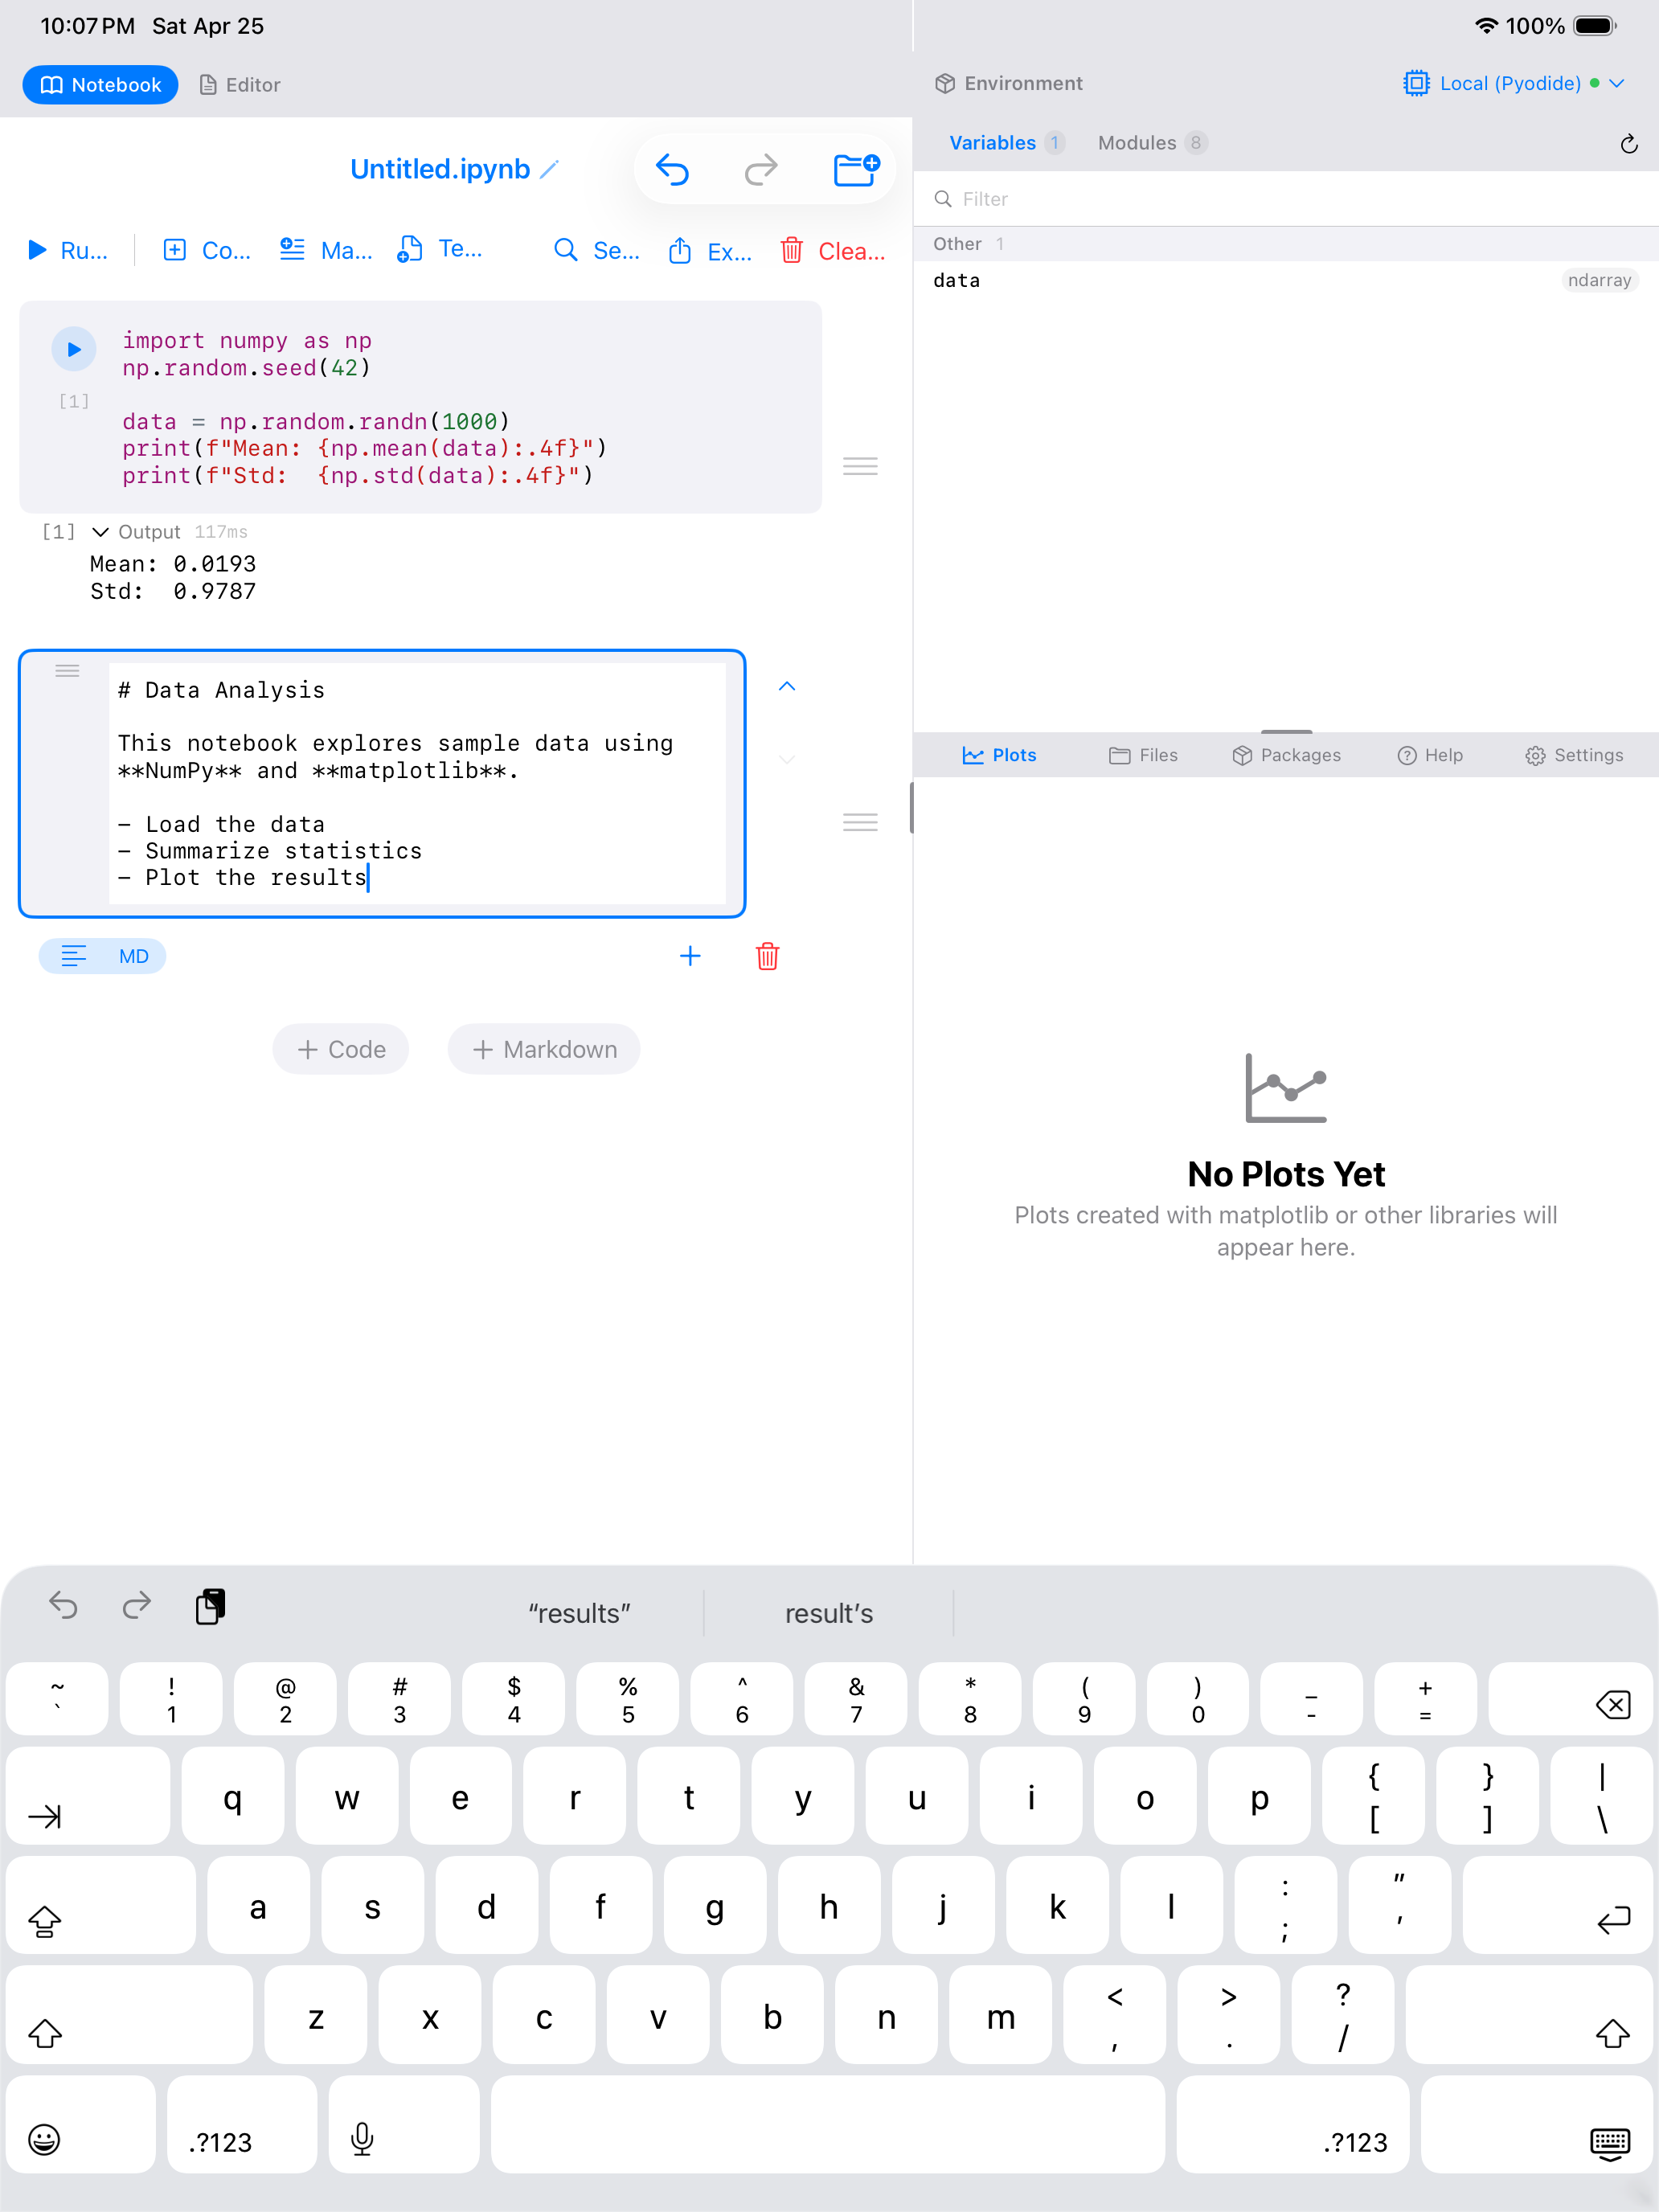
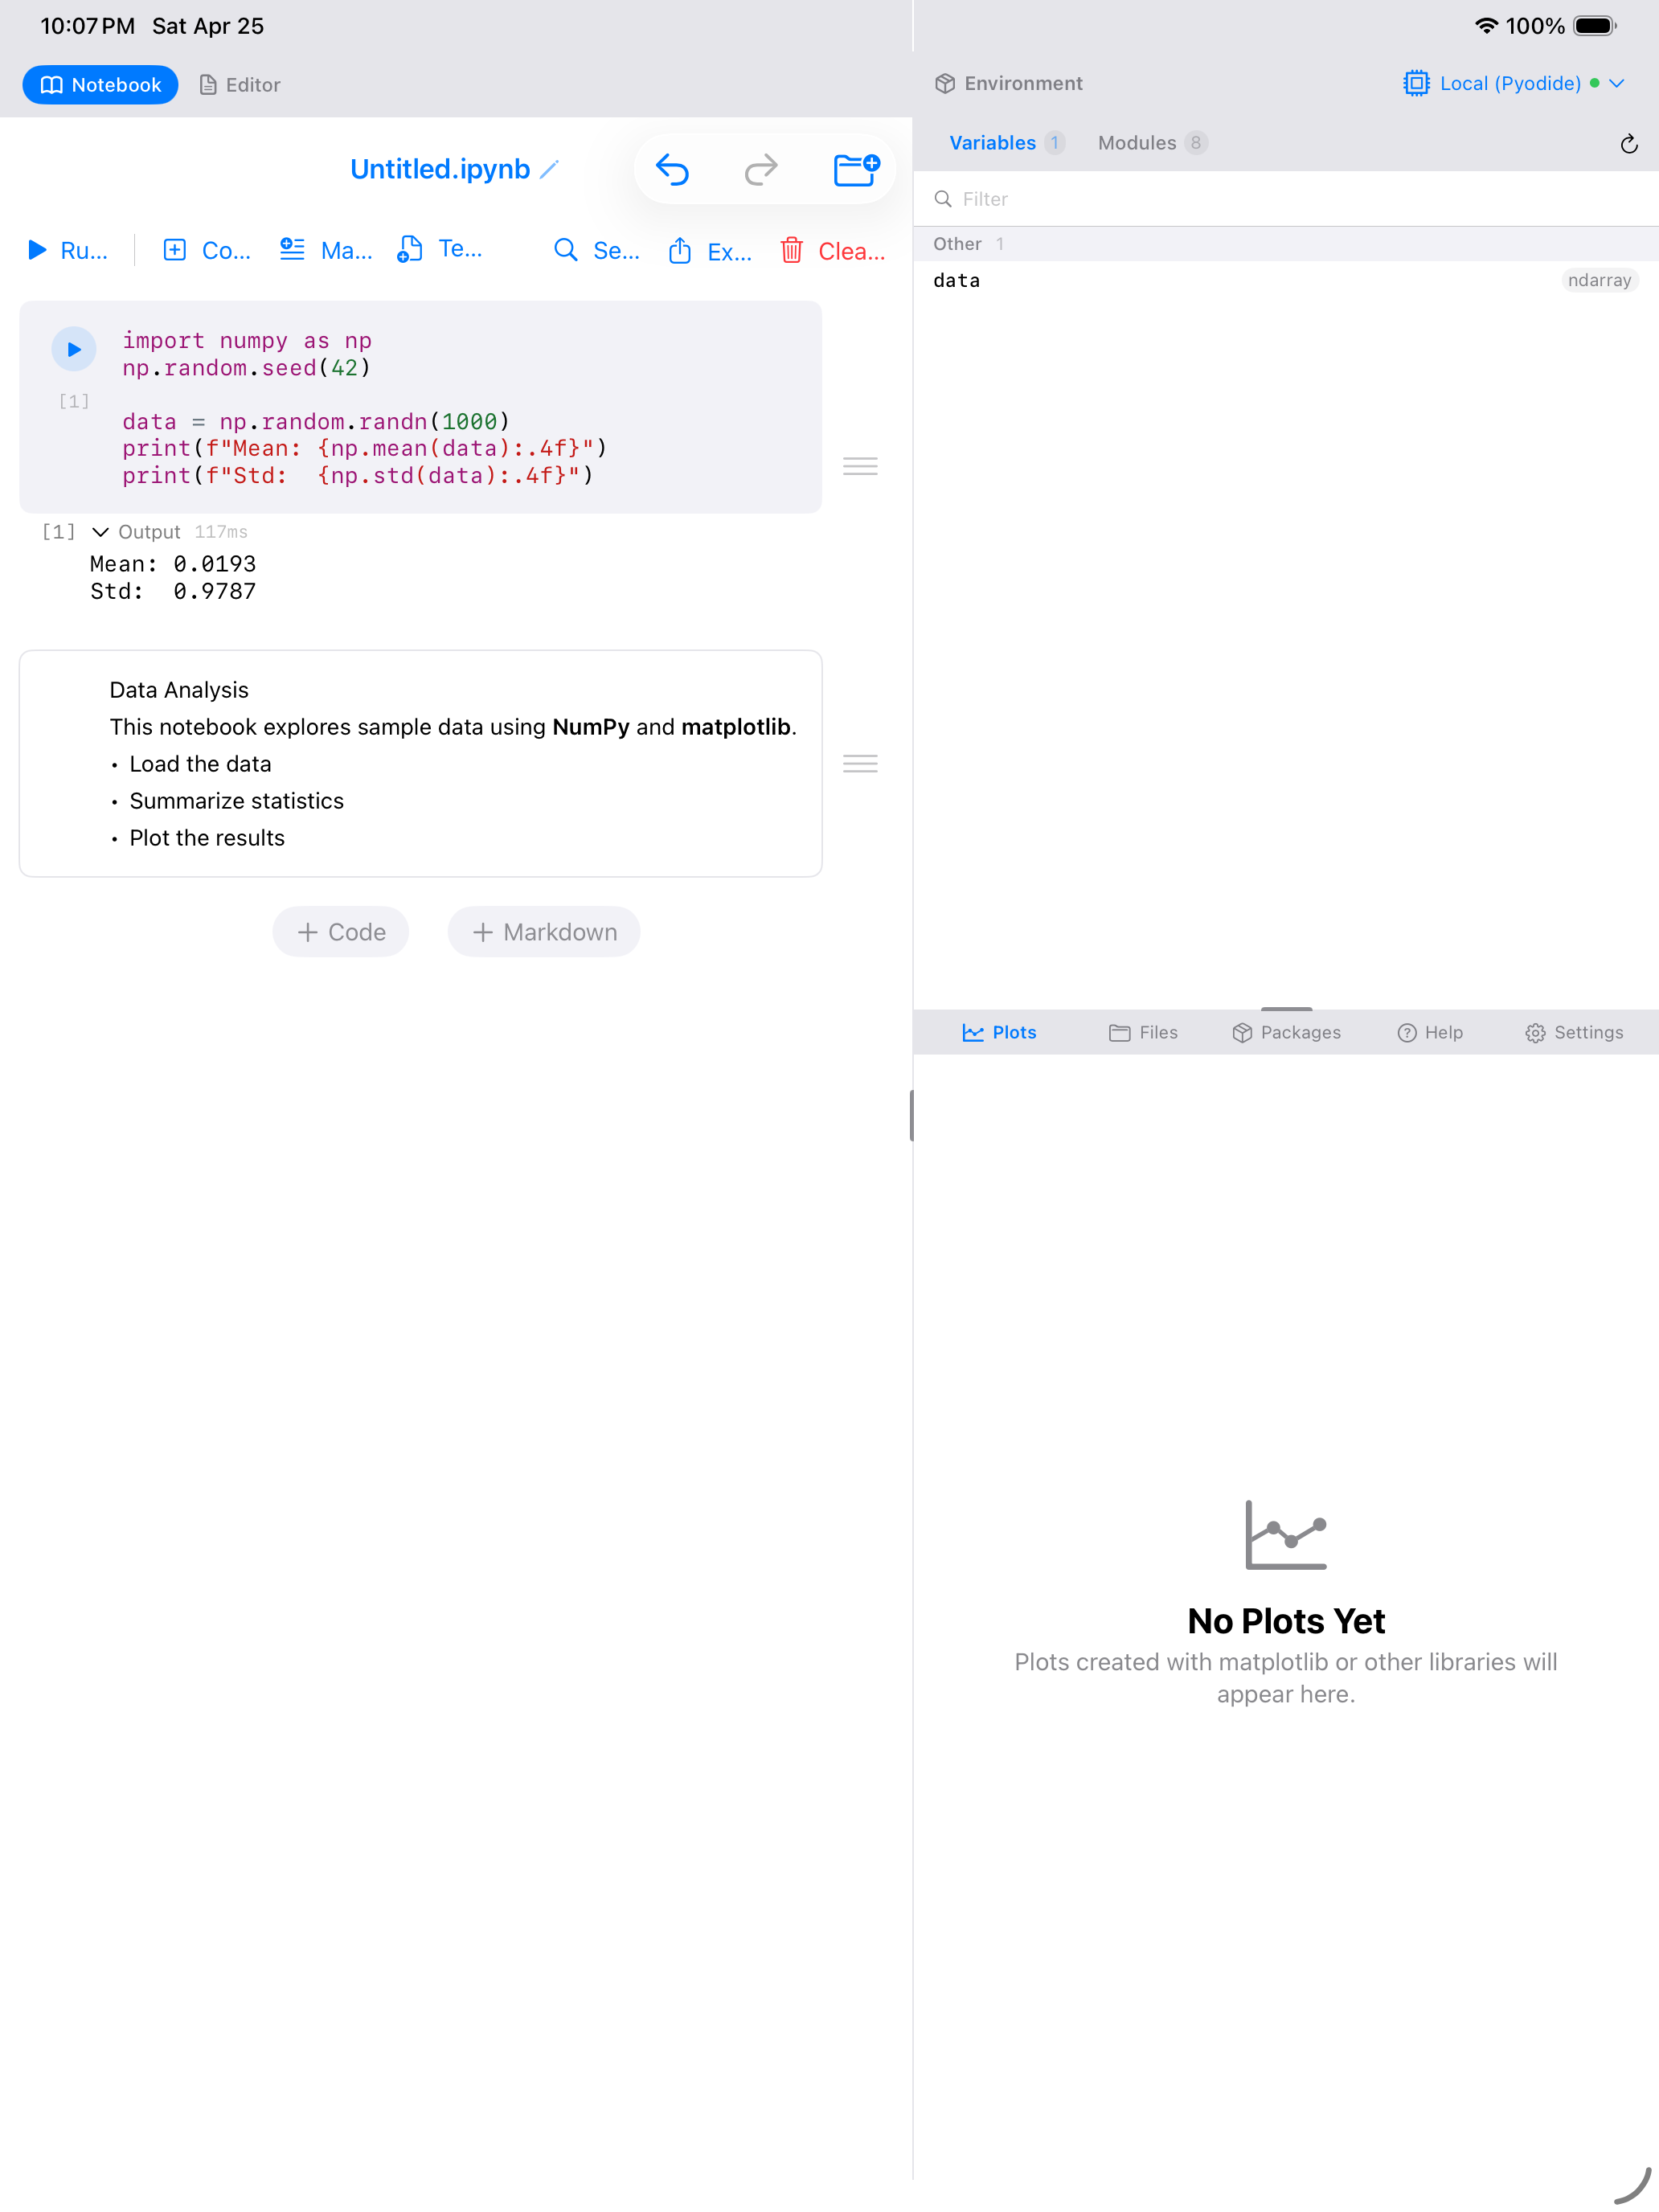
Code cells are where you write and execute Python. Type your code, tap the play button on the cell, and the output appears directly below it. Each code cell shows an execution count indicator (e.g., [1], [2]) so you can tell the order in which cells were run.
import numpy as np

data = np.random.randn(1000)
print(f"Mean: {np.mean(data):.4f}")
print(f"Std:  {np.std(data):.4f}")
After running this cell, you will see the printed output appear inline beneath the code. The execution count increments each time you run any cell, giving you a clear record of your workflow order.
On iPad with an external keyboard, press Cmd+Enter to run the current cell. Press Shift+Enter to run the current cell and advance to the next one.
Markdown Cells
Markdown cells let you write formatted text to explain your analysis, document your methodology, or add headings that organize your notebook into sections. You can include:
- Headings using
#,##,### - Bold and italic text
- Bulleted and numbered lists
- Code snippets with backtick formatting
- Links and images
- LaTeX math expressions like
$E = mc^2$
Each markdown cell has two states: edit mode, where you type raw markdown, and rendered mode, where you see the formatted result. Tap a rendered markdown cell to switch back to editing, and tap outside or press the checkmark to render it again.

Running Code
There are several ways to execute code in a notebook:
Run a single cell. Tap the play button on any code cell to execute just that cell. The output replaces any previous output for that cell.
Run All. Tap the Run All button in the notebook toolbar to execute every code cell from top to bottom, in order. This is useful when you open a notebook and want to reproduce the full analysis.
Run from here. Long-press the play button on a cell to get options like Run From Here, which executes the current cell and all cells below it.
Execution order matters. If cell 3 defines a variable that cell 1 uses, running cell 1 first will produce an error. When in doubt, use Run All to execute everything in document order.
Cell Output
Code cells can produce several types of output, all displayed inline:
- Text output: anything printed with
print()or returned by an expression appears as text - Images: matplotlib figures render as inline images directly below the cell
- Interactive plots: Plotly, Bokeh, and Altair charts render as interactive web views with hover, zoom, and pan
- Errors: tracebacks are displayed in red with the error type and message highlighted, making it easy to spot what went wrong
- Rich output: HTML tables, DataFrames, and other rich representations are rendered natively
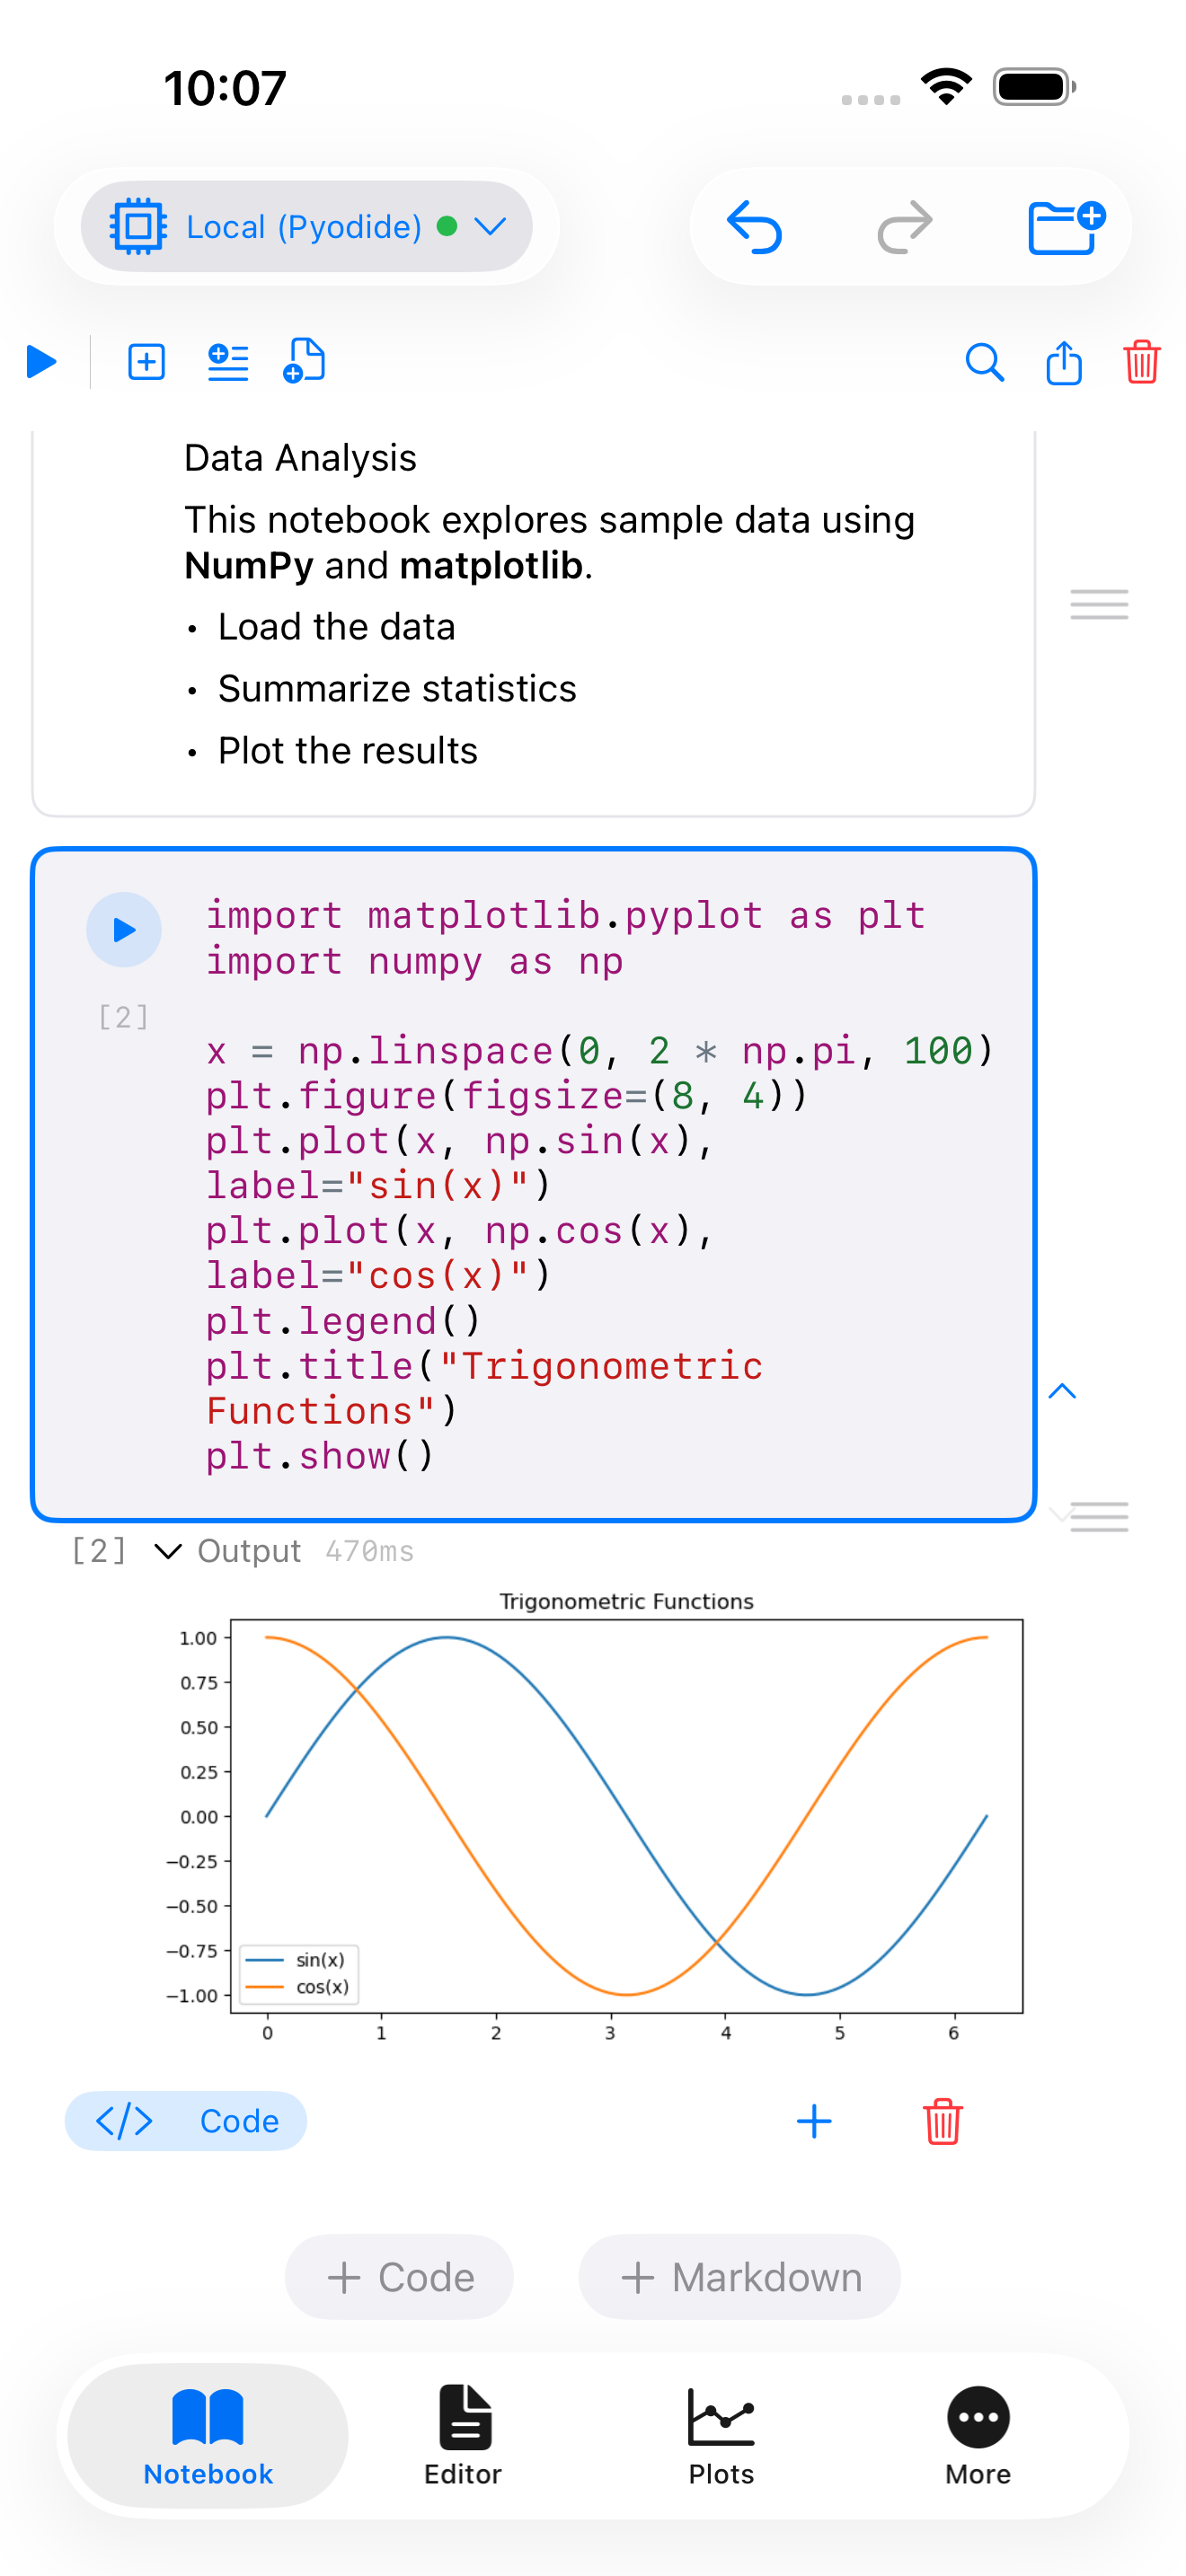
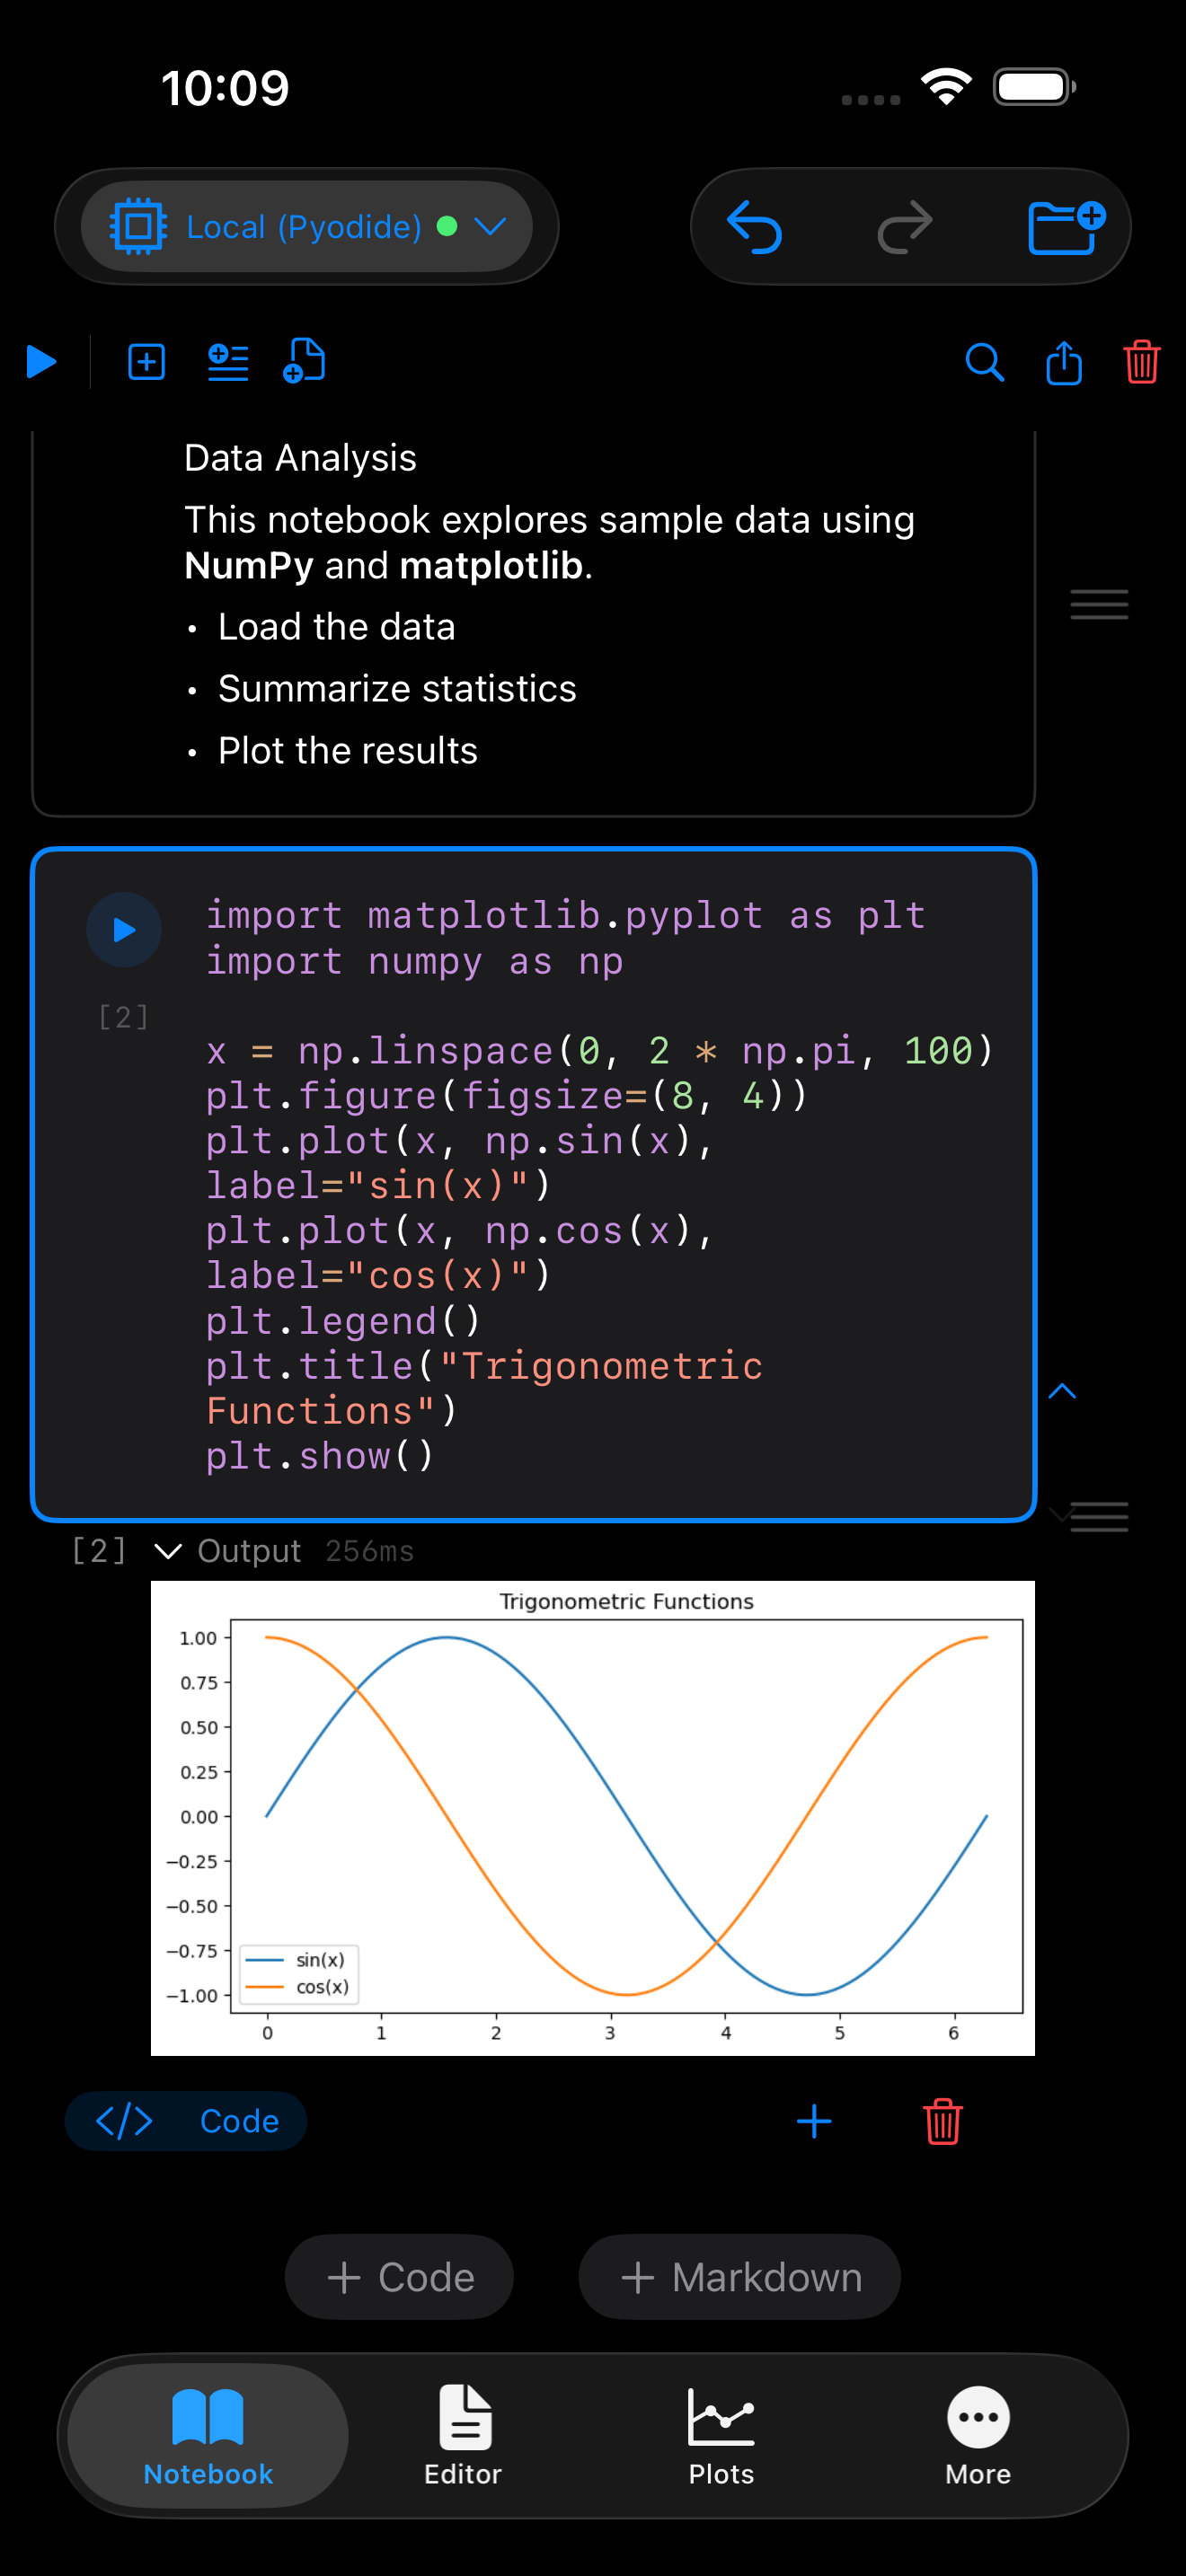
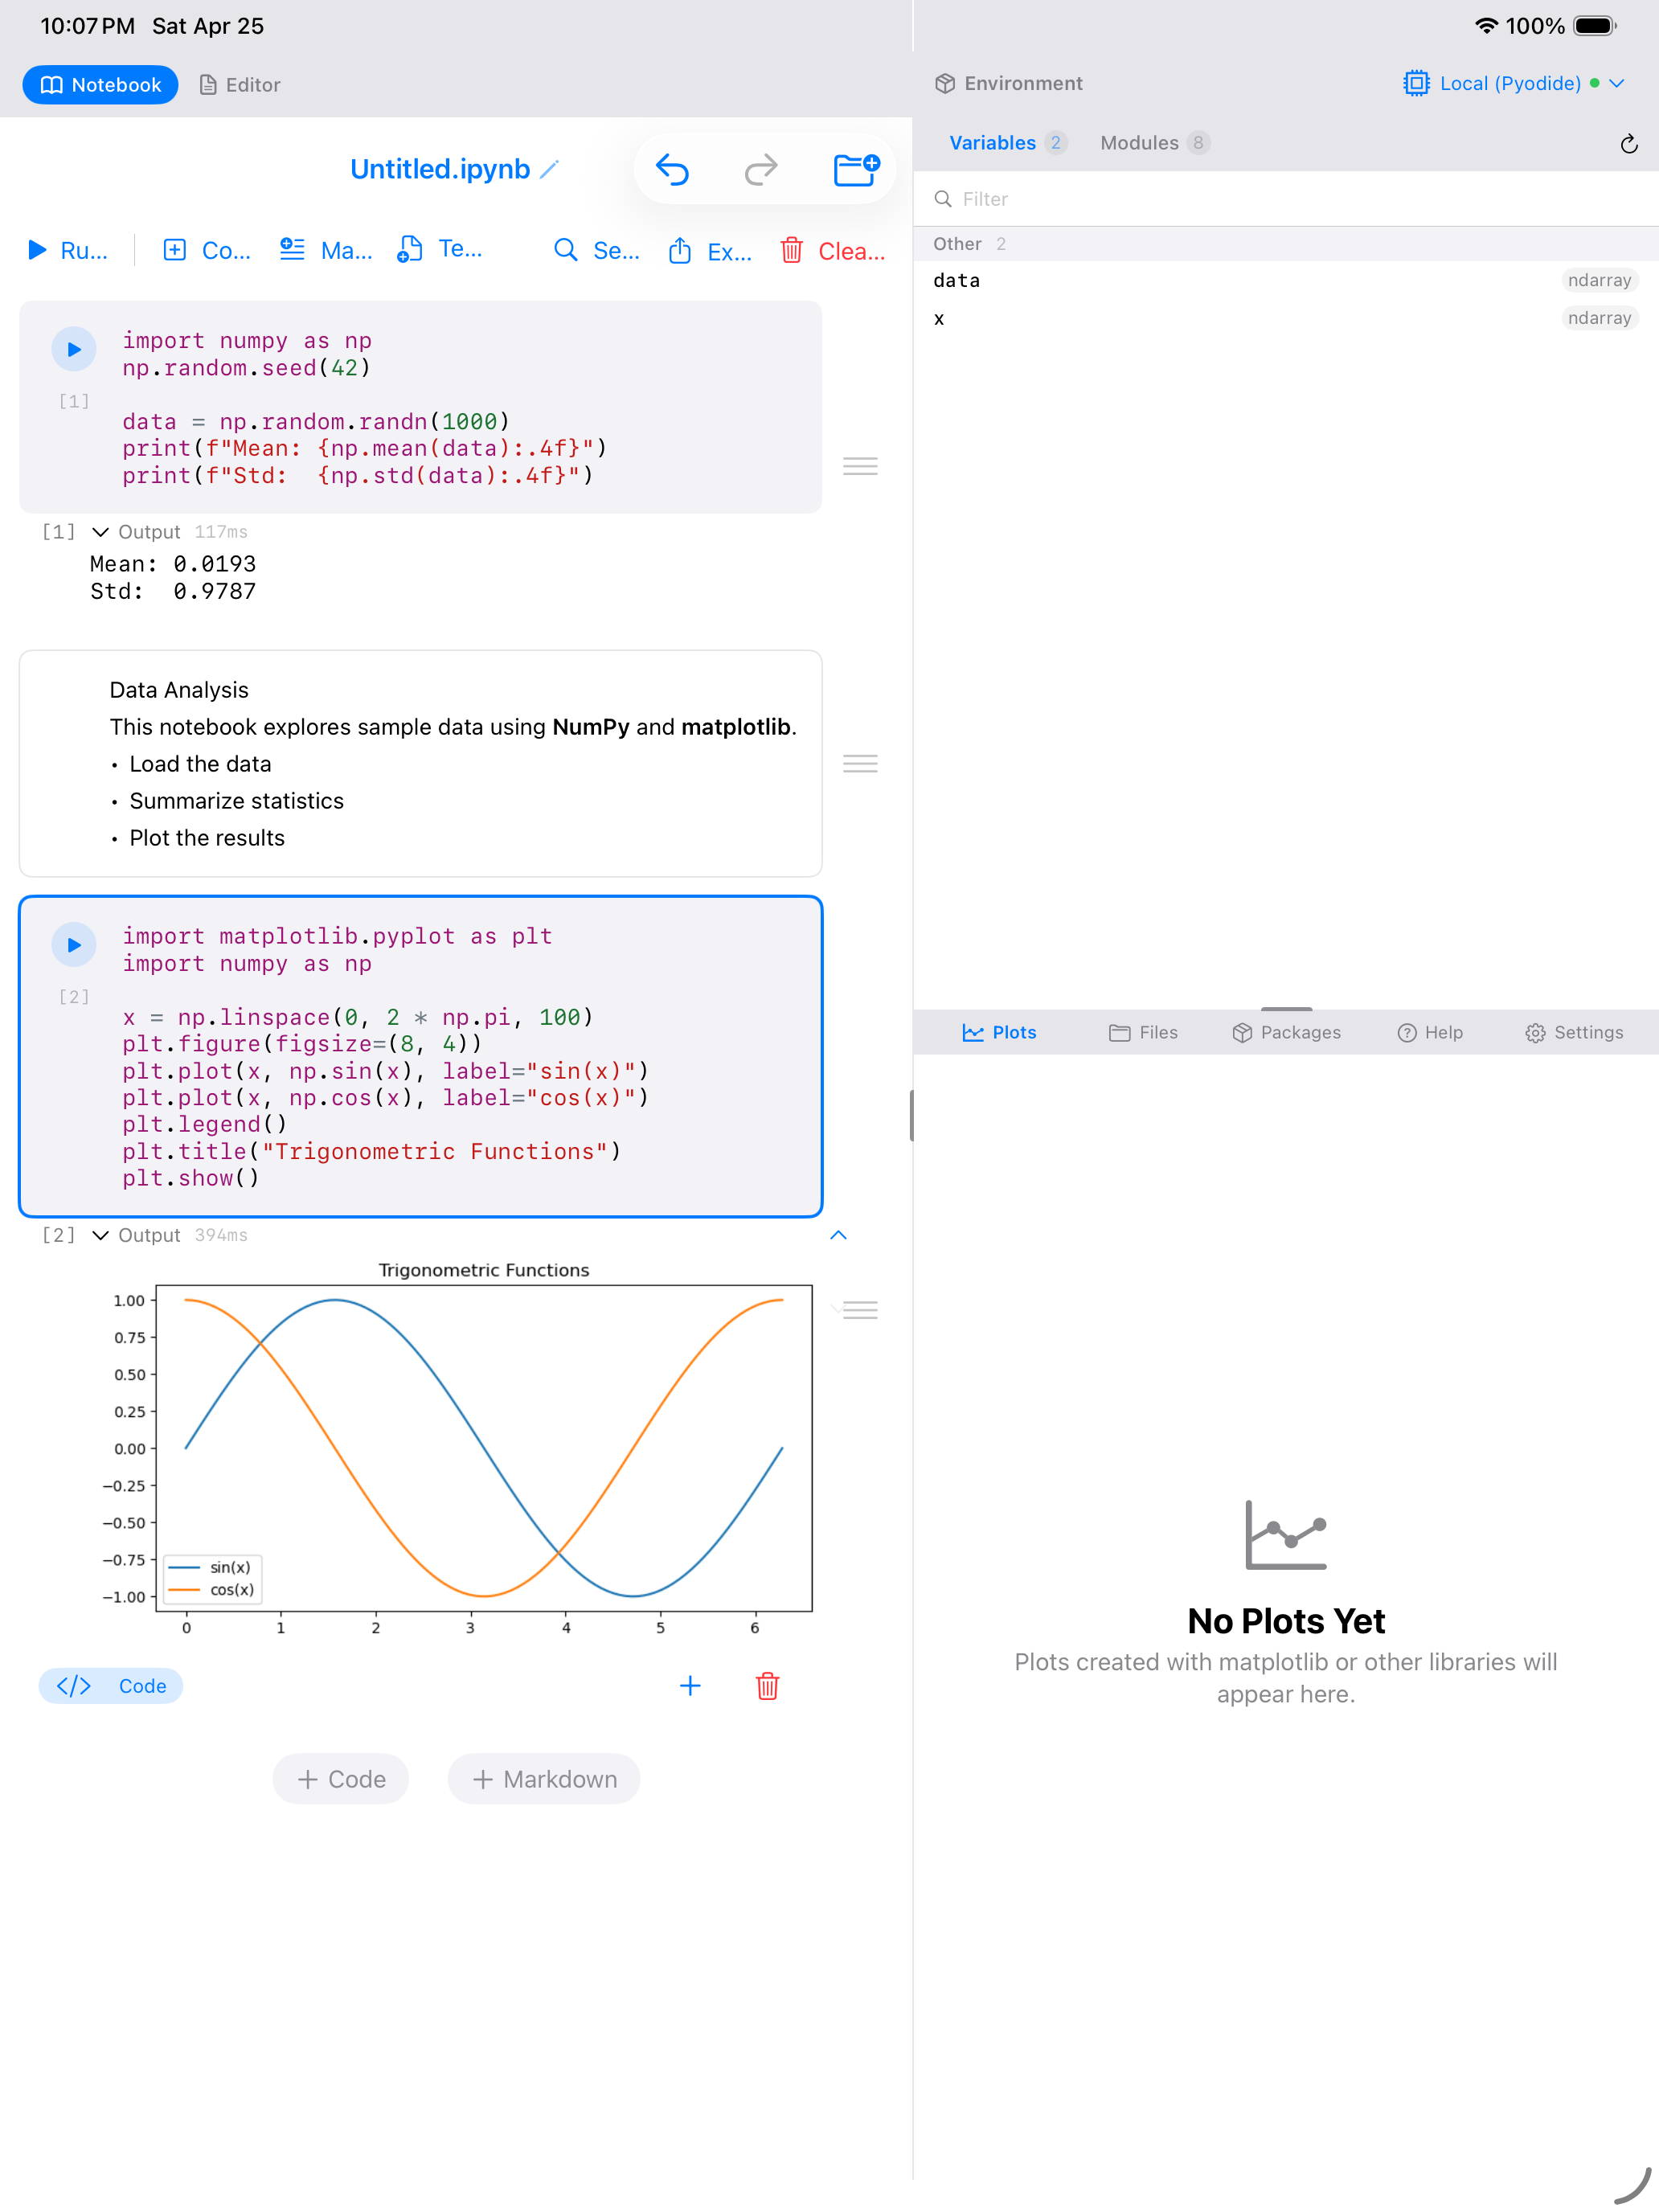
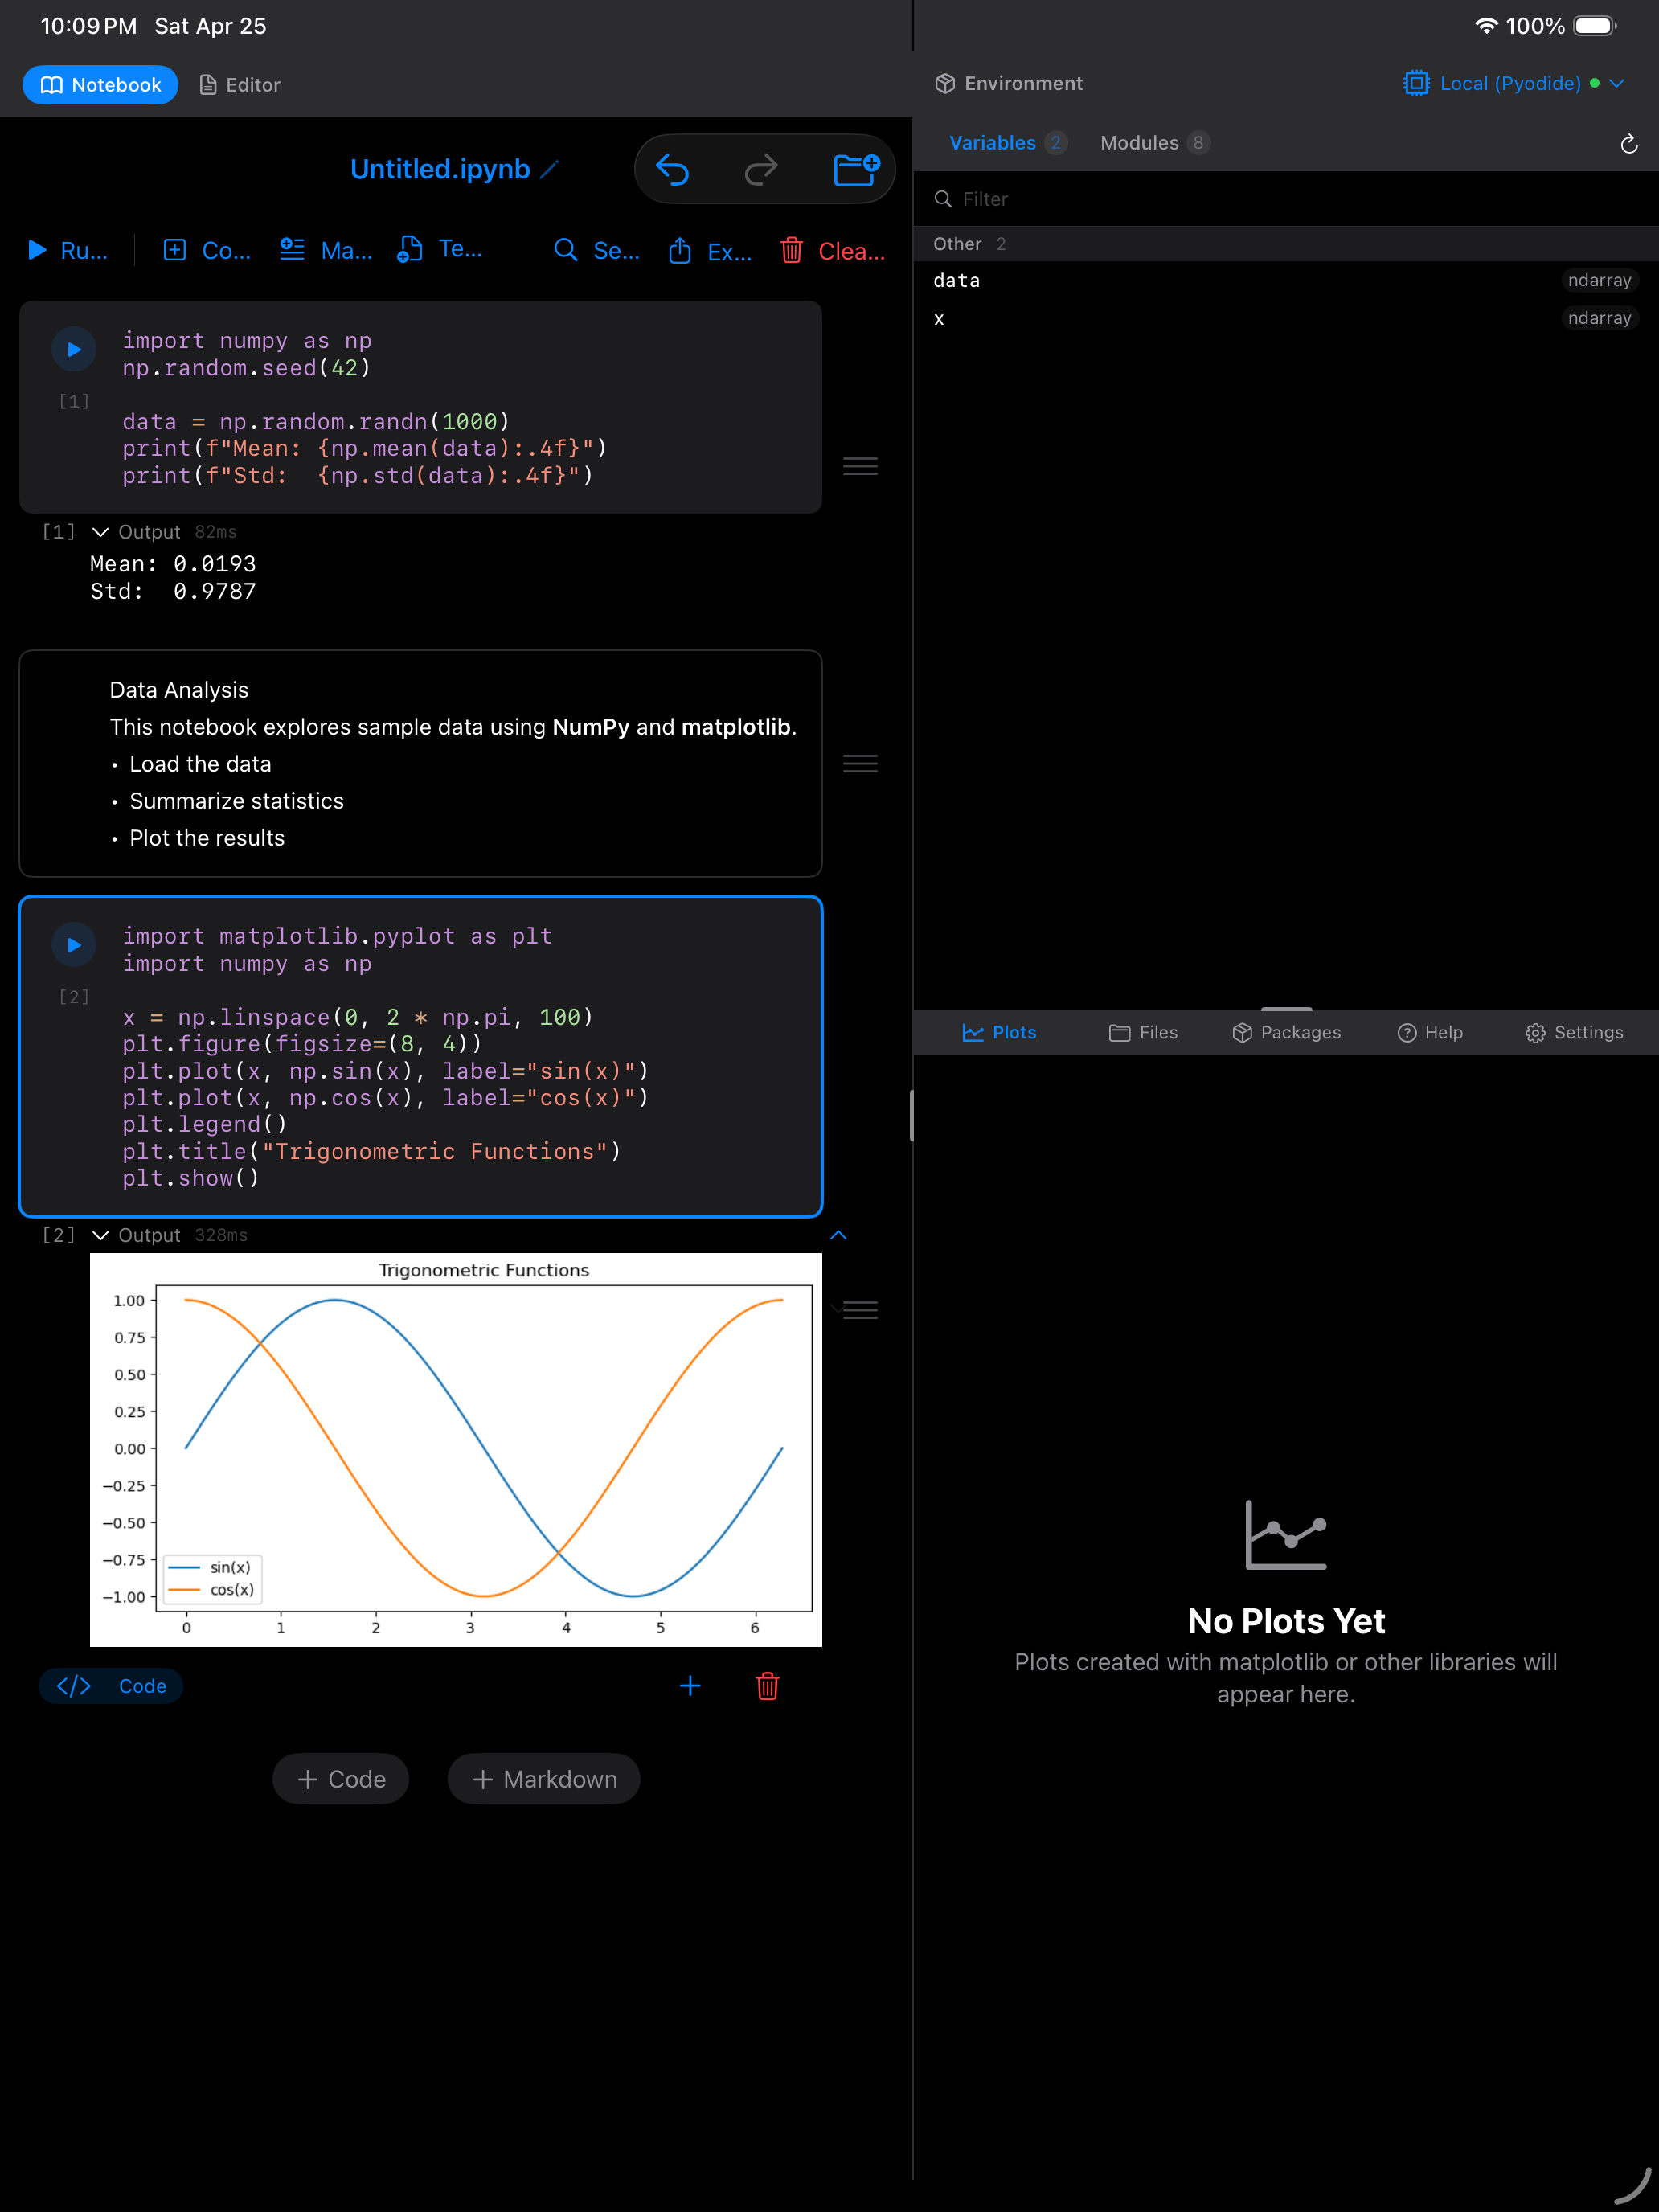
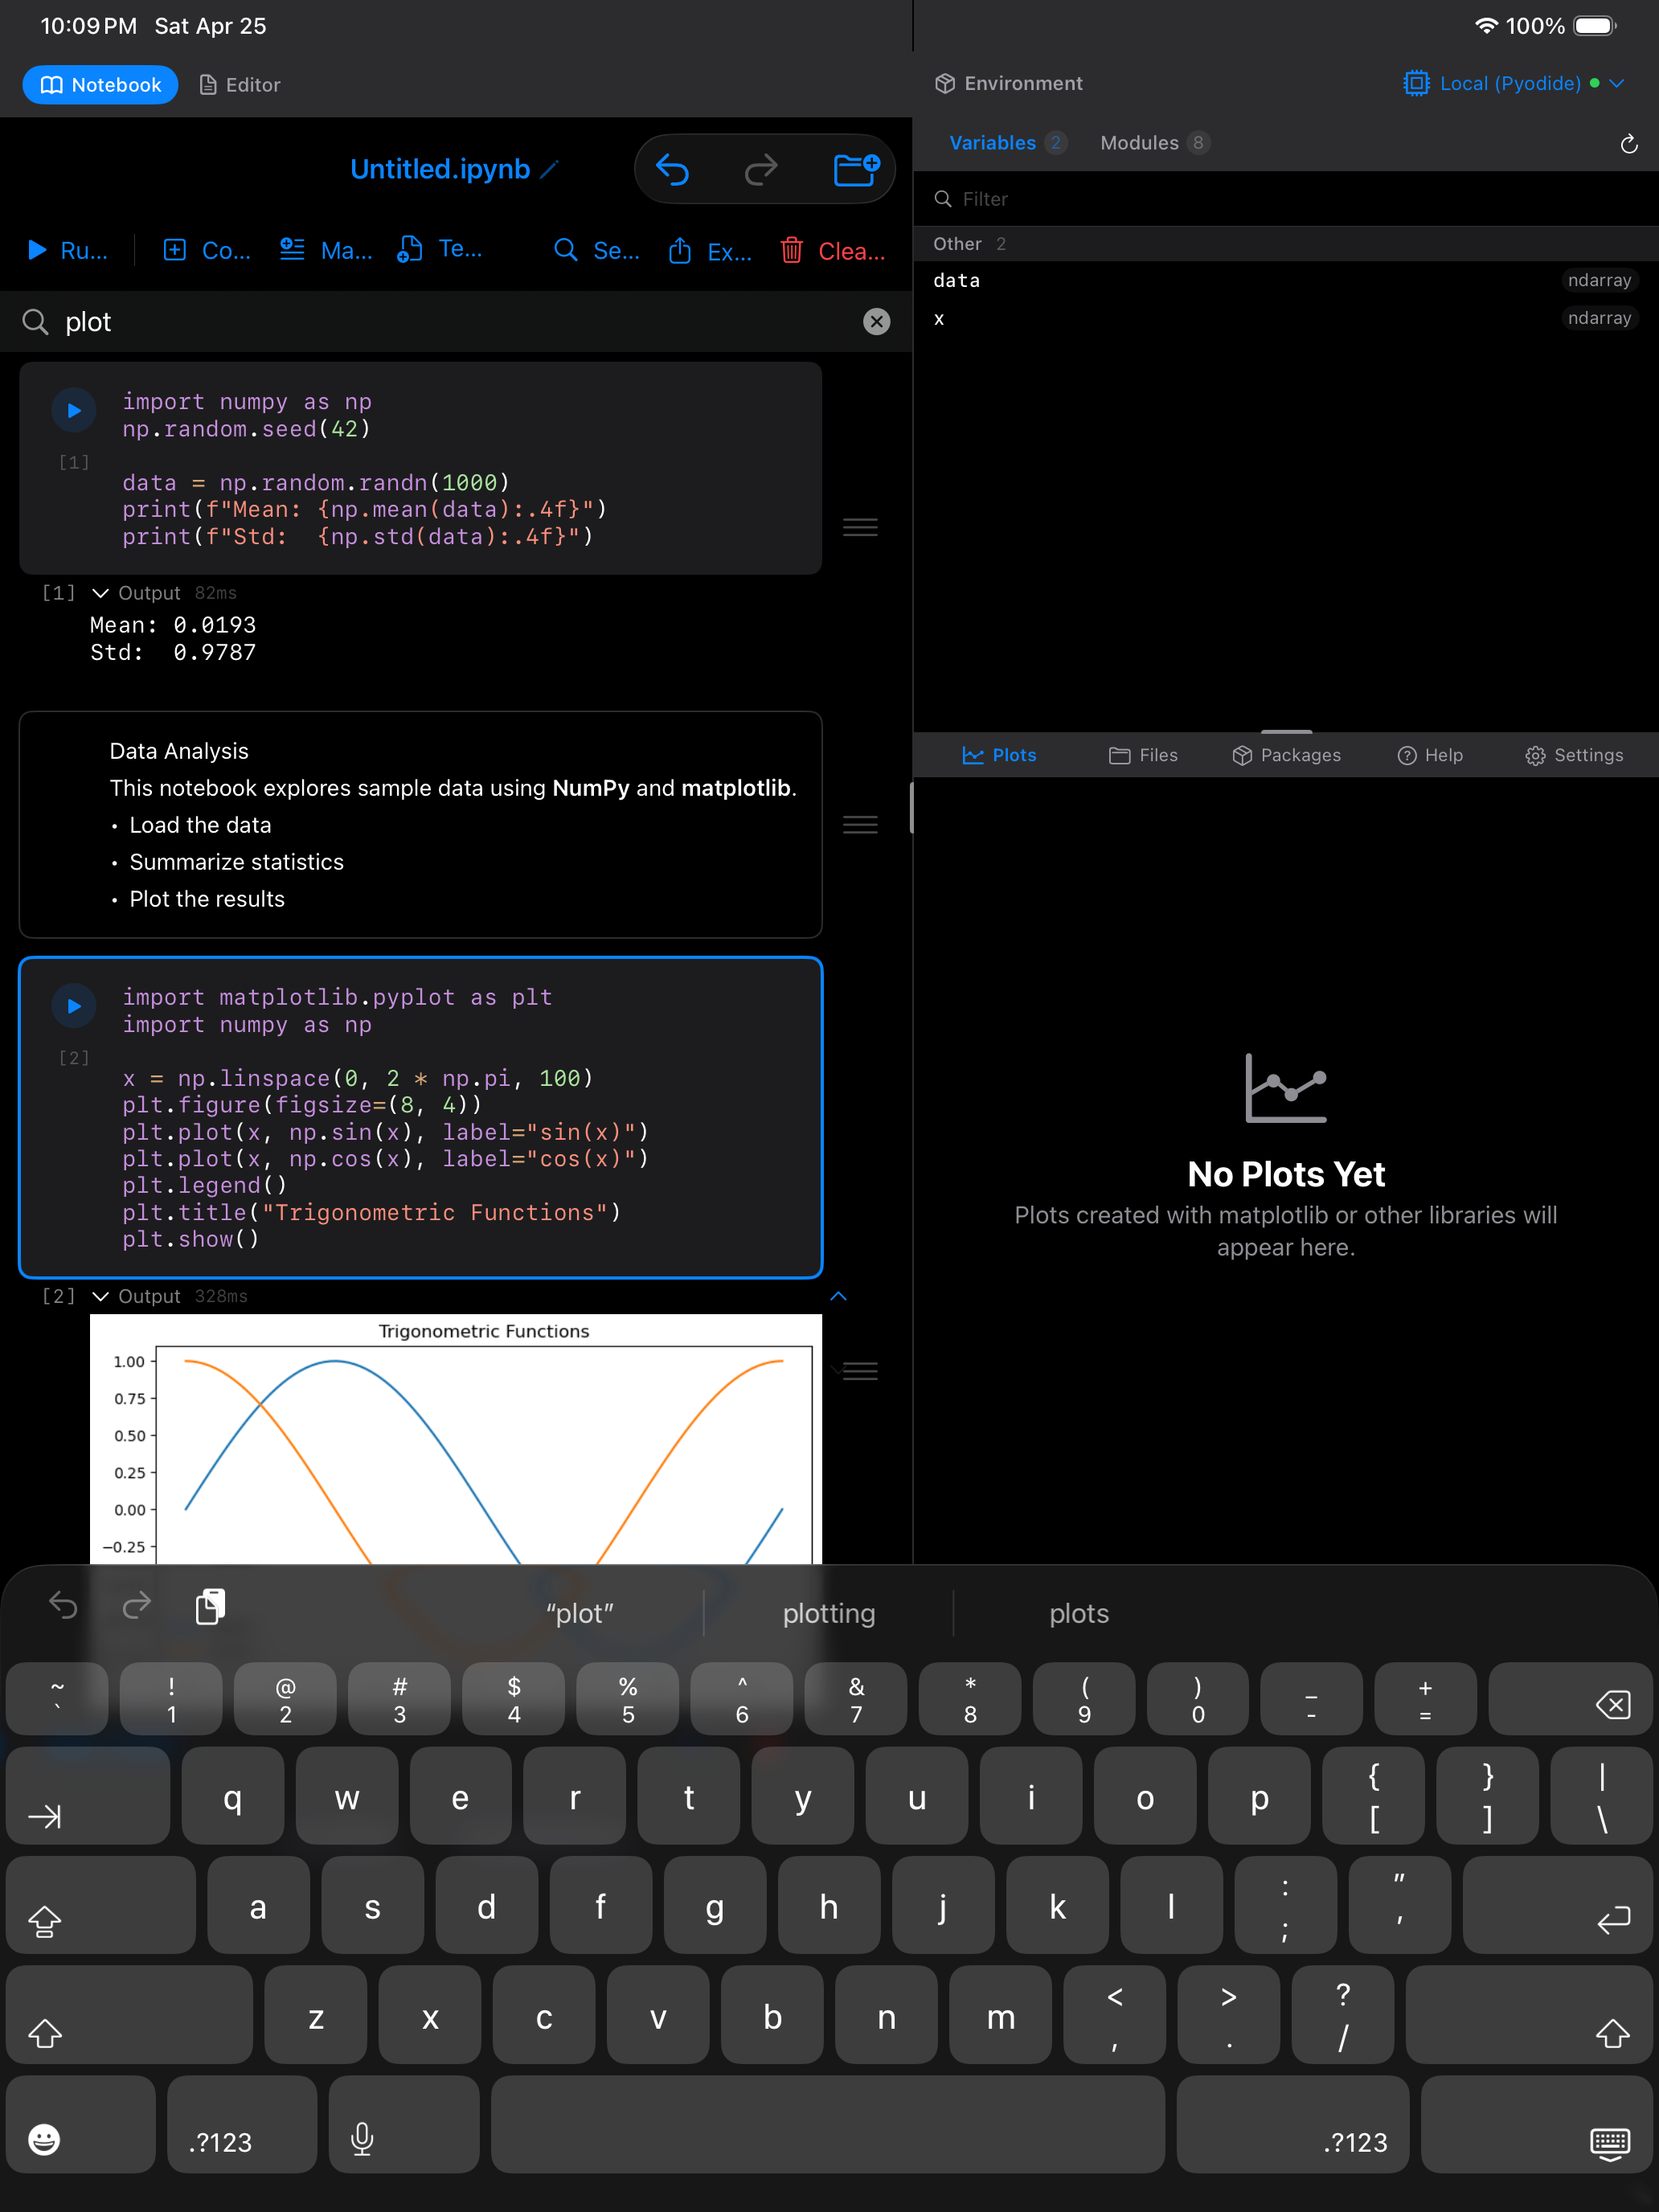
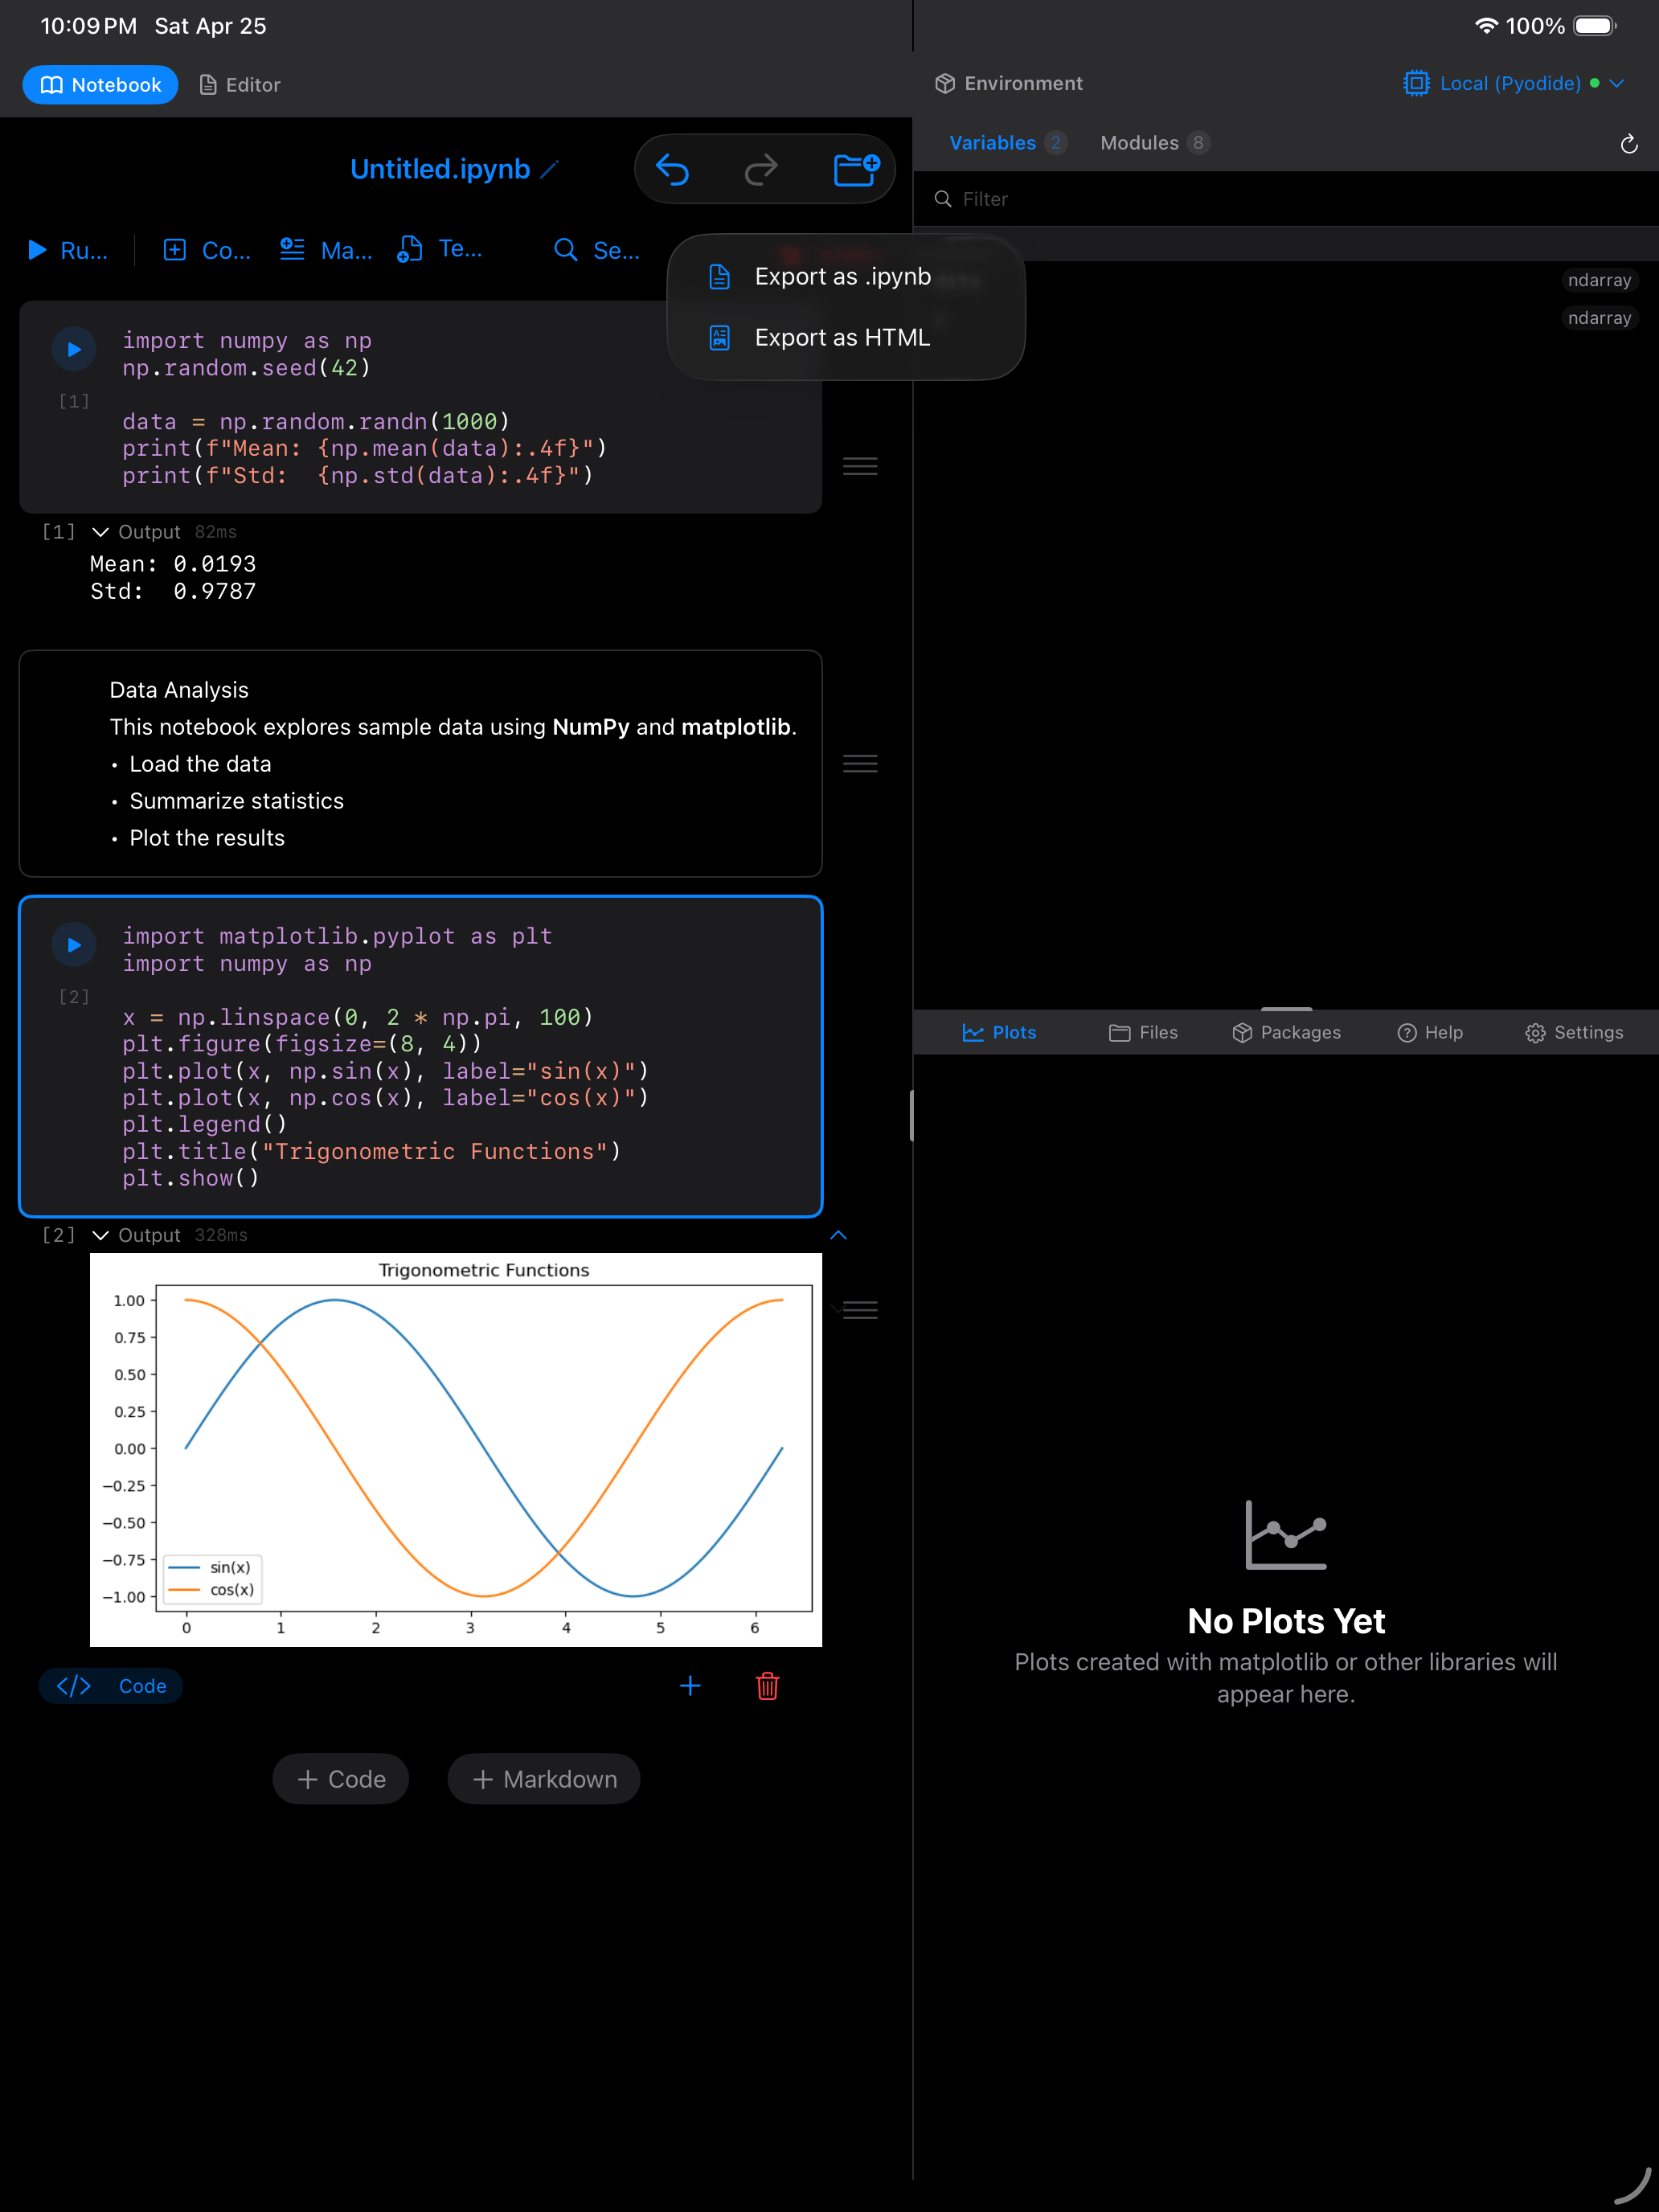
import matplotlib.pyplot as plt
import numpy as np

x = np.linspace(0, 2 * np.pi, 100)
plt.figure(figsize=(8, 4))
plt.plot(x, np.sin(x), label="sin(x)")
plt.plot(x, np.cos(x), label="cos(x)")
plt.legend()
plt.title("Trigonometric Functions")
plt.show()
The resulting plot appears directly below the cell, just as it would in JupyterLab.
Managing Cells
You have full control over the structure of your notebook:
- Add a cell: tap the +Code or +Markdown button in the notebook toolbar, or tap the + button that appears between cells
- Delete a cell: tap the cell’s action menu (the … icon) and choose Delete
- Move a cell: tap the action menu and choose Move Up or Move Down to reorder cells. You can also long-press and drag a cell to a new position
- Multi-select: tap Select in the notebook toolbar to enter selection mode. Tap multiple cells to select them, then delete or move them in bulk
- Change cell type: tap the cell type indicator (the label showing “Code” or “Markdown”) to toggle between code and markdown
Use markdown cells as section dividers. Adding a ## Section Title markdown cell between groups of code cells makes long notebooks much easier to navigate.
Notebook Toolbar
The toolbar at the top of the notebook provides quick access to common actions:
- Run All: executes every code cell in order from top to bottom
- +Code: inserts a new code cell at the end of the notebook
- +Markdown: inserts a new markdown cell at the end of the notebook
- Clear Outputs: removes all cell outputs without deleting the cells themselves. Useful for cleaning up before sharing a notebook
- Restart Kernel: restarts the Pyodide runtime. All variables are cleared, but your cells and their contents remain
- … menu: additional options including cell selection mode, notebook info, and export
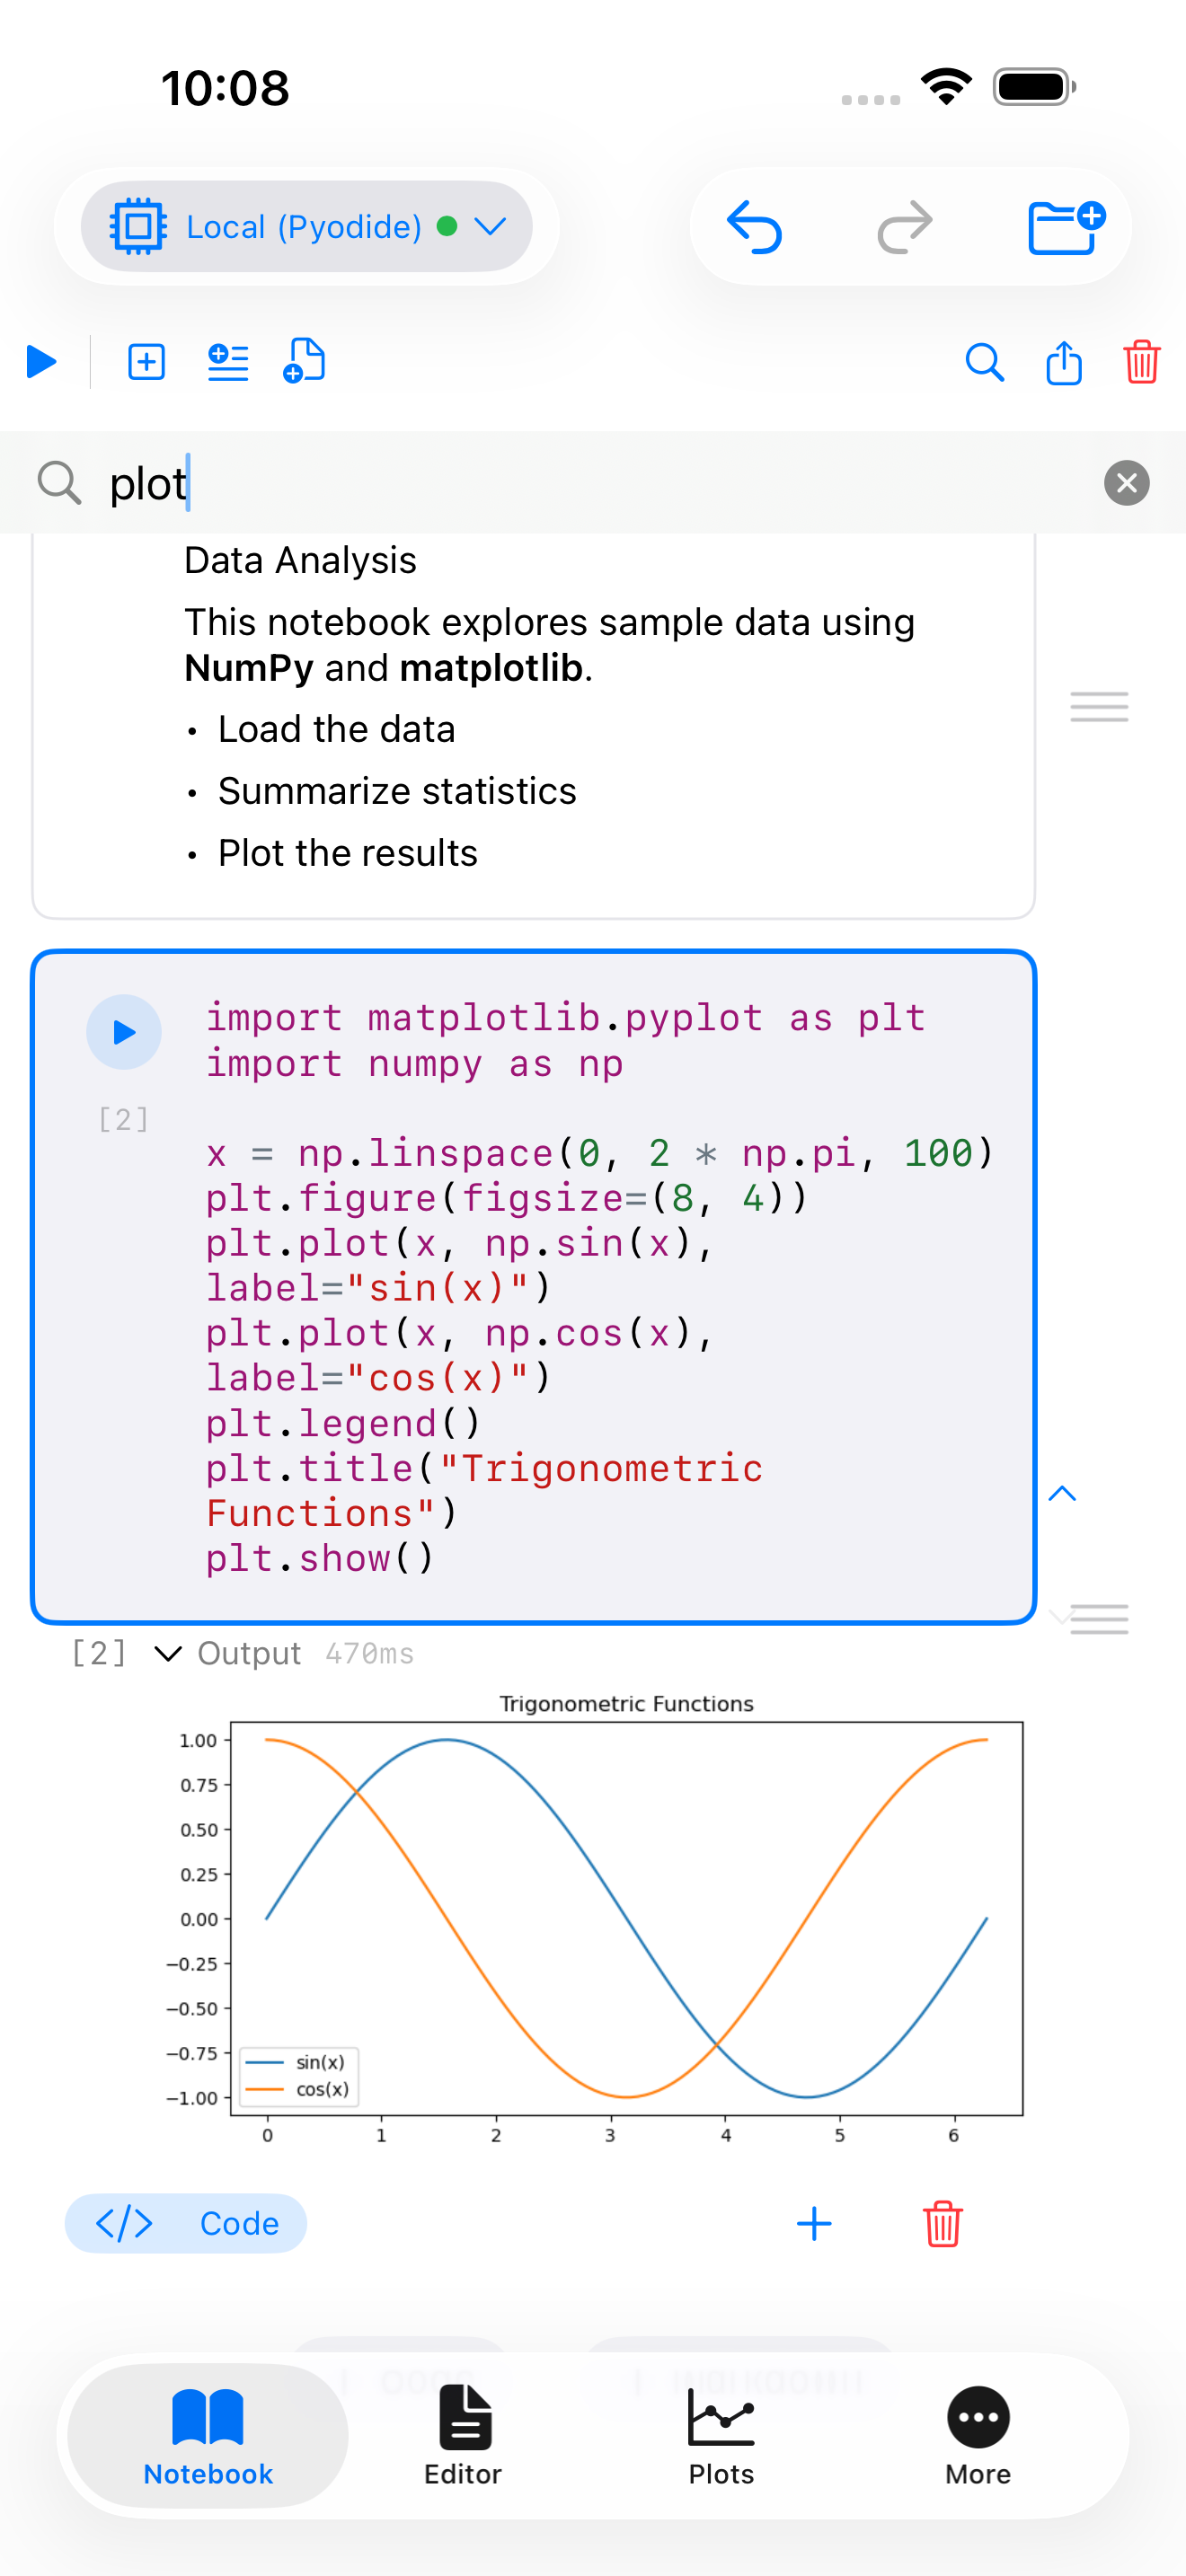
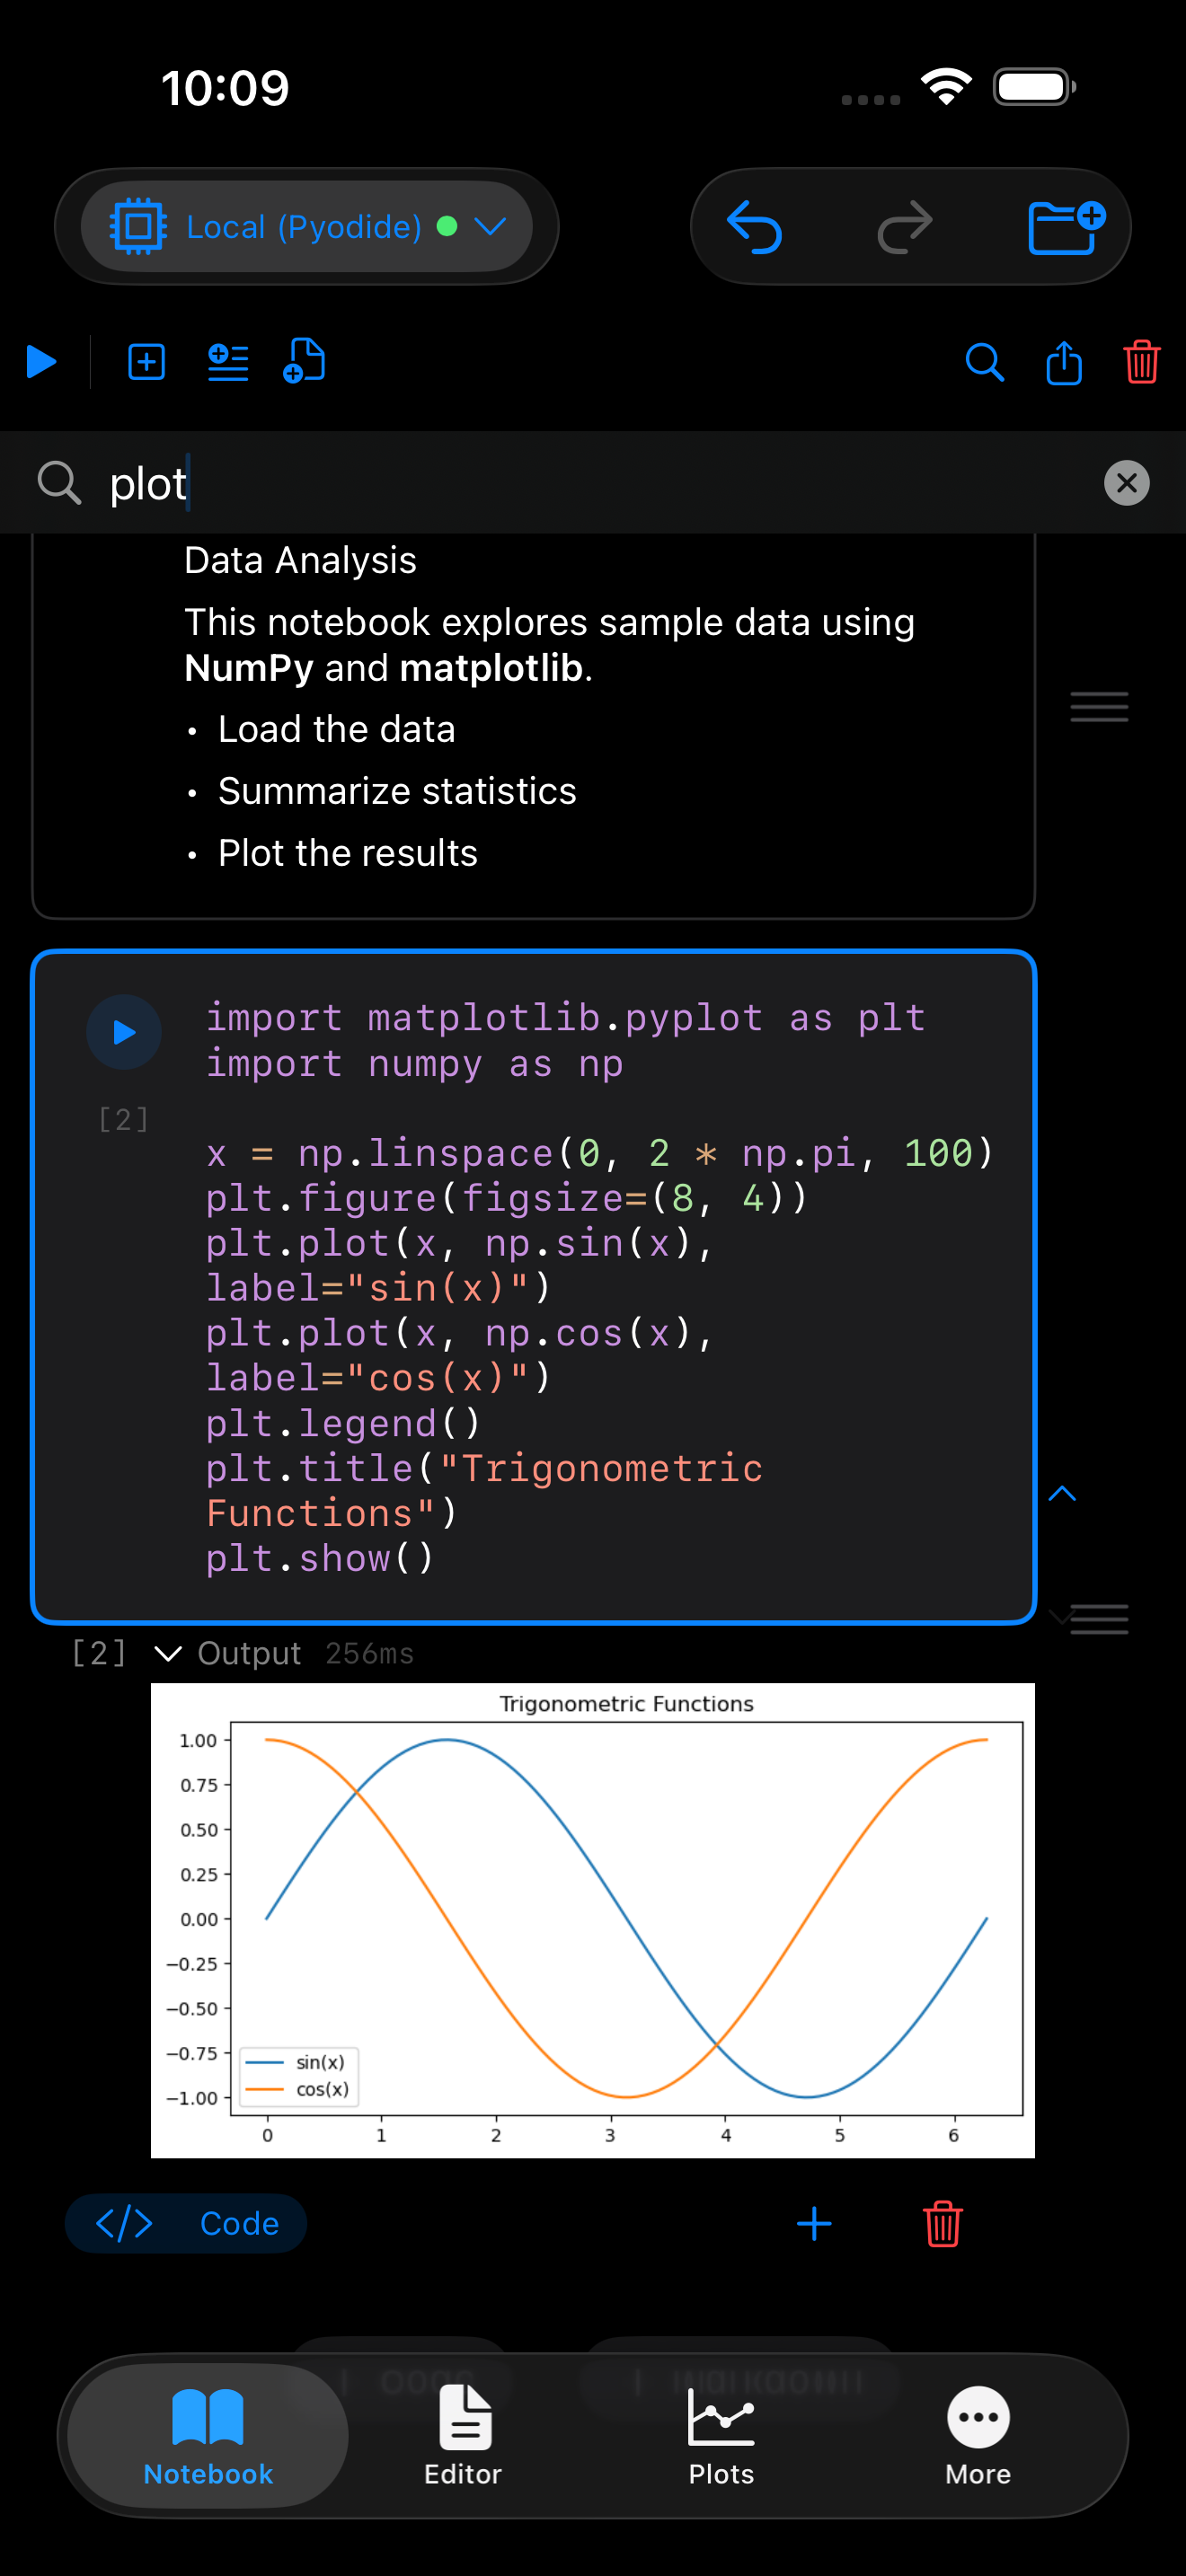
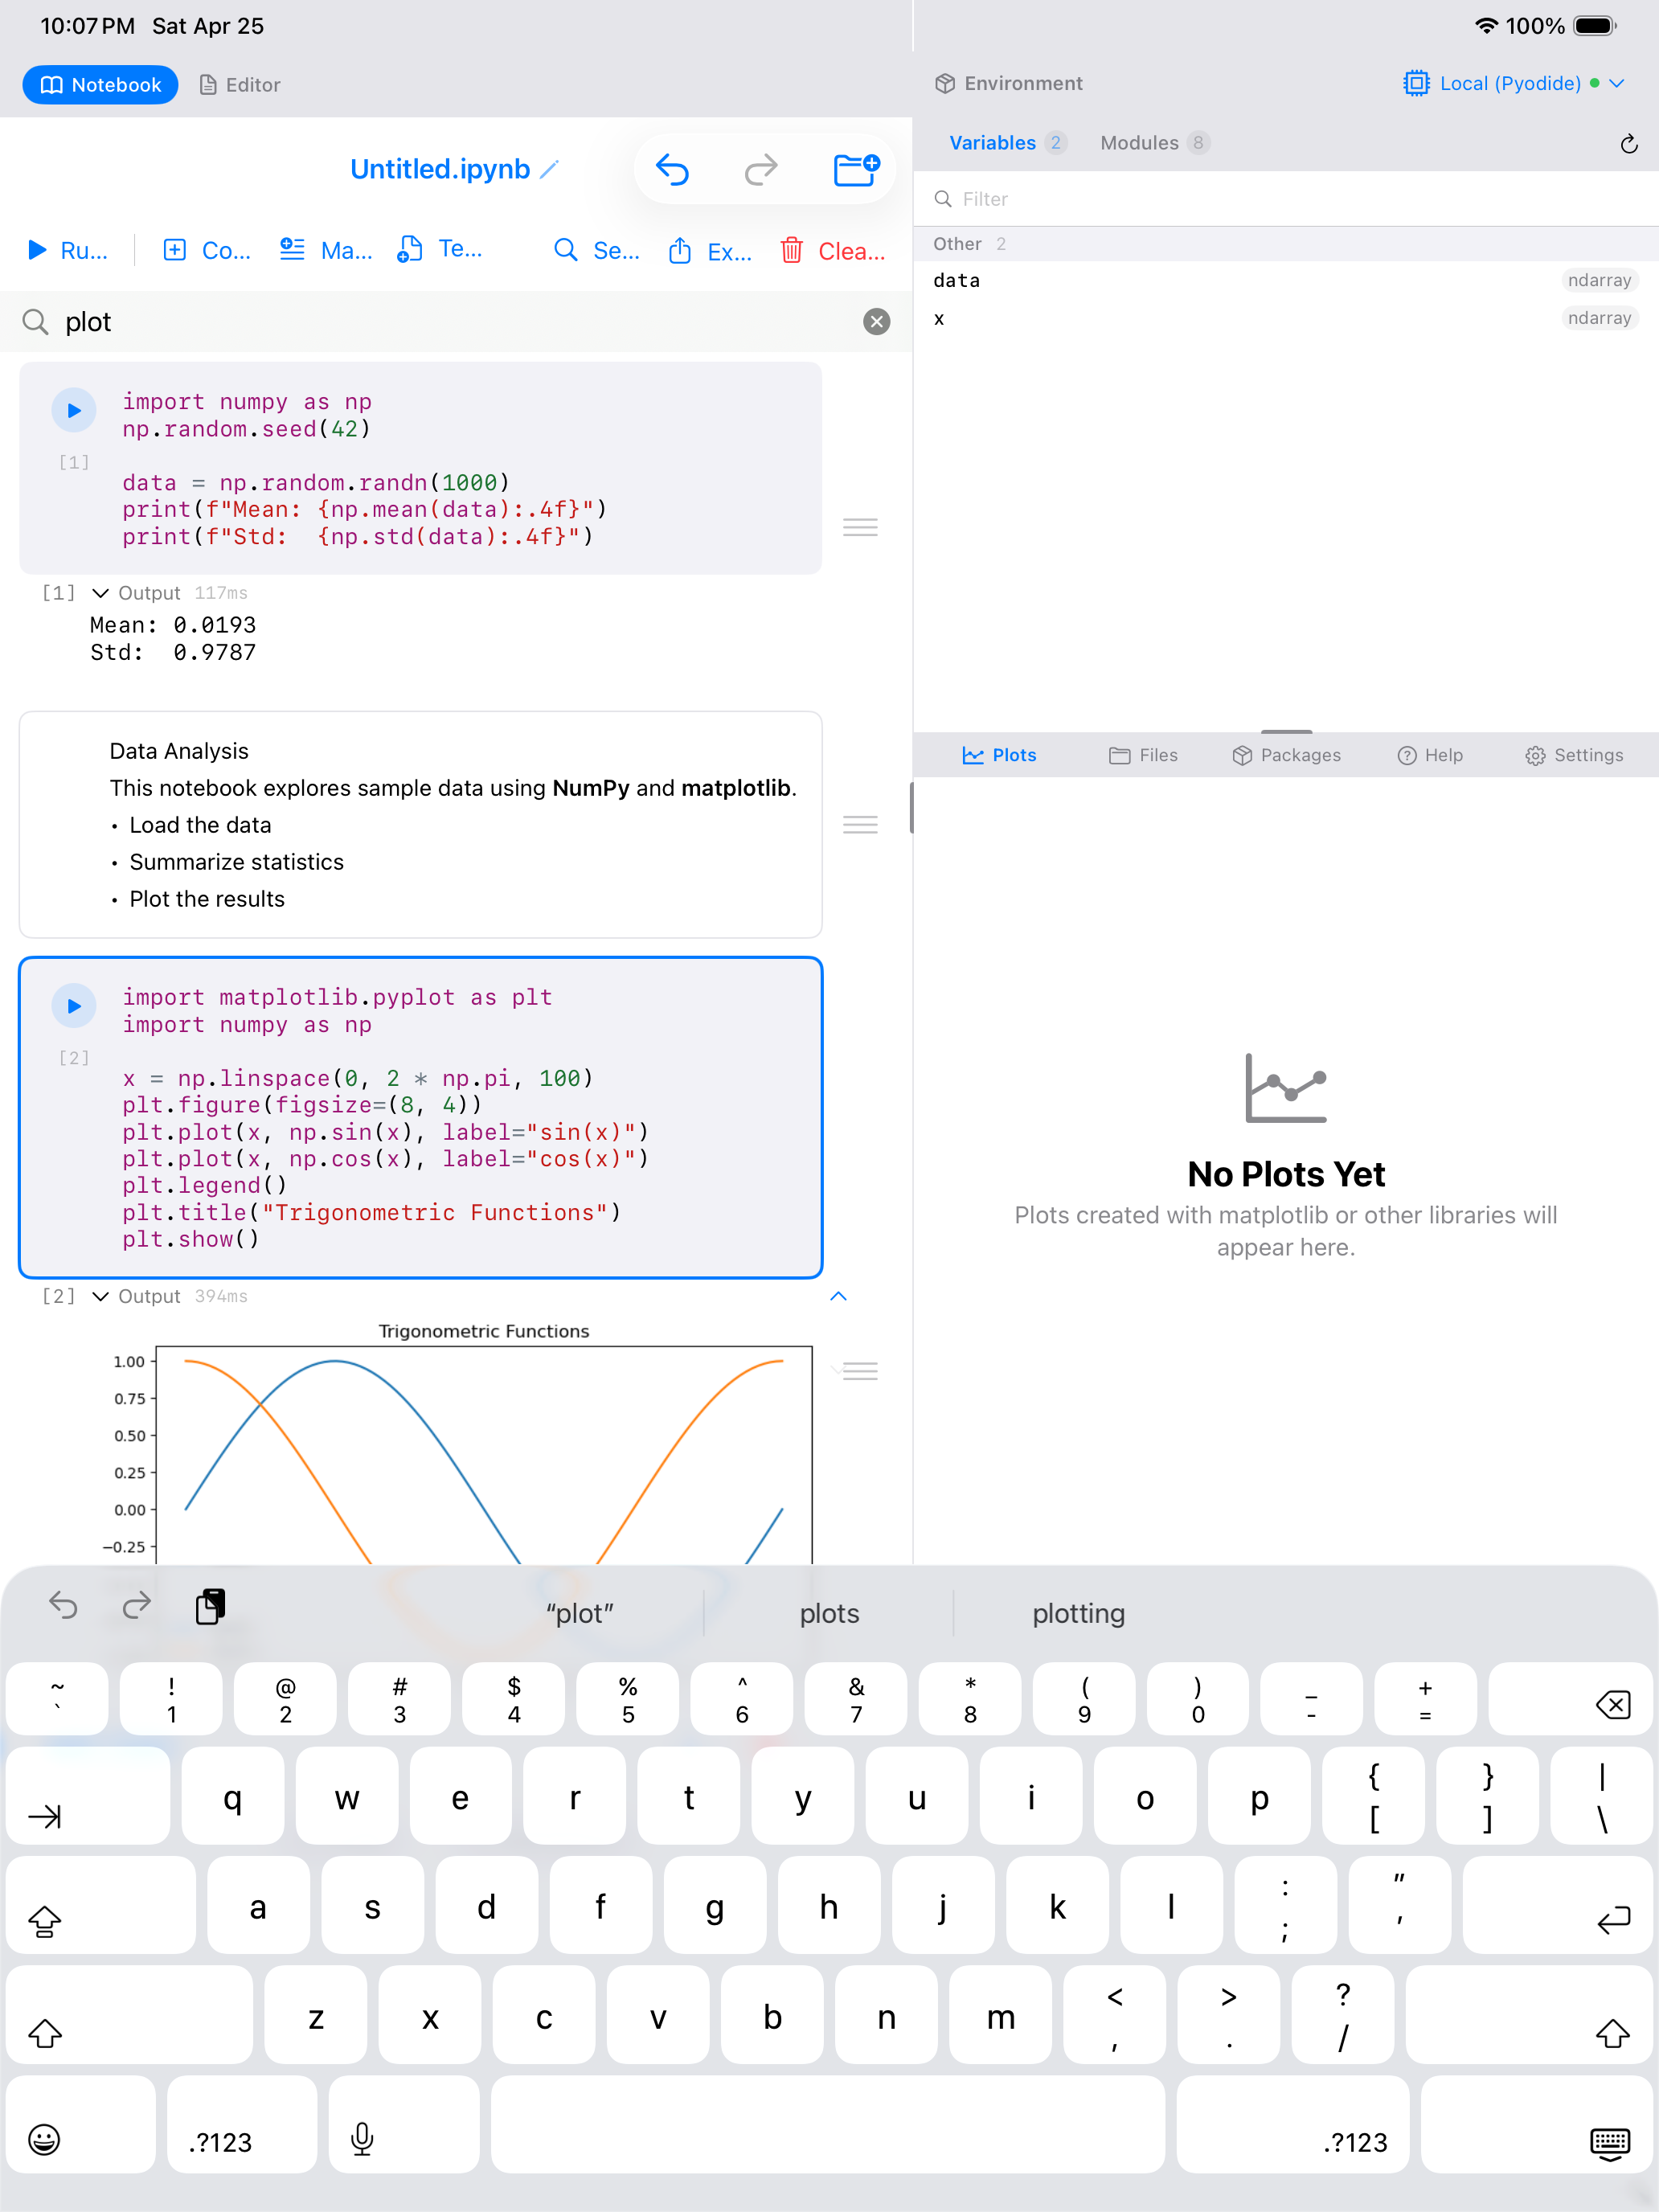
Search
Tap the magnifying glass icon in the notebook toolbar to open the search bar. Type a keyword to find all occurrences across every cell in the notebook, including both code cells and markdown cells. Navigate between matches using the up and down arrows. This is helpful for locating a variable definition, finding where a function is called, or jumping to a specific section in a long notebook.
Saving and Exporting
Notebooks auto-save as you work. Every change you make, whether editing a cell, running code, or rearranging cells, is automatically persisted. You never need to remember to save.
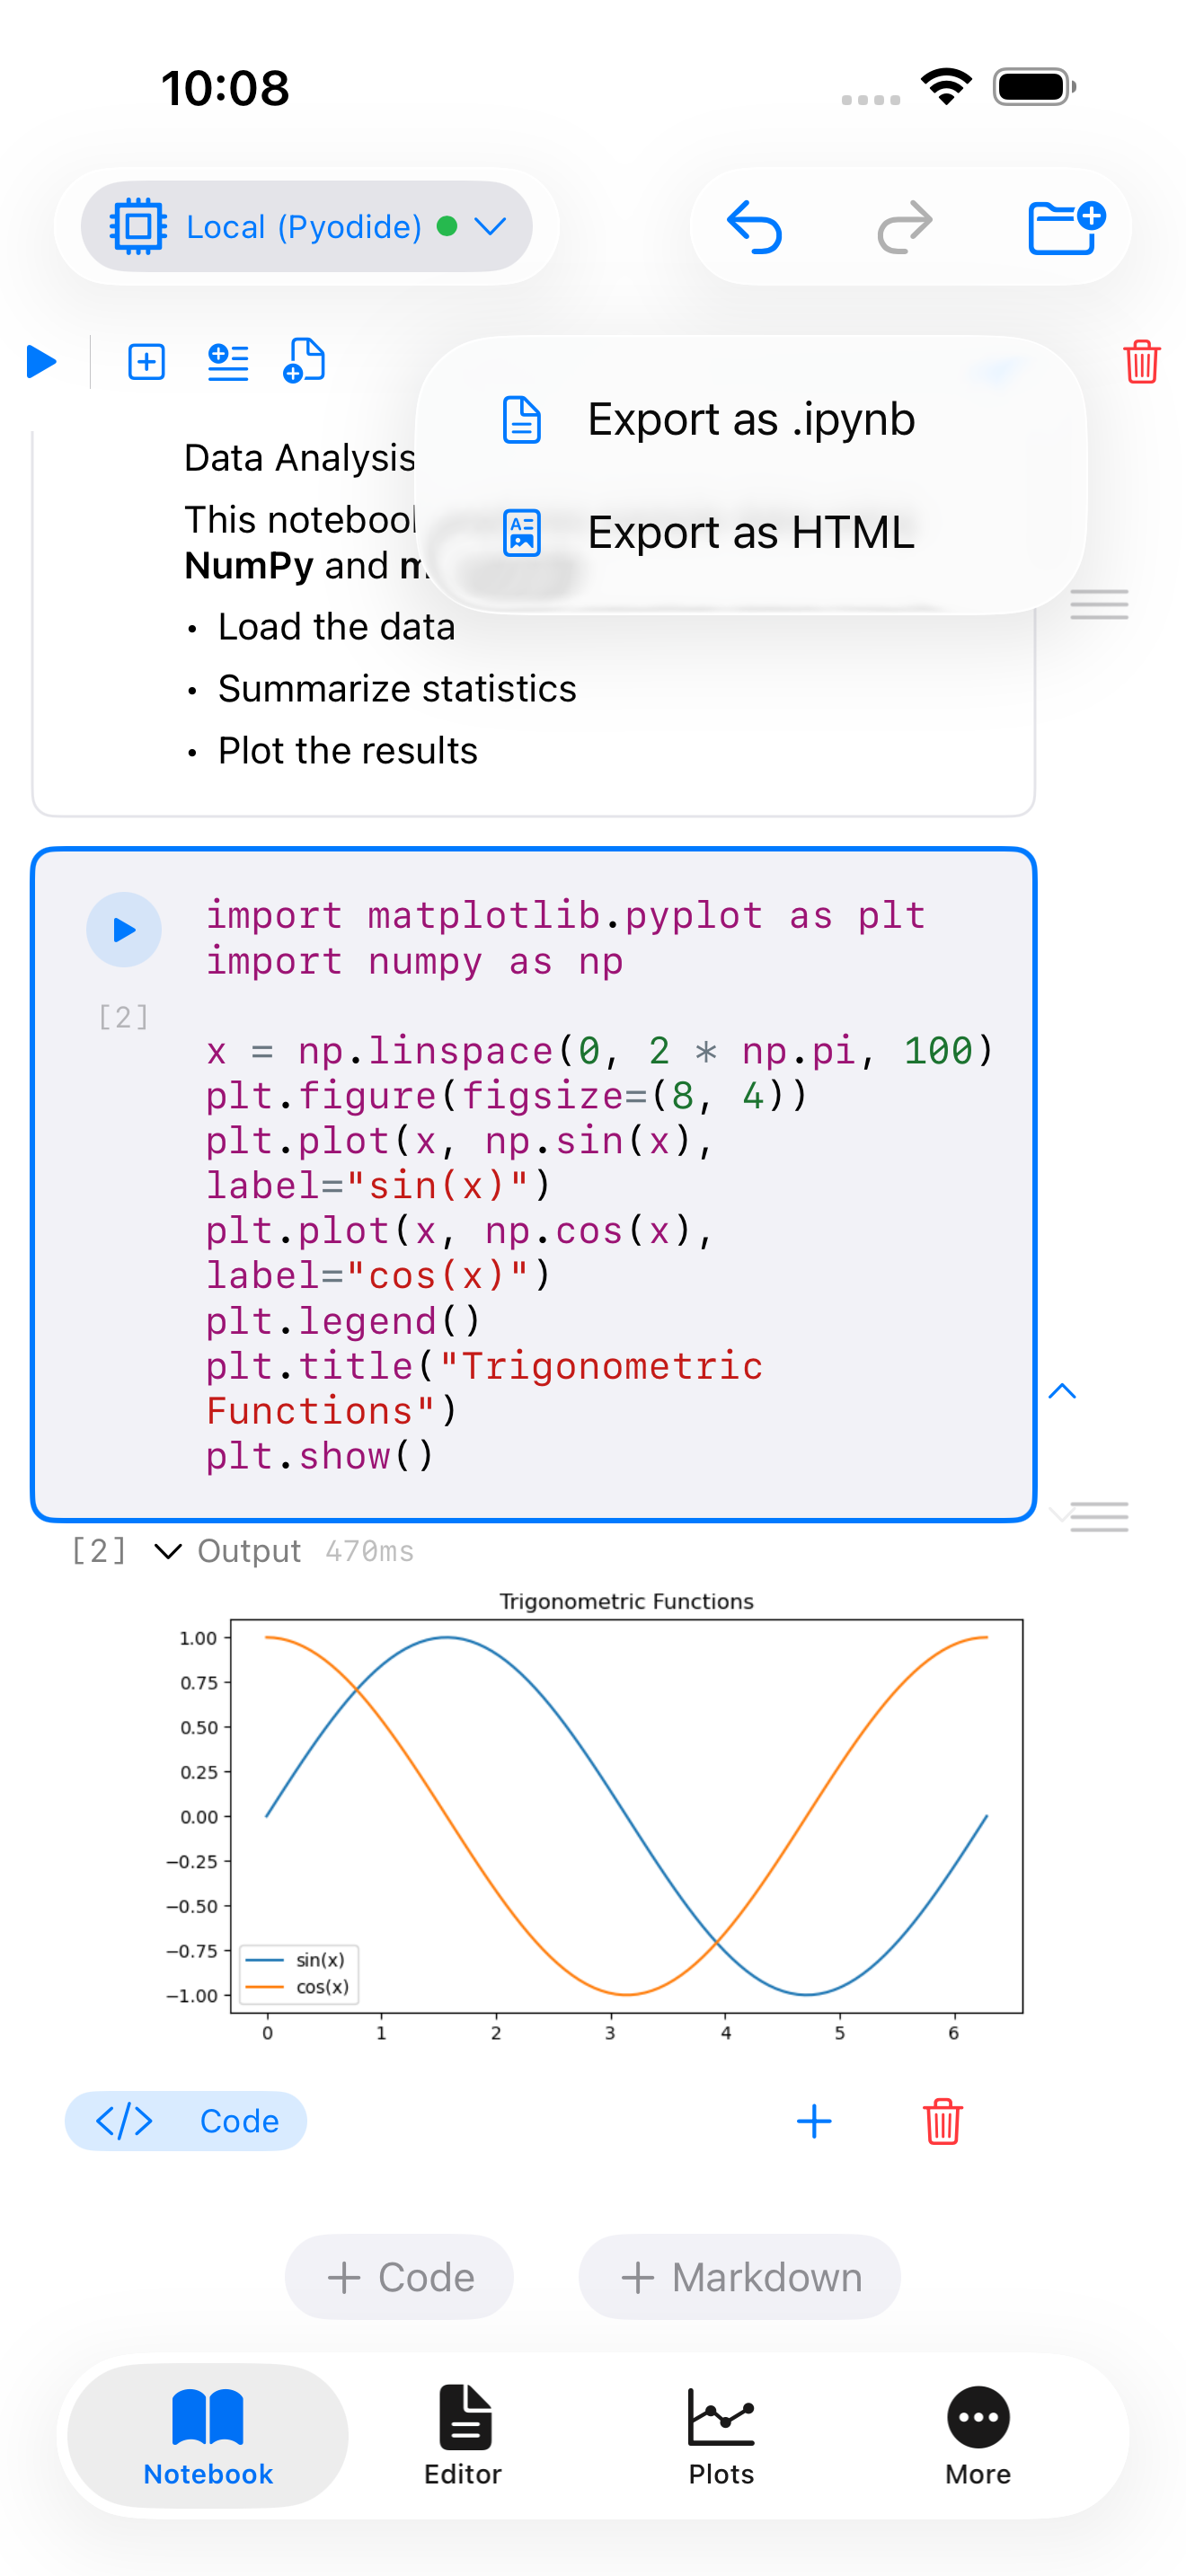
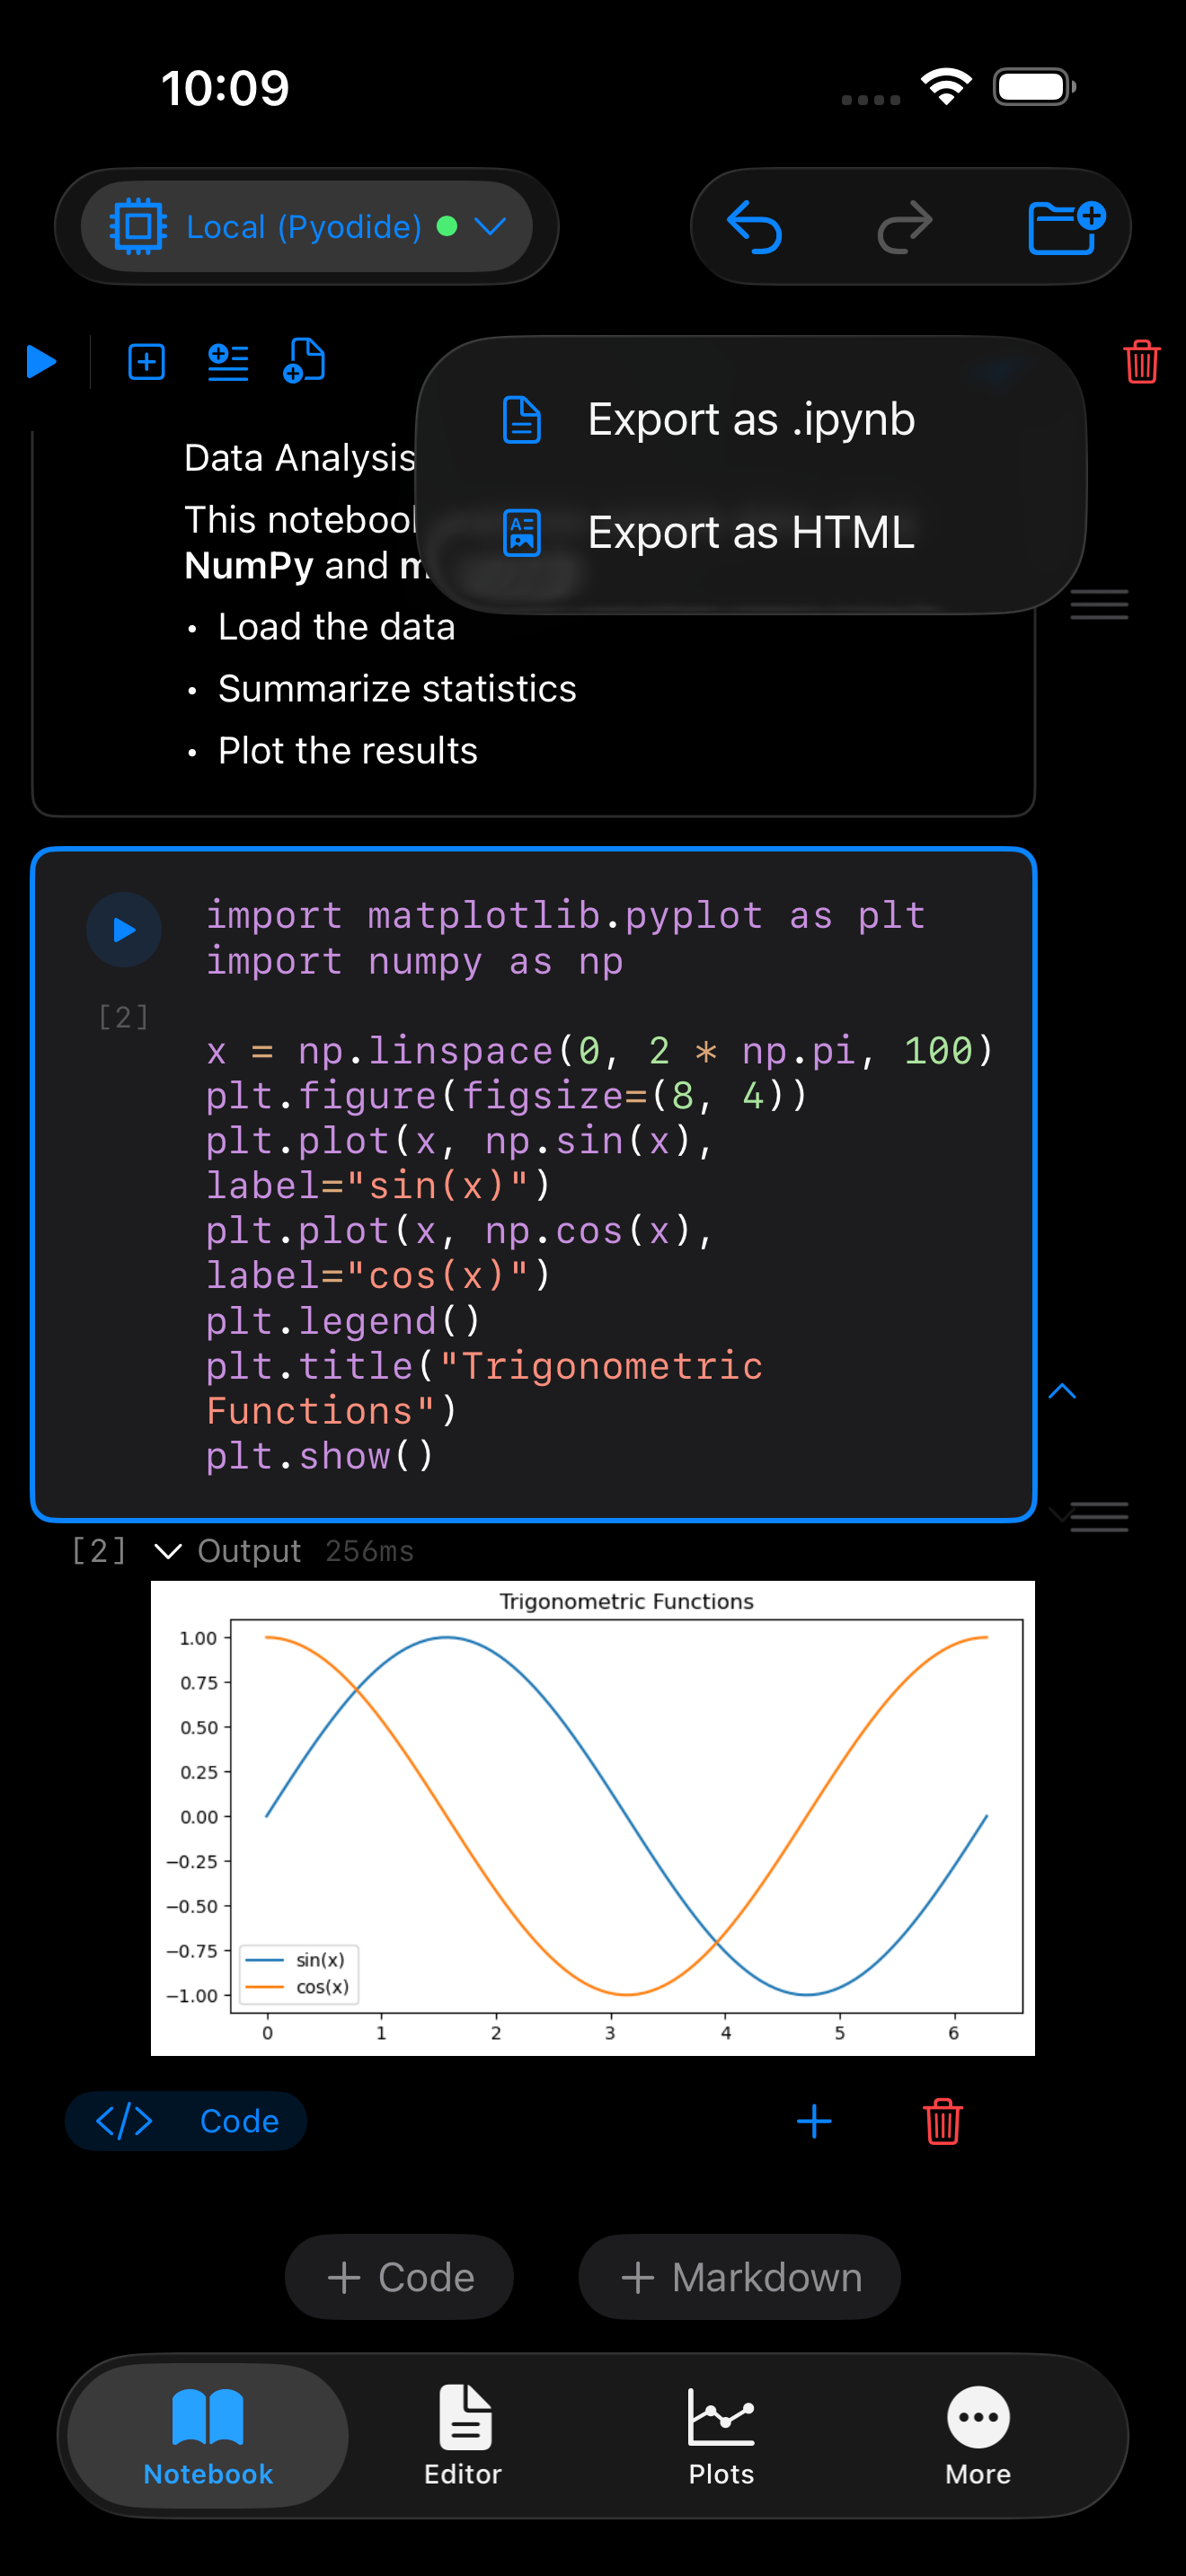
When you want to share your work or use it elsewhere, tap the Export menu in the notebook toolbar:
- Export as .ipynb: the standard Jupyter notebook format. Shares the on-disk
.ipynbfile directly via the iOS share sheet, so you can open it in JupyterLab, VS Code, Google Colab, or any Jupyter-compatible environment, or send it via AirDrop, Mail, or Messages. - Export as HTML: renders your code, outputs, and formatted markdown into a self-contained web page that anyone can open in a browser.
Opening notebooks from the iOS Files app
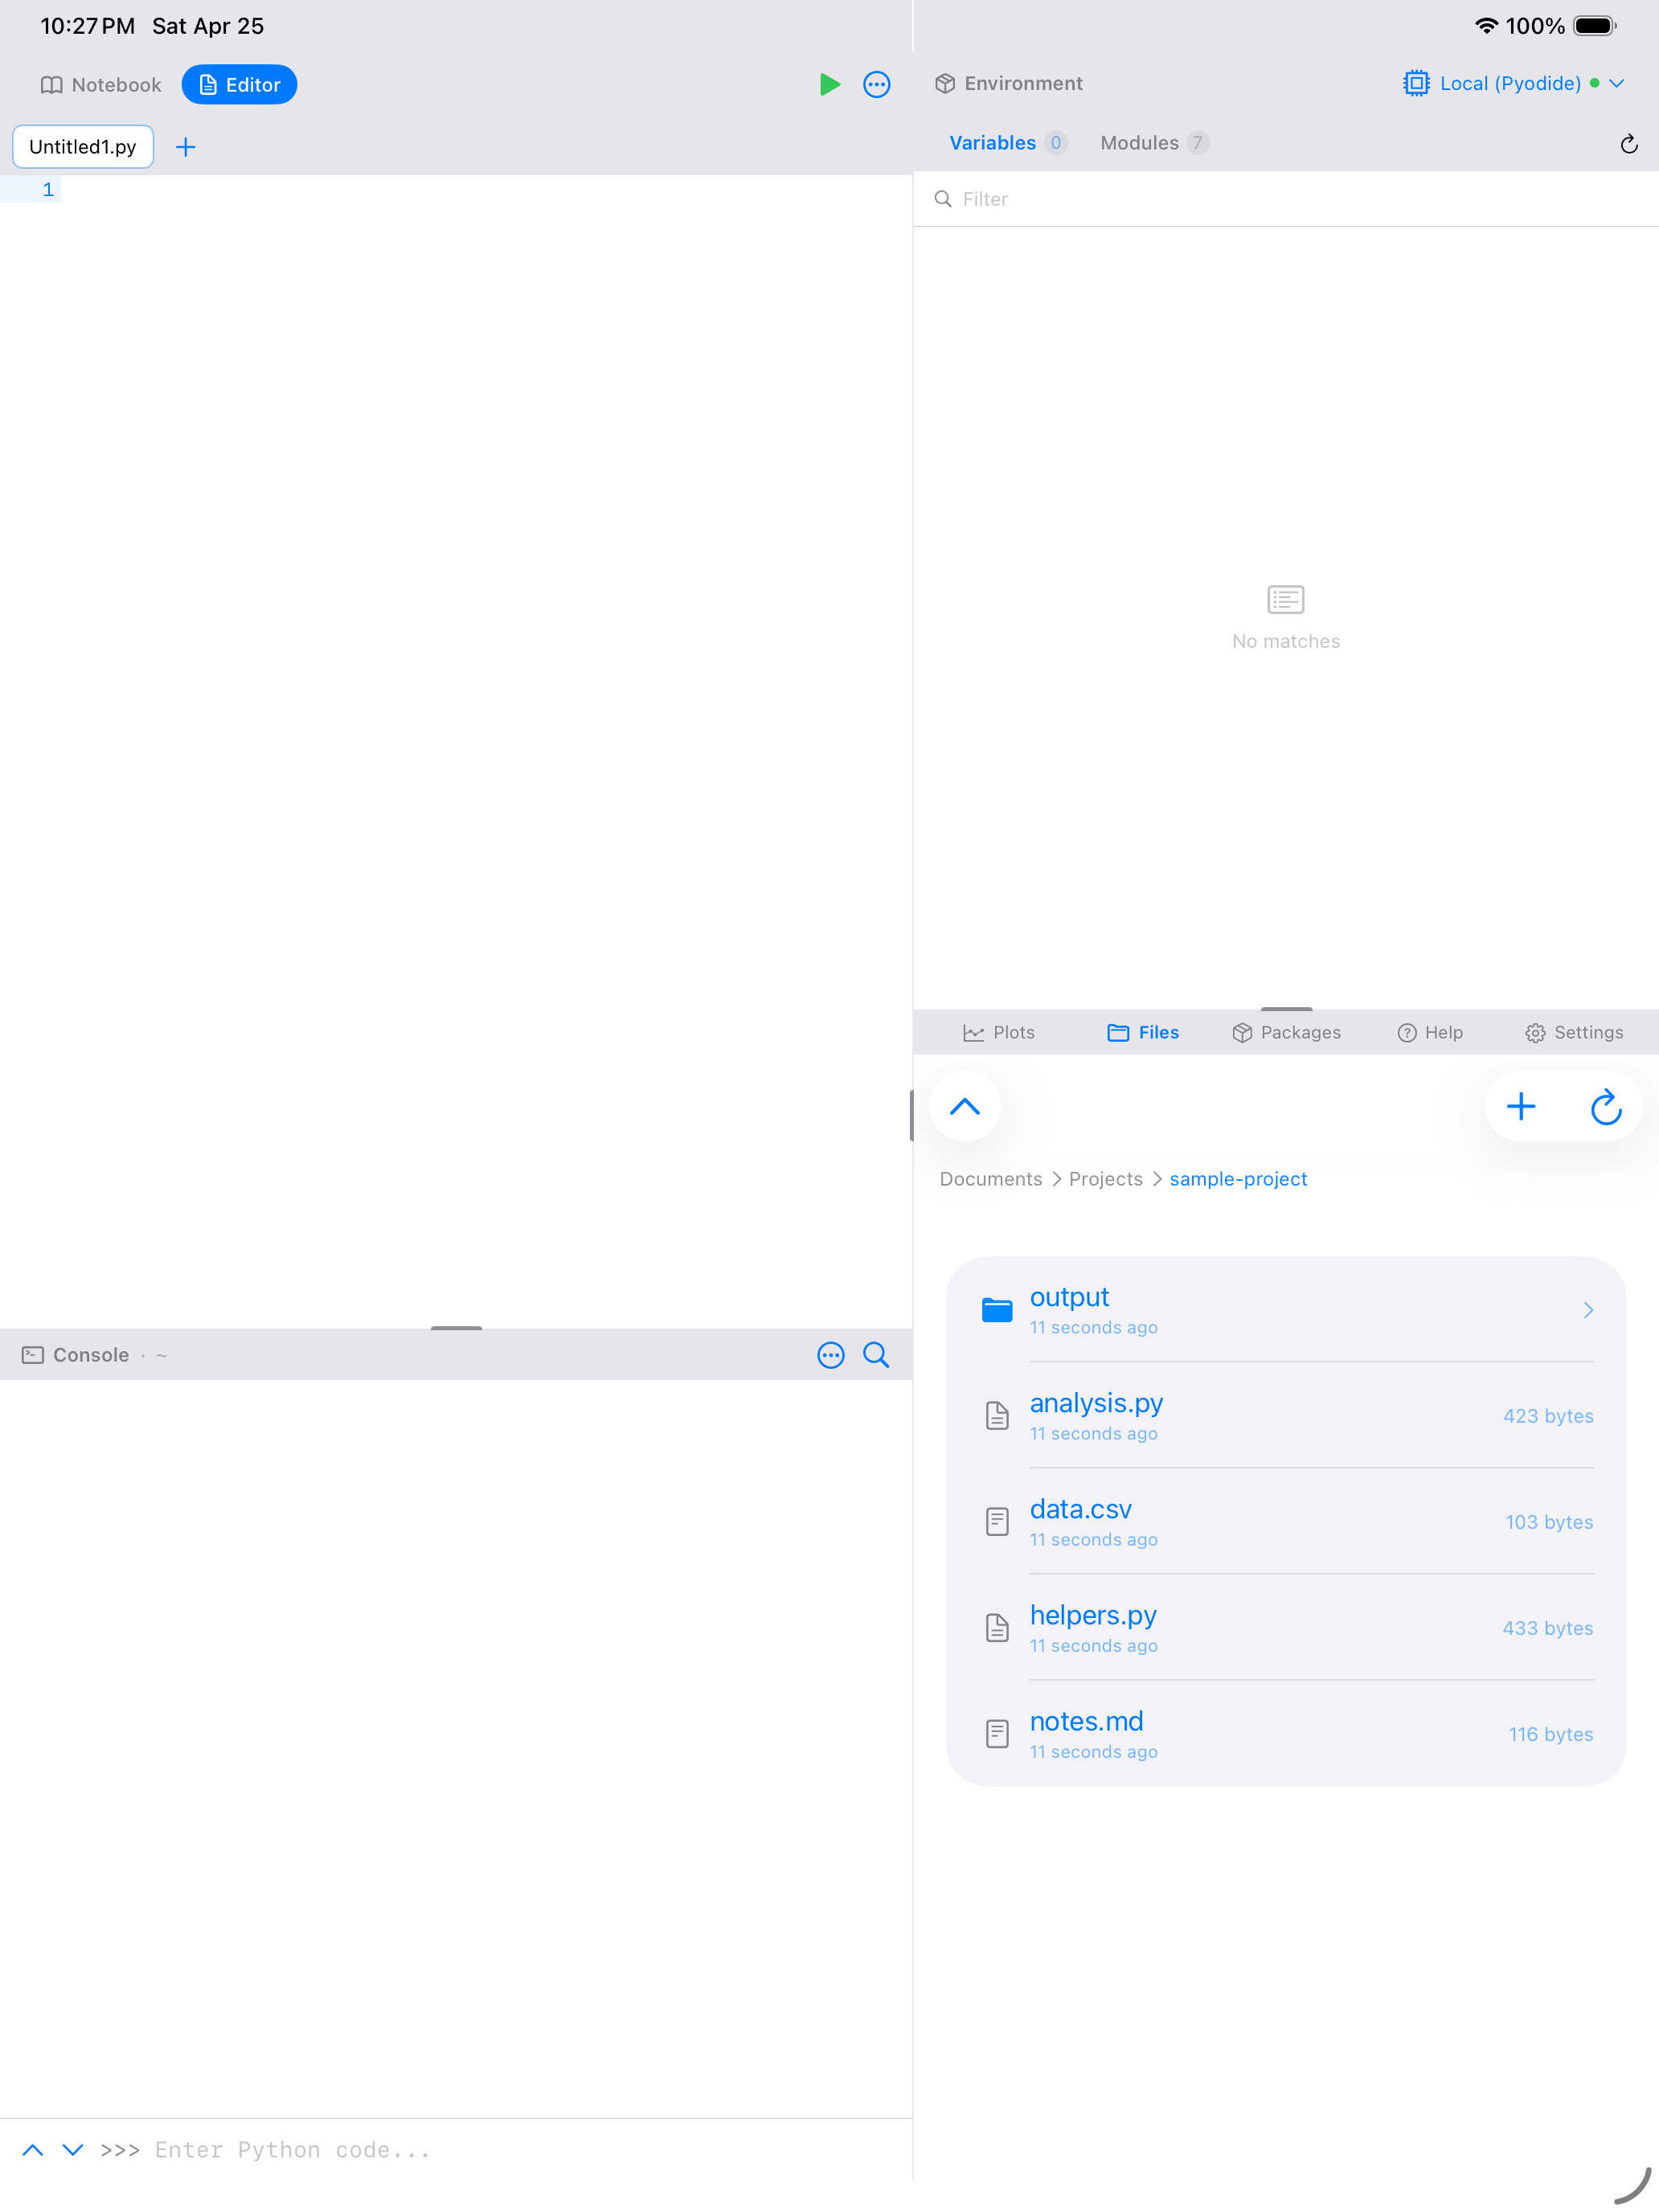
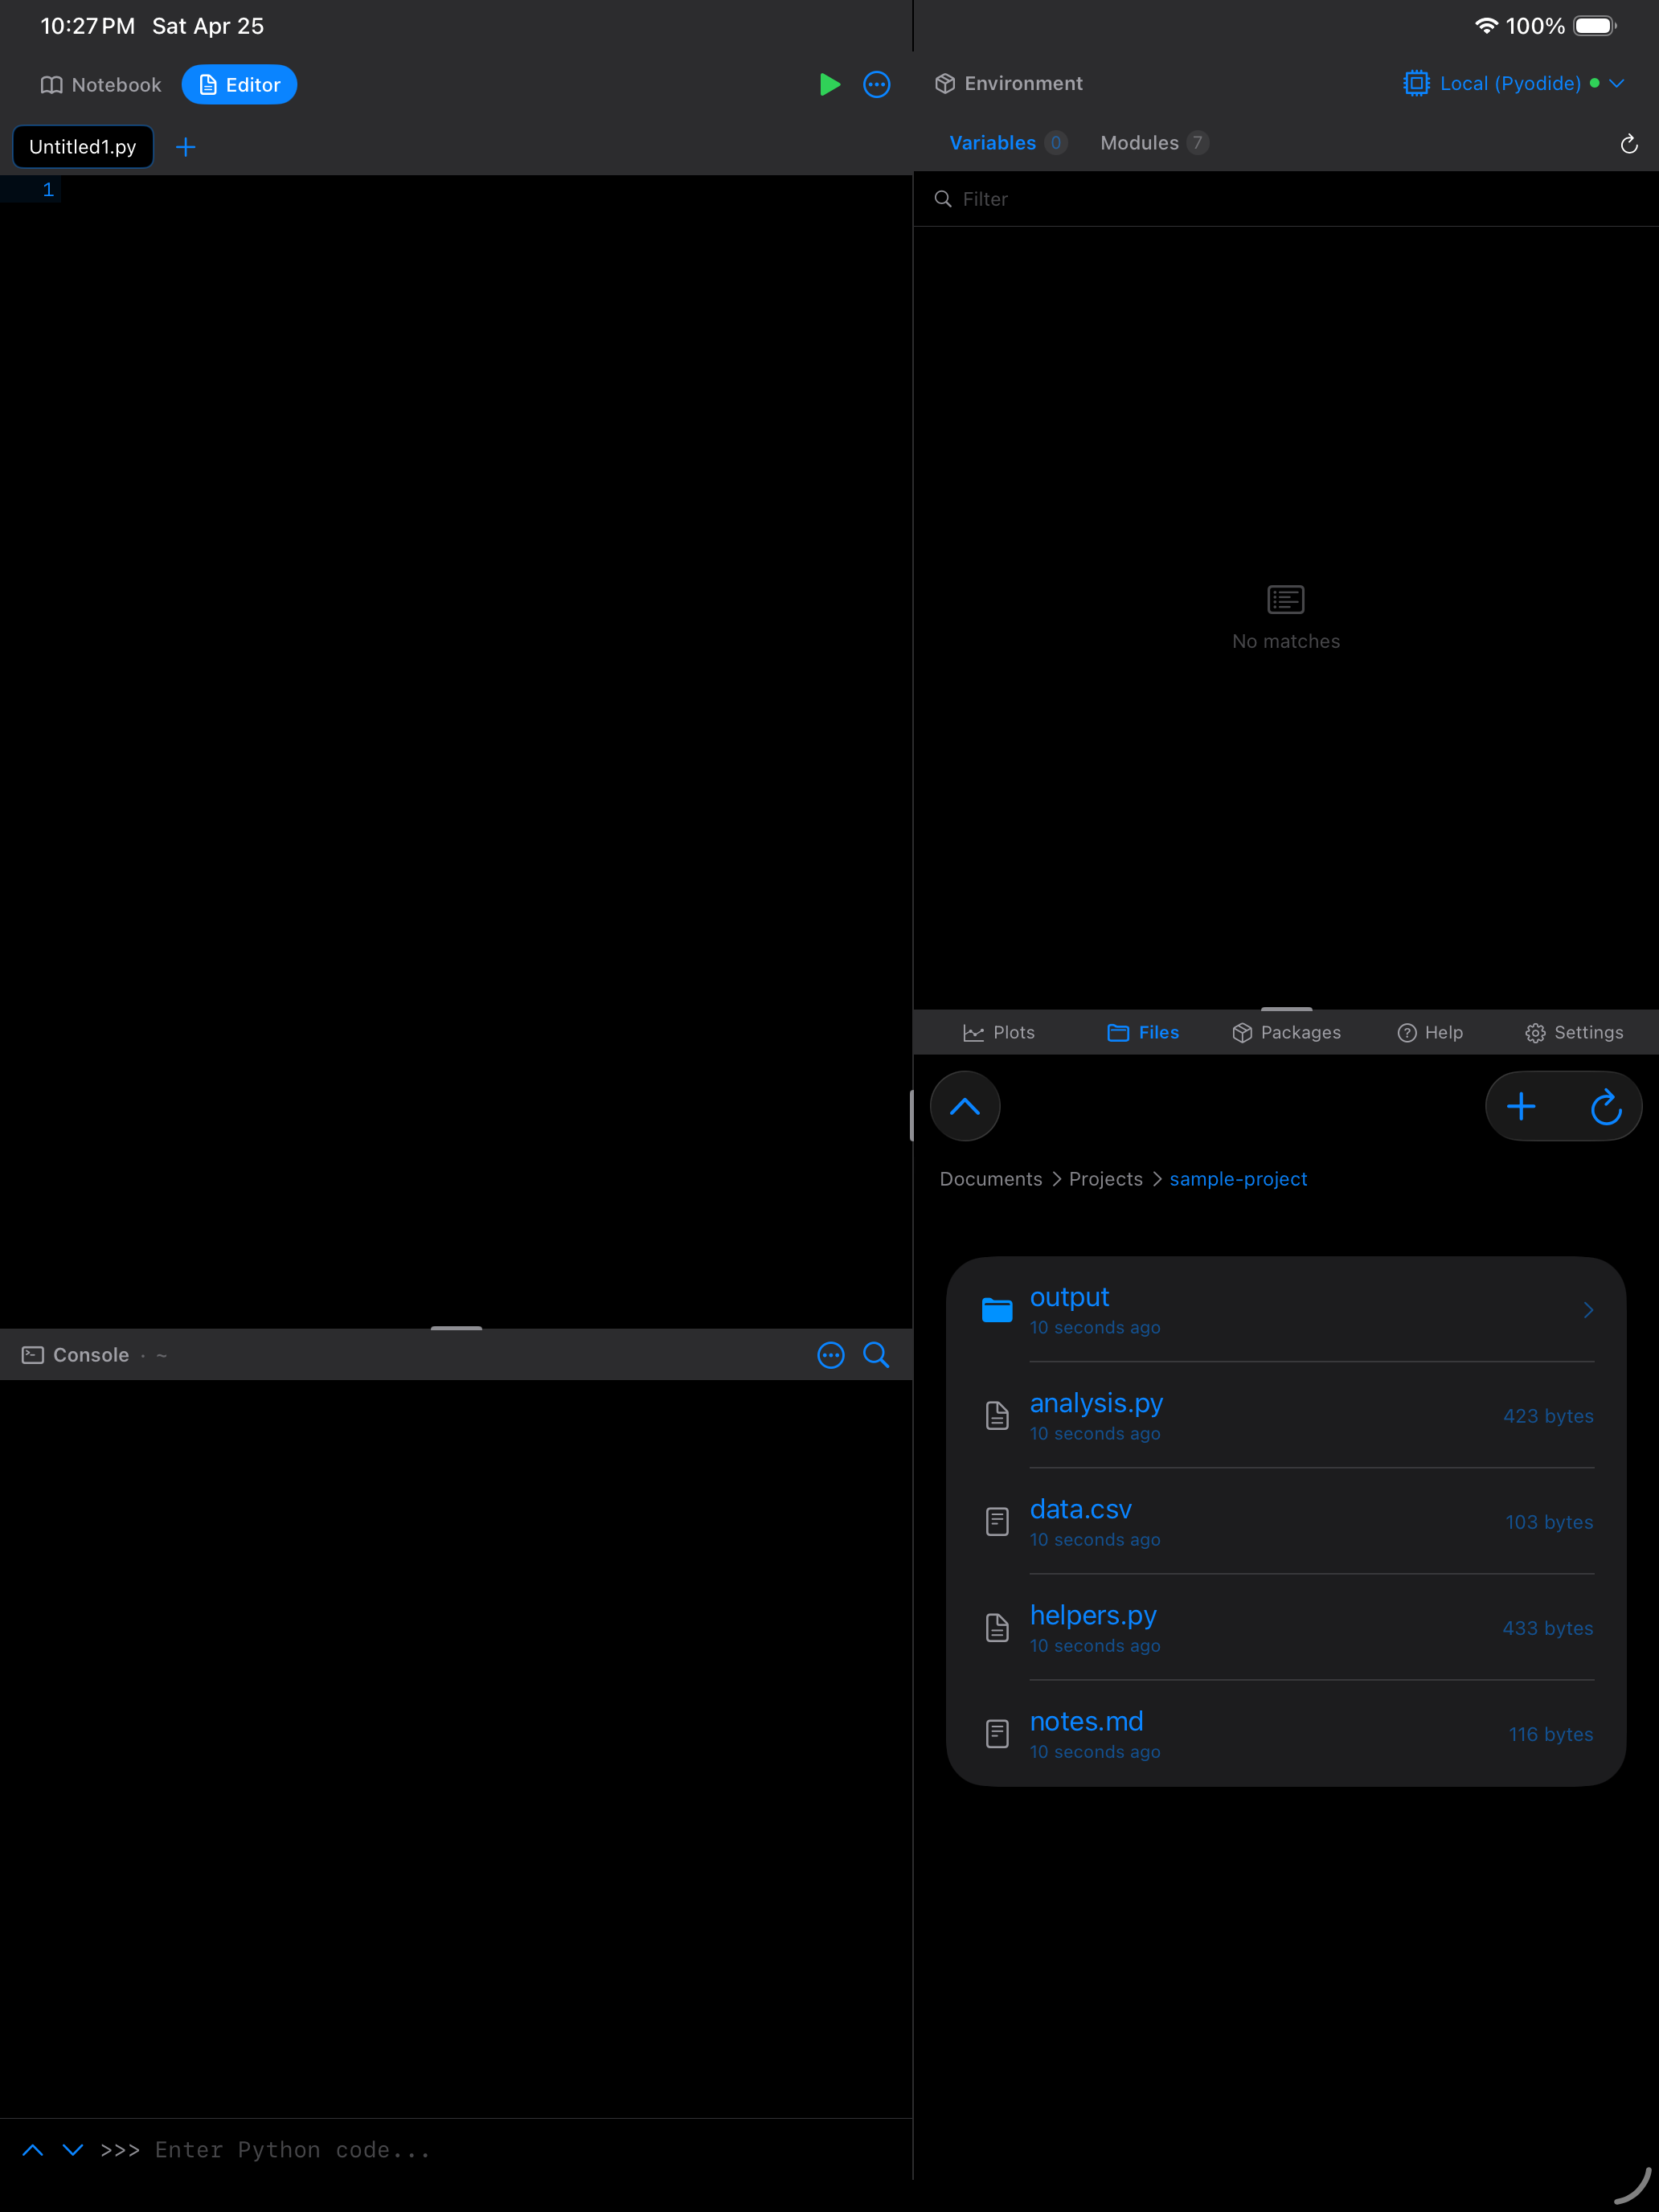
Notebooks created in JupyterLab or VS Code can also be opened in Pyodios. Drop them into the Pyodios folder in the iOS Files app, or tap an .ipynb file anywhere in Files, since Pyodios is registered as a handler for the Jupyter notebook type. Inside Pyodios, the same files show up in the Files tab.
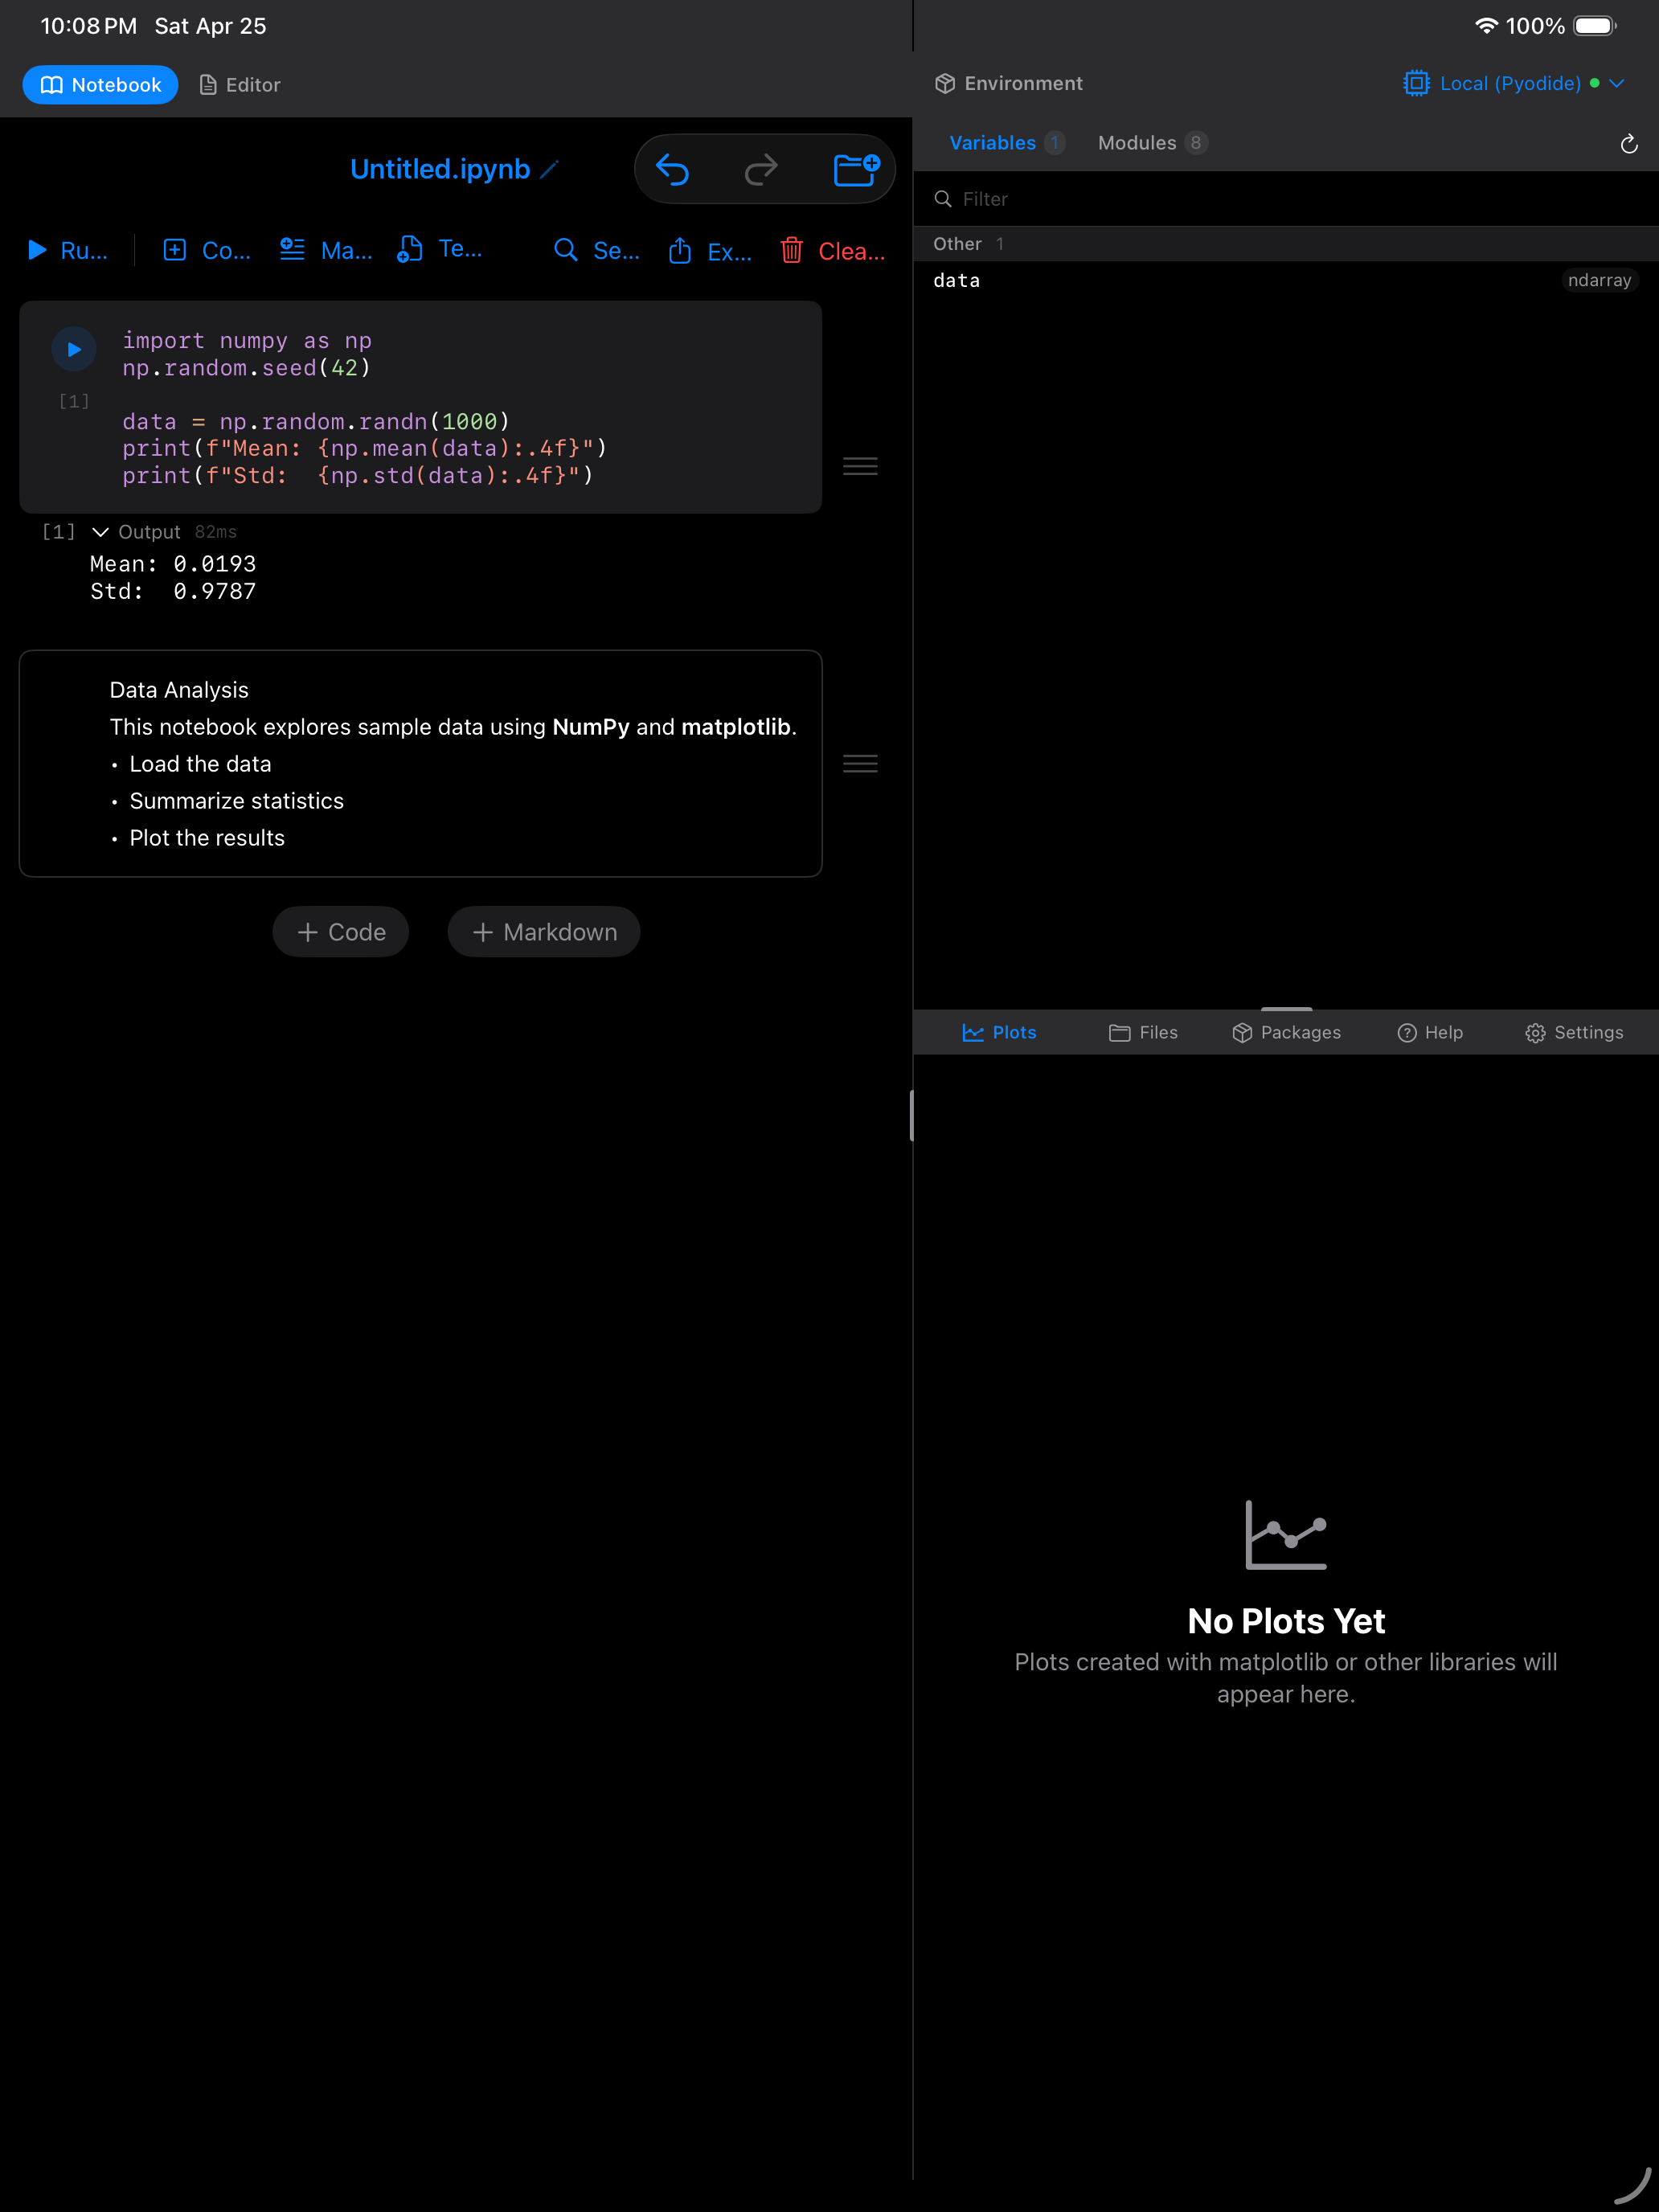
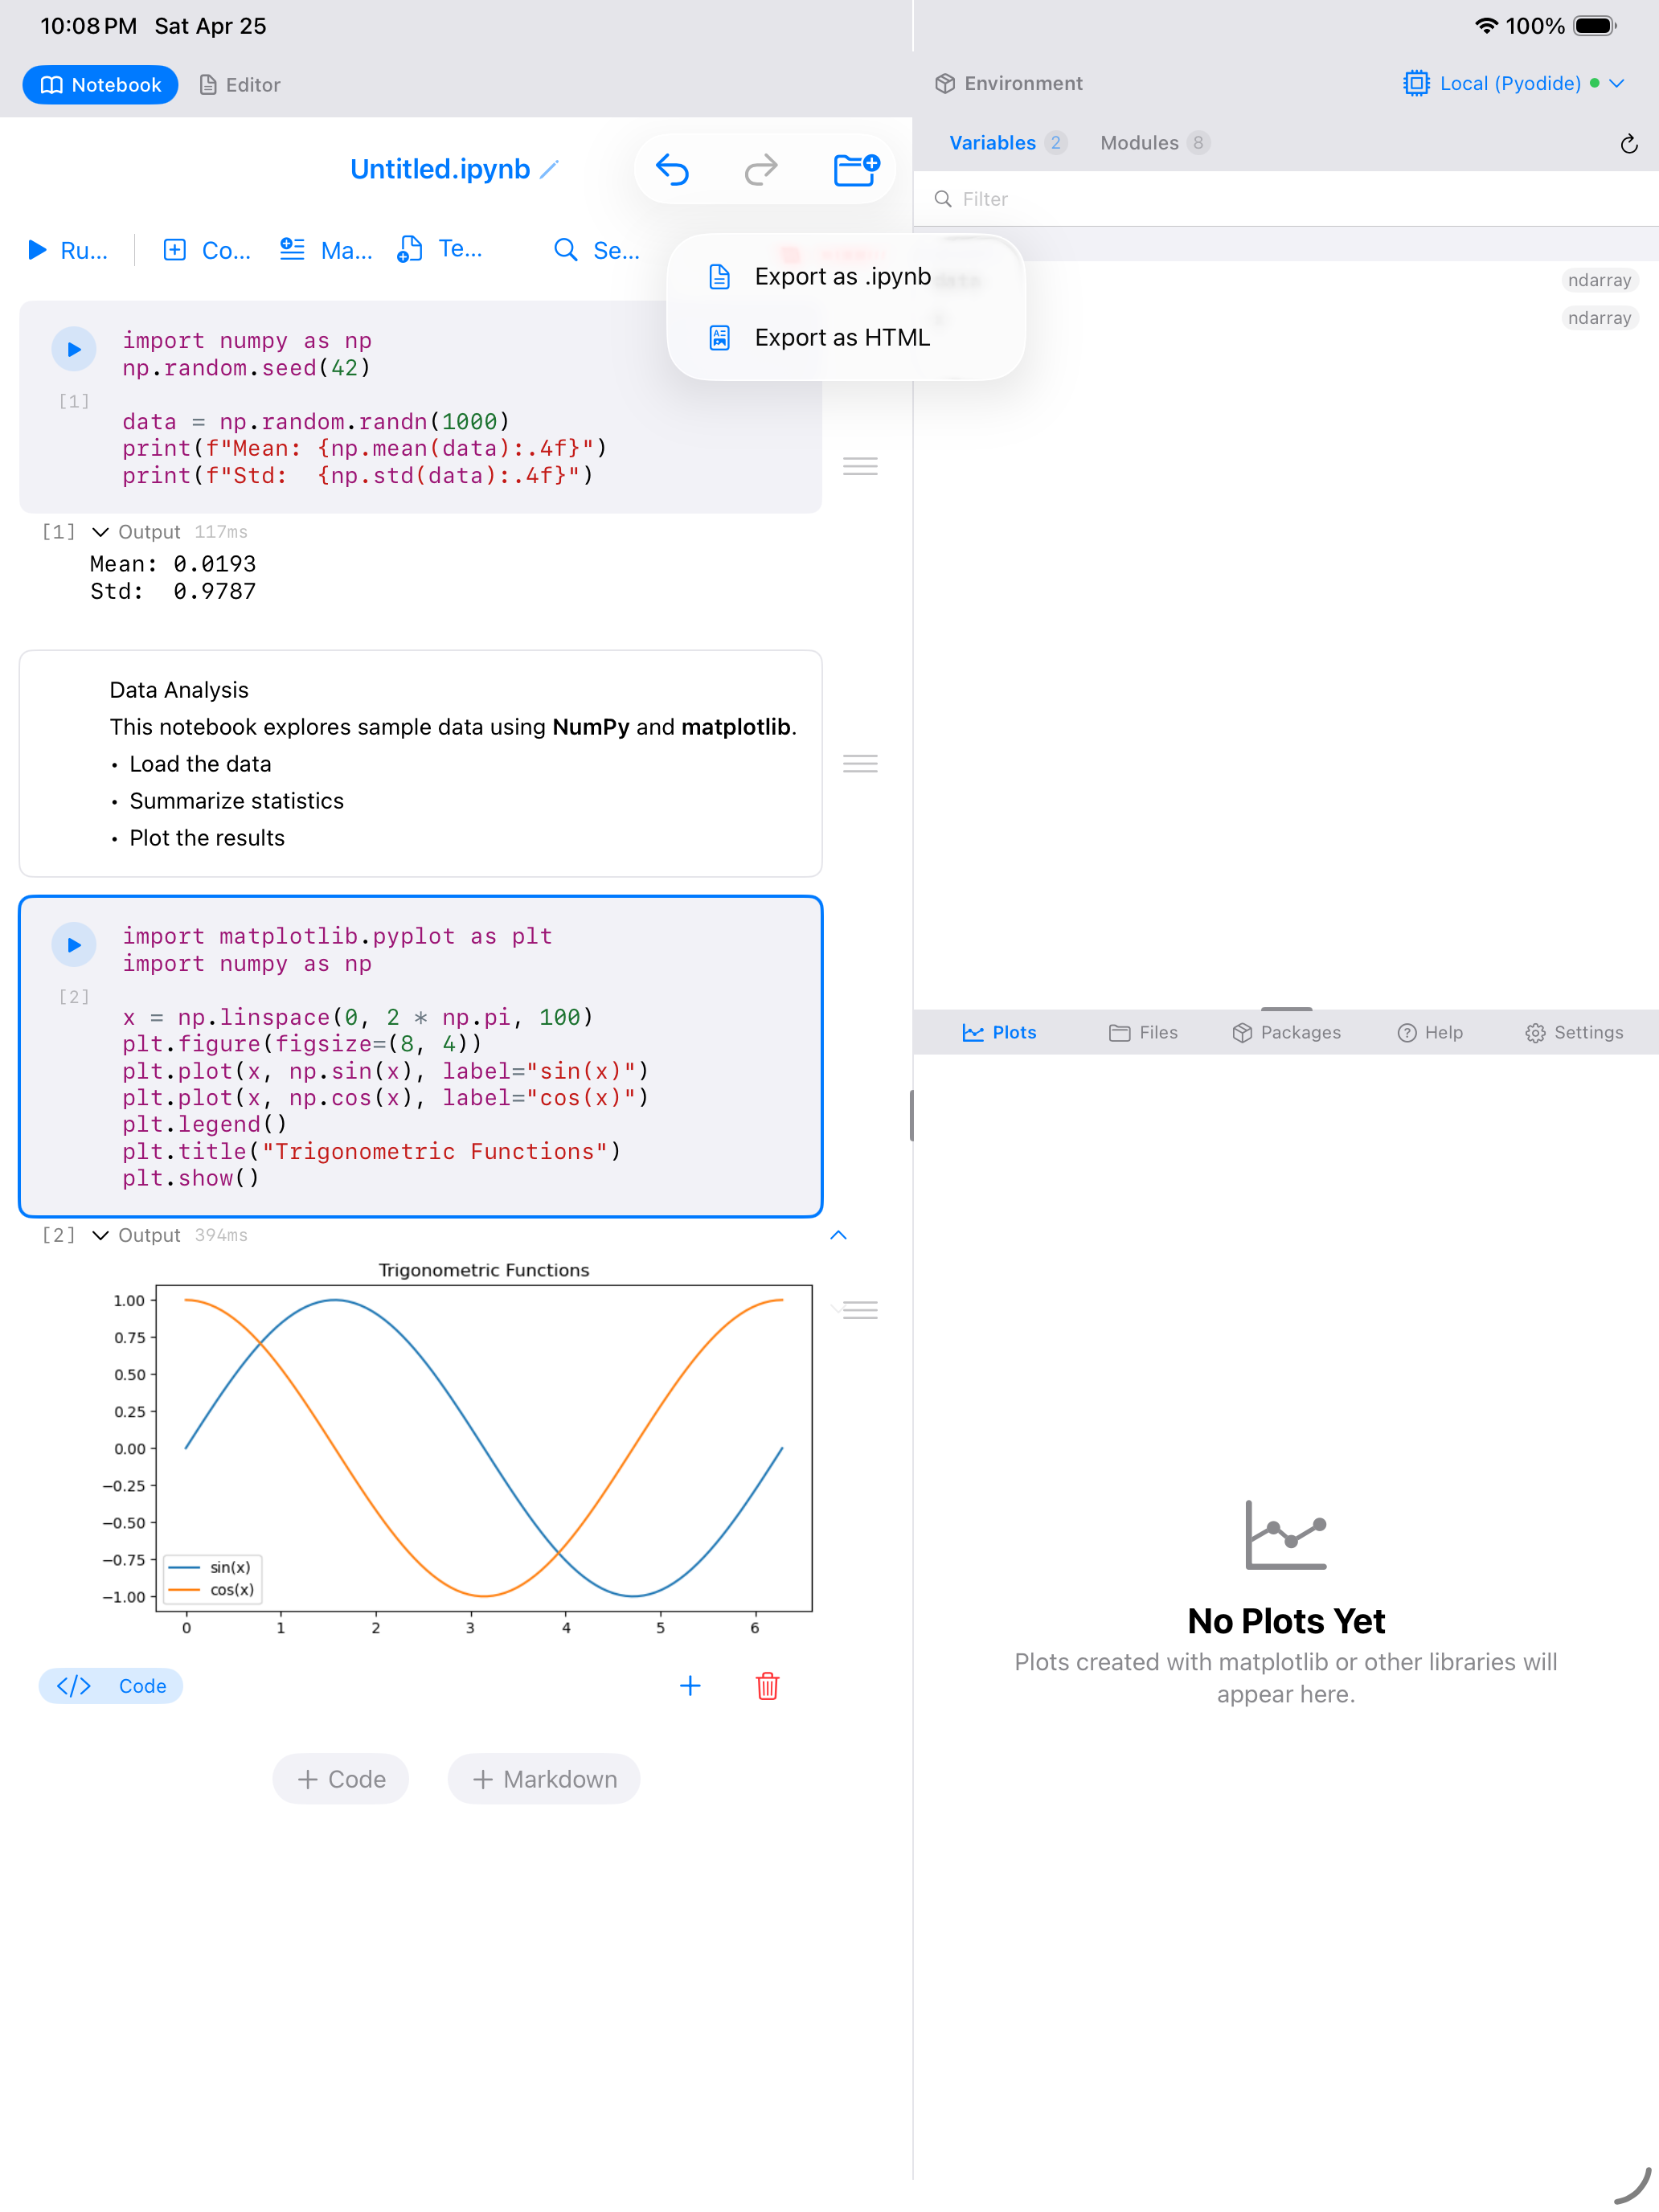
iPad Workspace
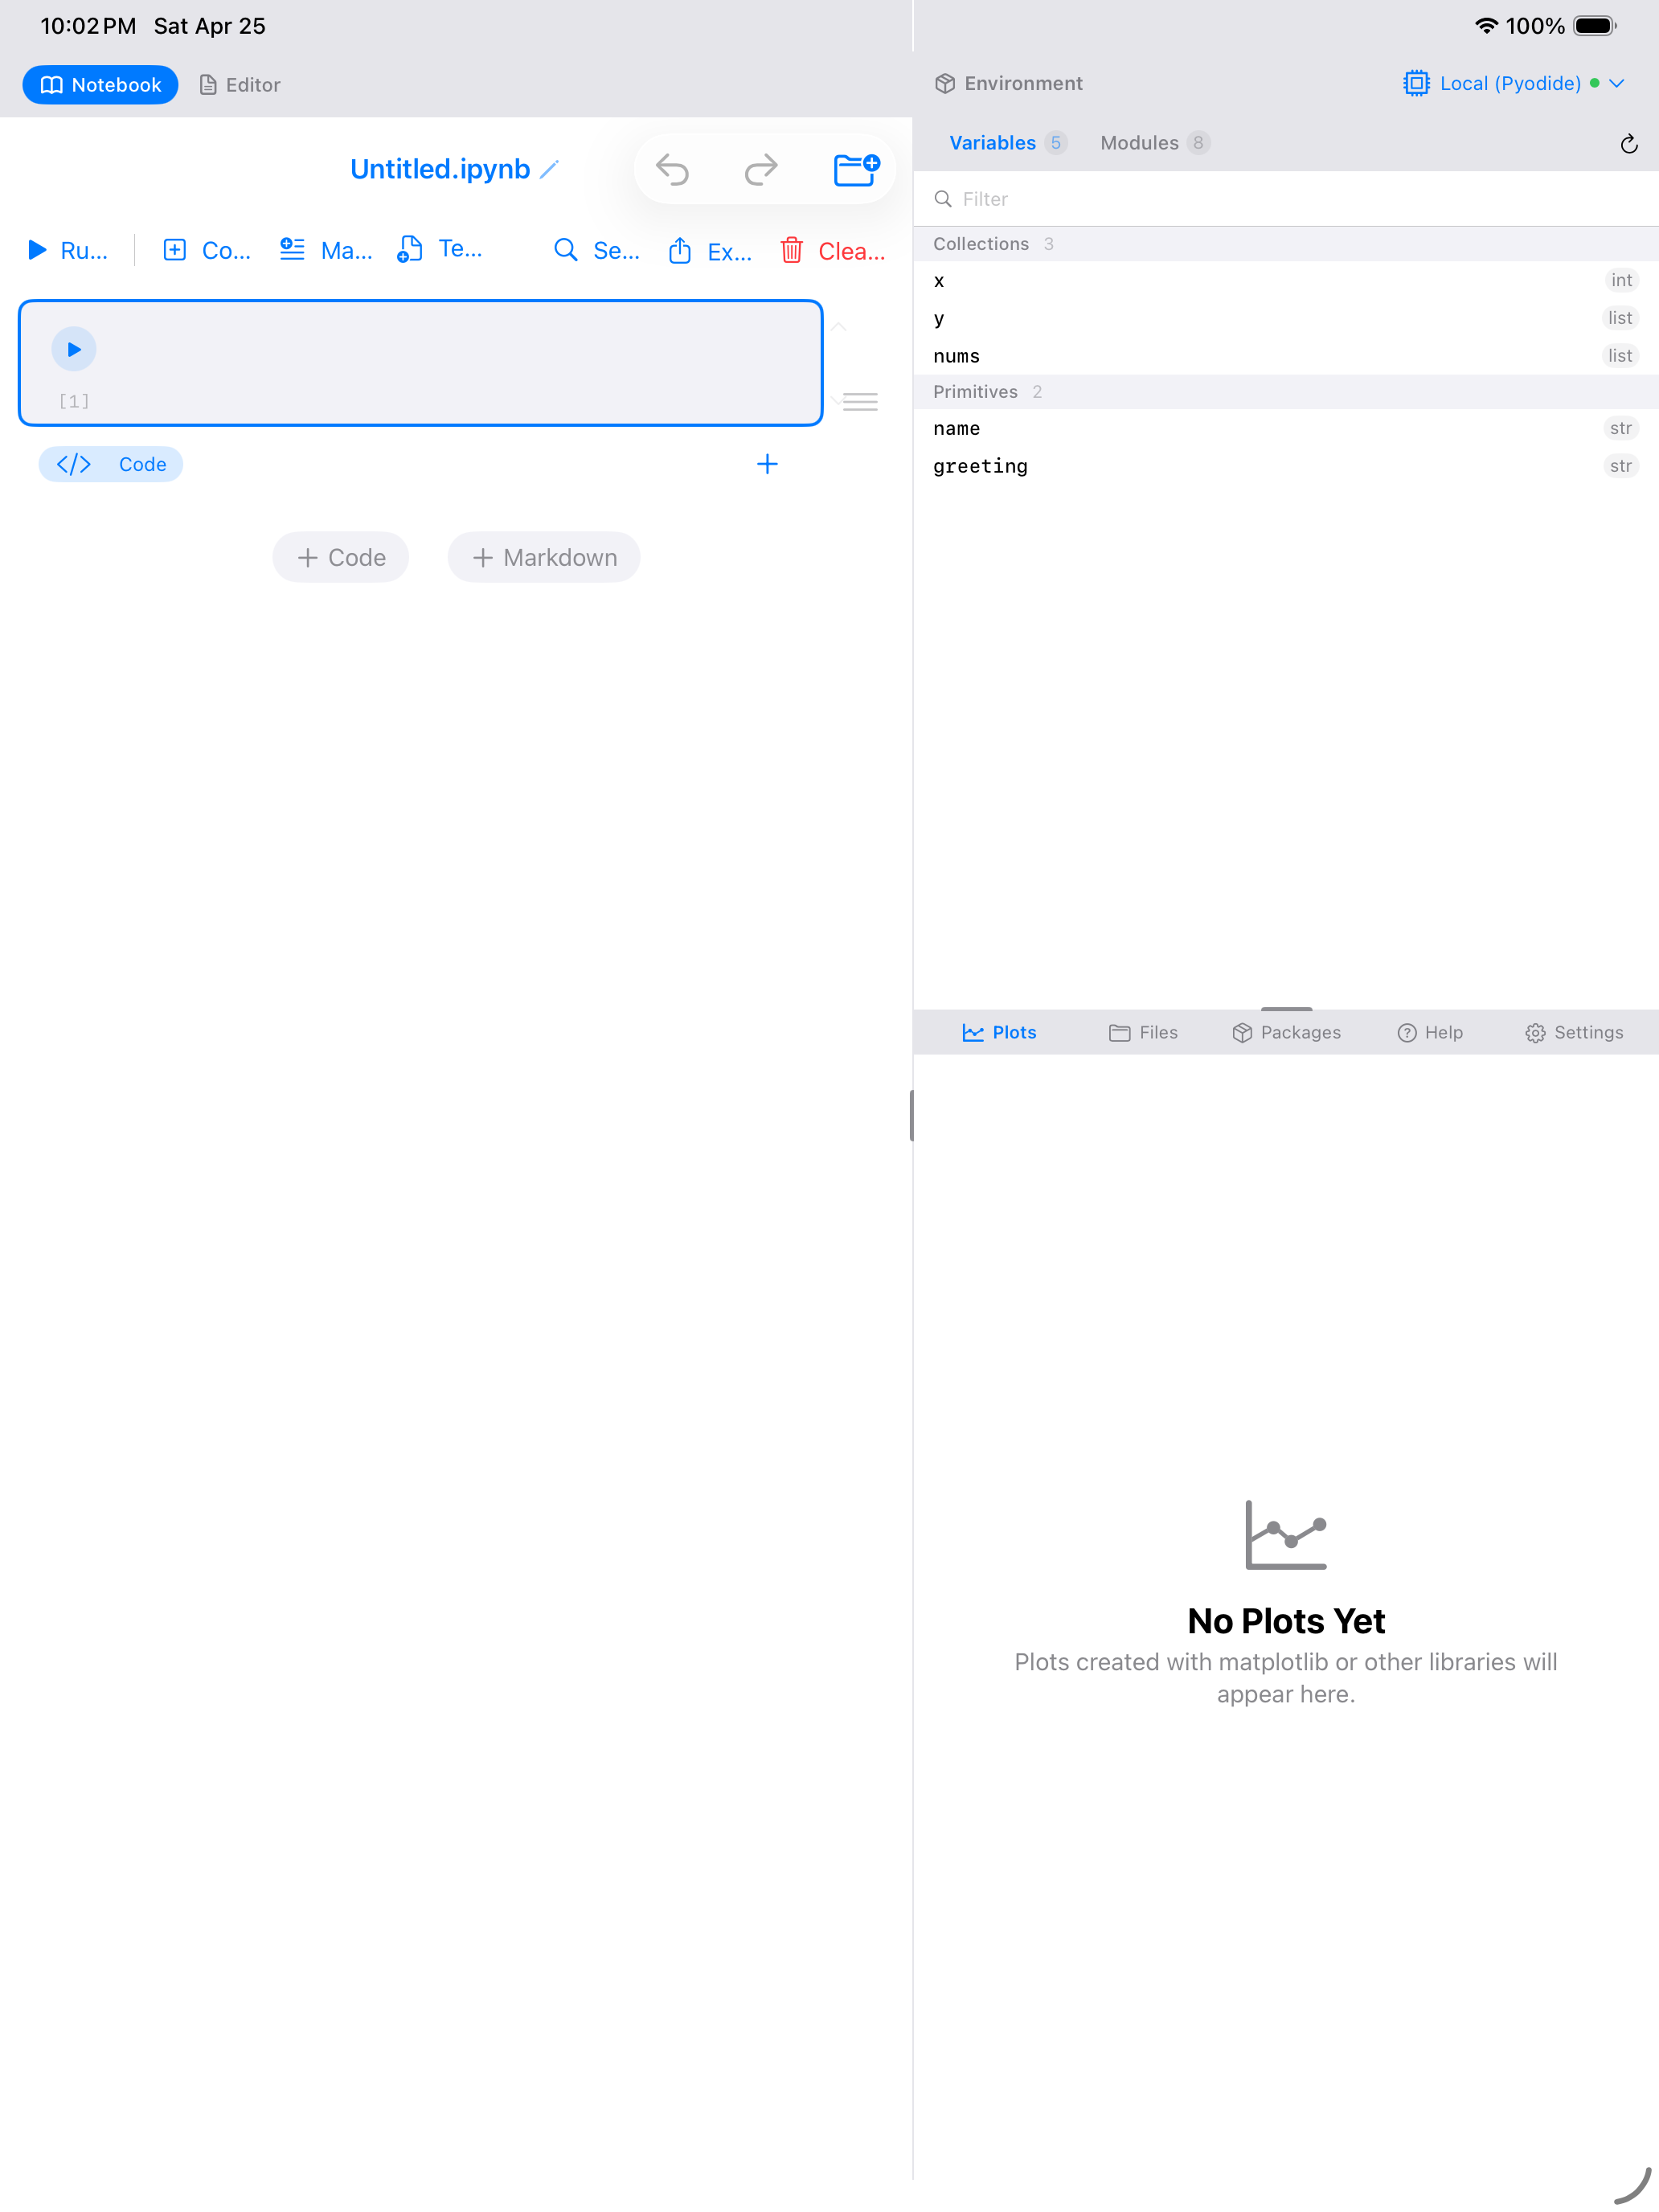
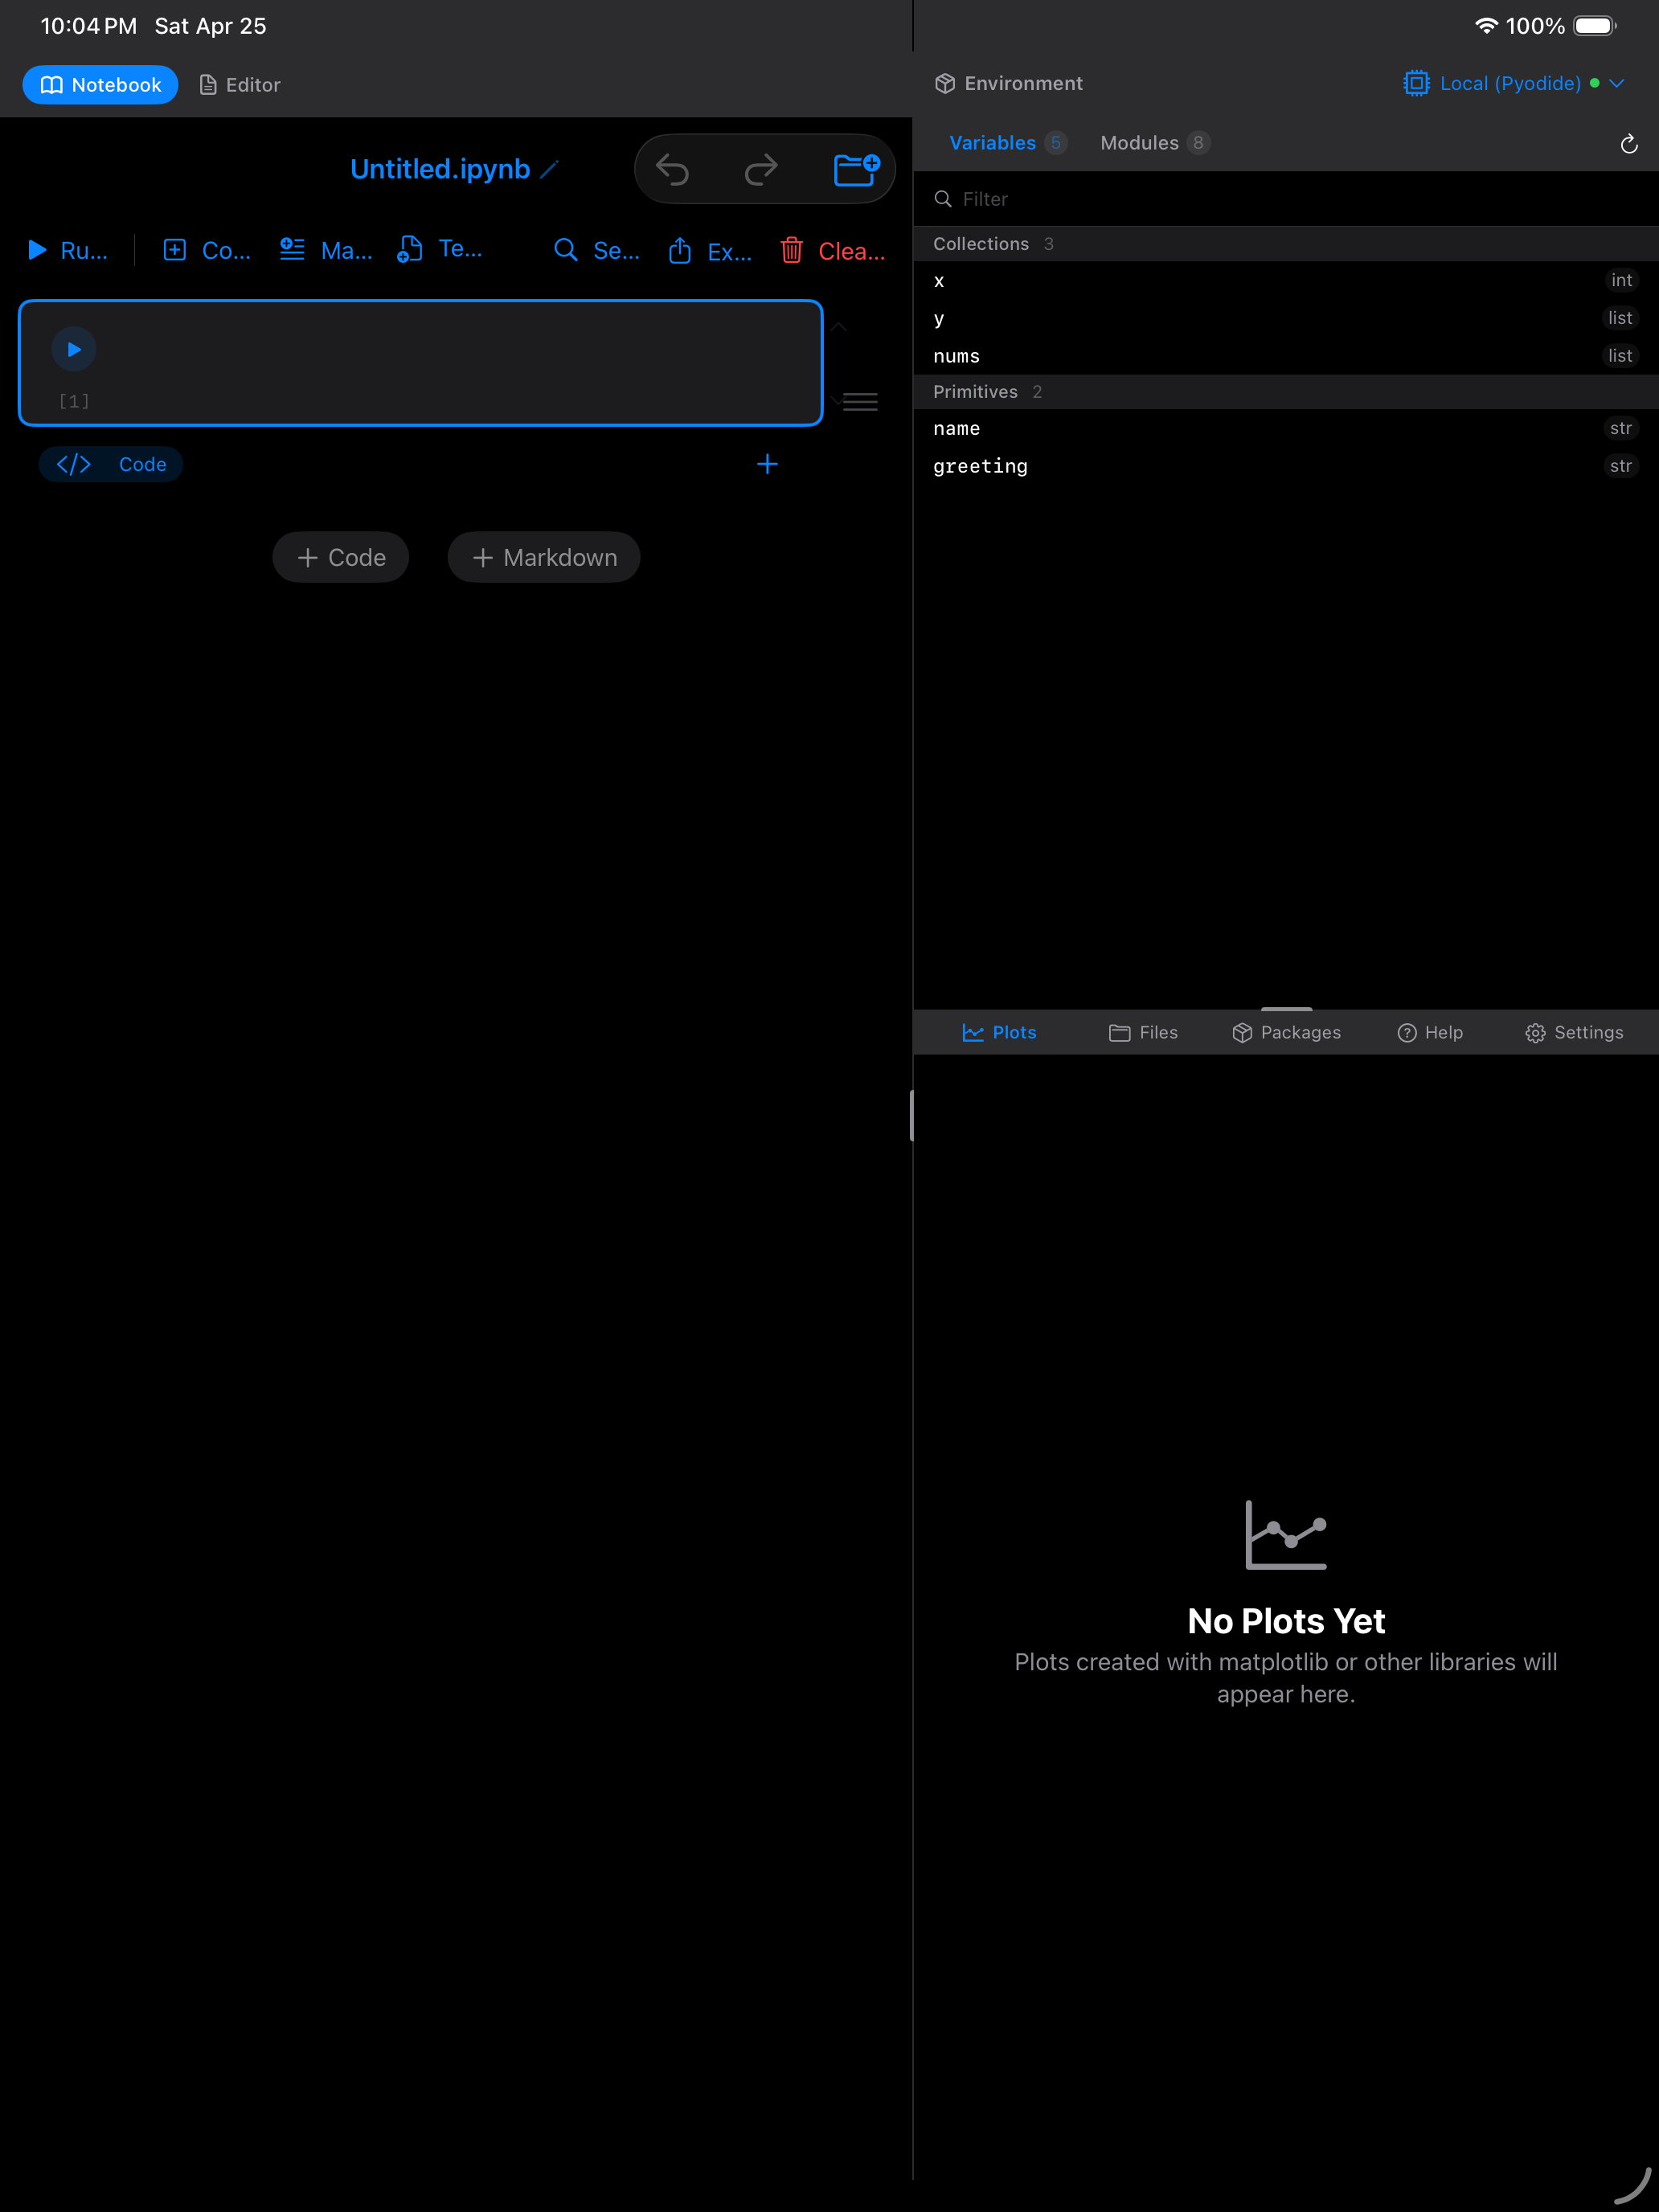
On iPad, the notebook takes advantage of the larger screen with a 3-pane workspace layout. The notebook occupies the main area, the Environment pane shows your current variables and their types on one side, and a Plots/Files pane on the other side lets you view generated plots or browse files without leaving the notebook.
This layout means you can write code, see your variables update in real time, and view your plots all in a single view. You can resize the panes by dragging the dividers, or collapse any pane to give the notebook more room.
On iPad, you can also use Split View and Slide Over to run Pyodios alongside Safari, Notes, or any other app. This is great for following a tutorial while coding along in the notebook.
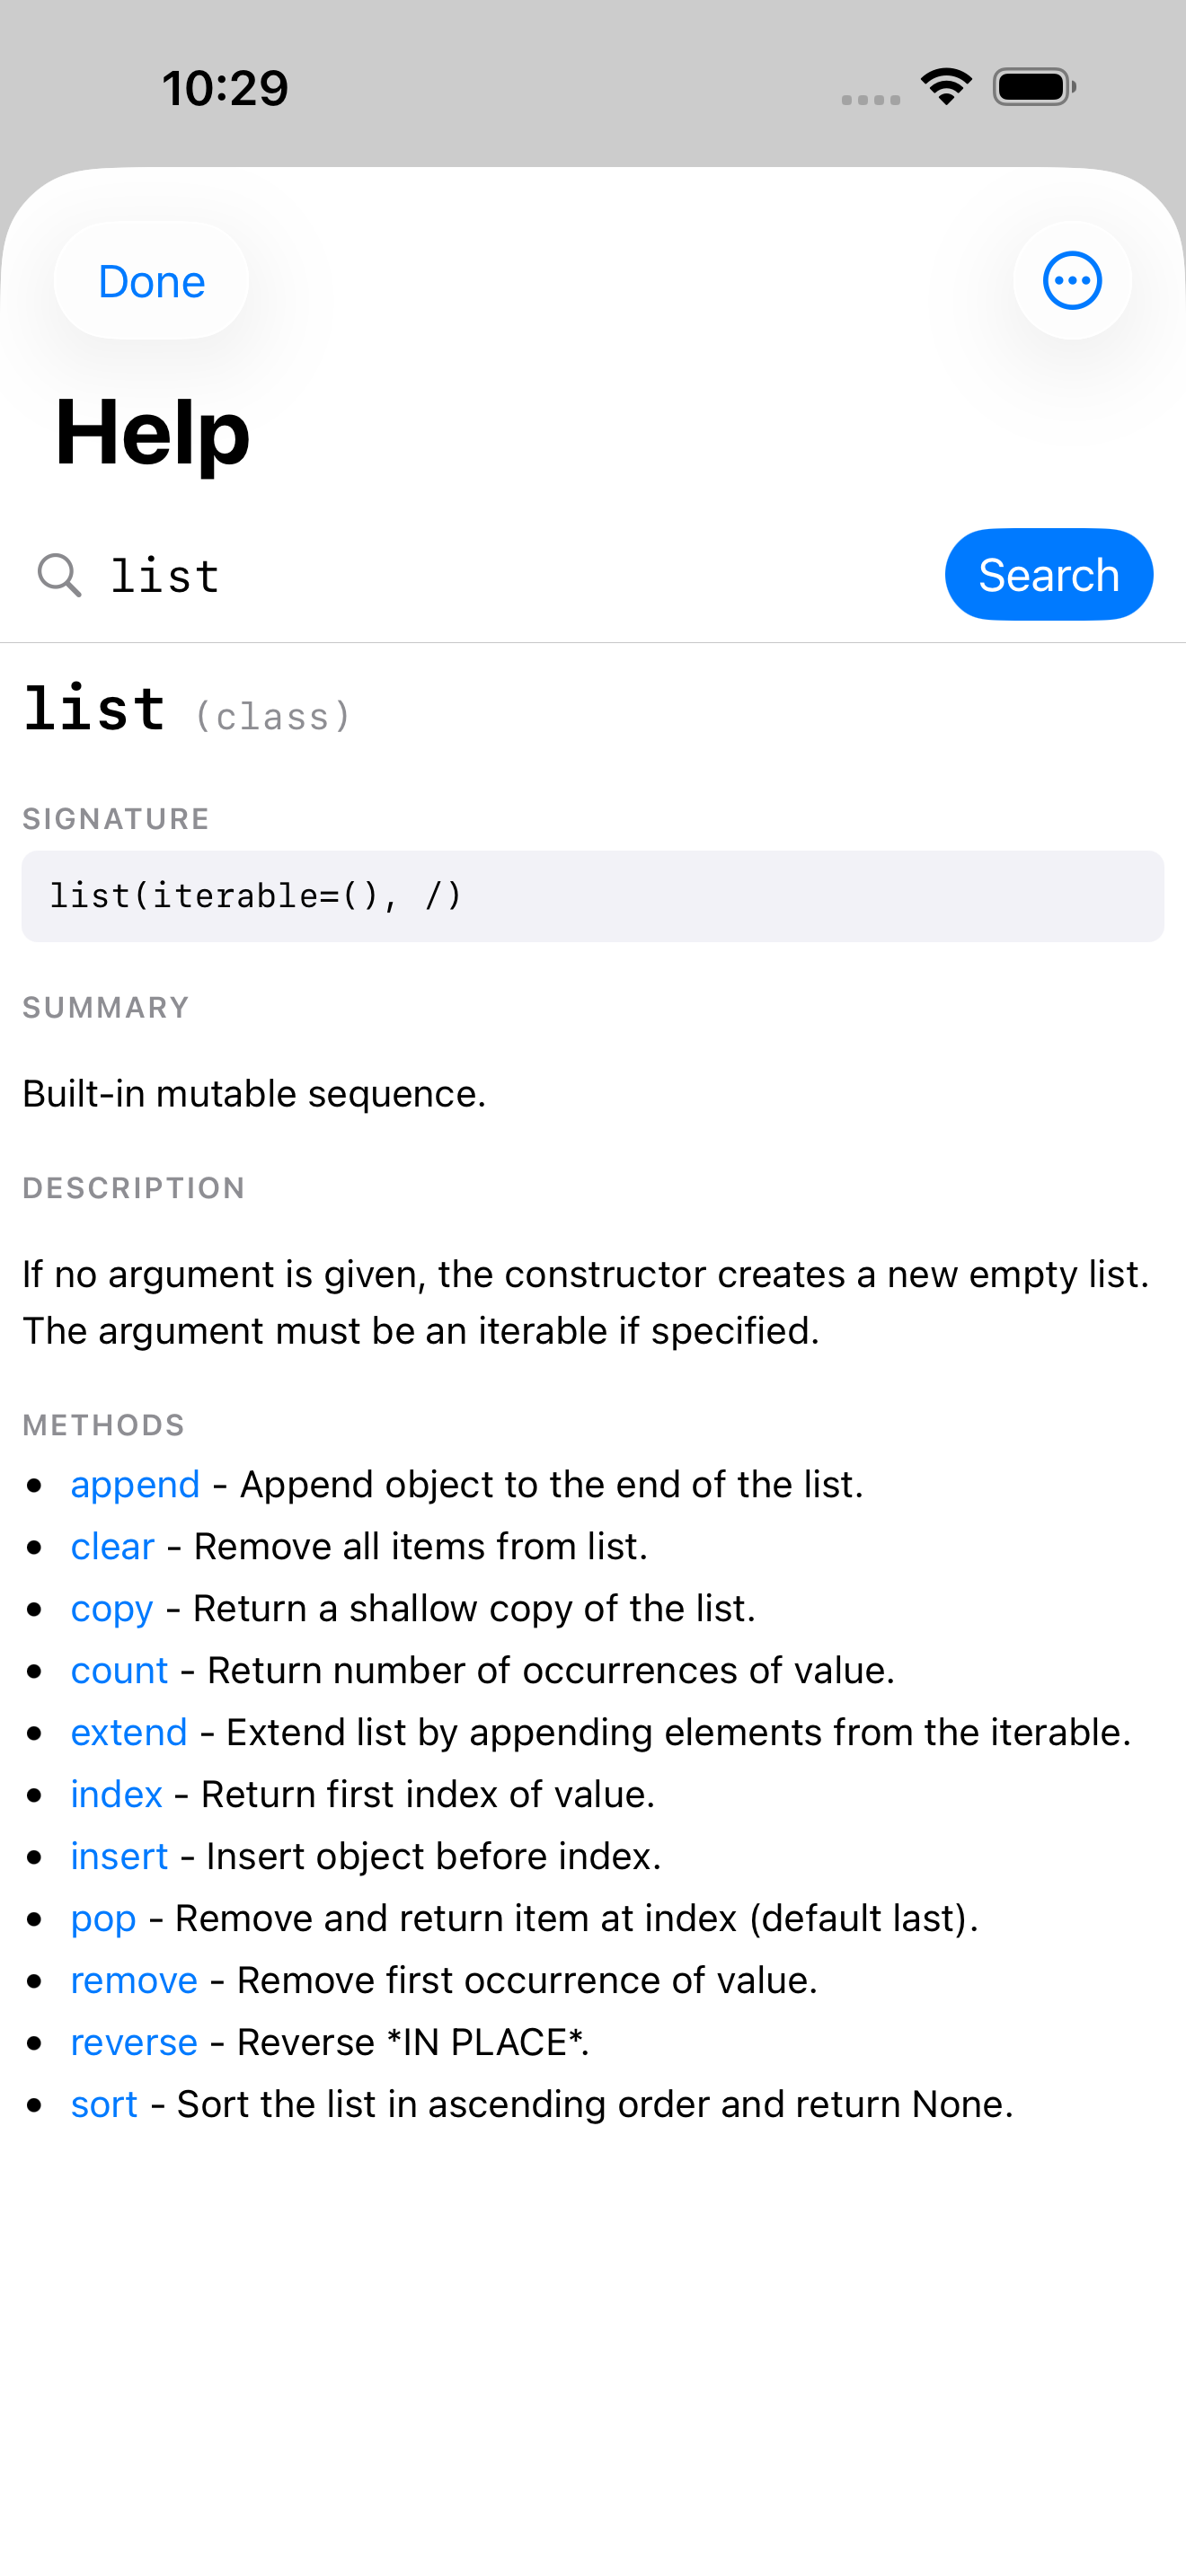
Looking up Python documentation from a cell
When you cannot remember what a function takes or what a class exposes, just call help(foo) in a cell and run it. The Help view opens with the topic pre-loaded. On iPhone it slides up as a sheet; on iPad workspace mode it swaps into the right-bottom pane so your notebook stays visible. No pydoc text gets dumped into your cell output. See the Help guide for full details.